Look for

Showing posts with label a wireframe toy. Show all posts

Sunday, October 8, 2017

Secrets of crafting: How to Create a Stable Doll

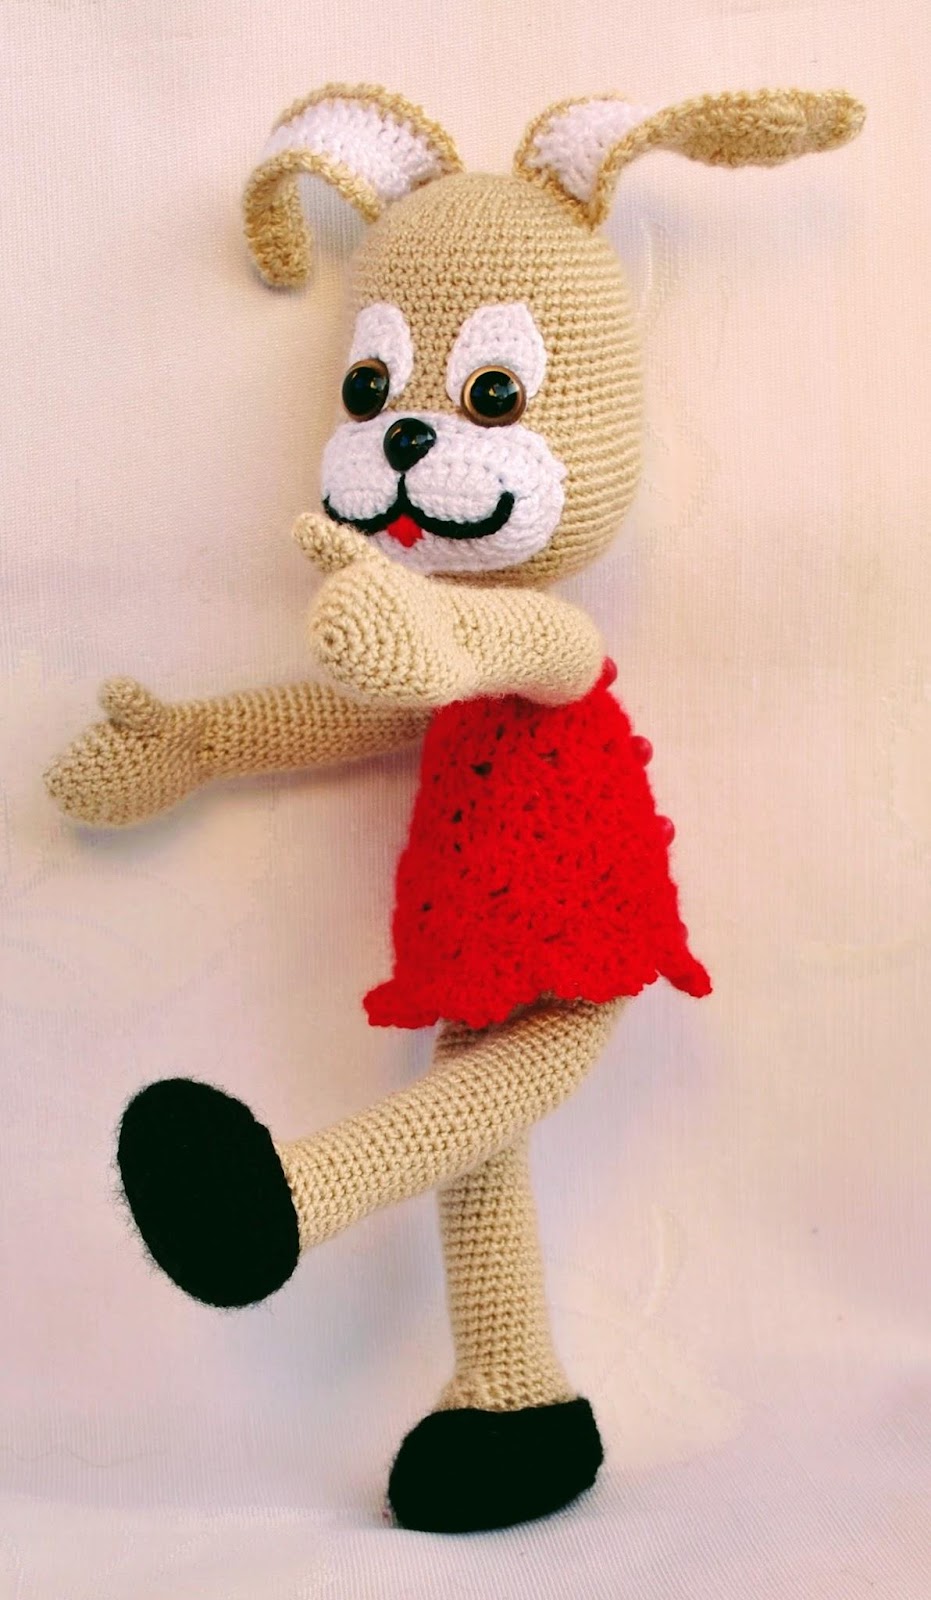
I love and often make dolls that can be standing.

DSC_0257.JPG


Making a surefooted doll is not so easy. There are many factors to consider.


First, in the toy shape you need to keep a balance. A massive muzzle in front should be balanced with a tail or a massive backside.


DSC_0601разм.jpg


Secondly, the greater the volume of the toy body, the greater should be the feet. When crocheting from the bottom, you can later make decreases in order to the toy legs would looked not too thick.


And thirdly: the surface of the foot have to be flat as it is possible.


I usually use a thin cotton thread or acrylic, so I have no problems. If you use more thicker yarn, I would advise to sew up a fabric lining to the doll's foot.


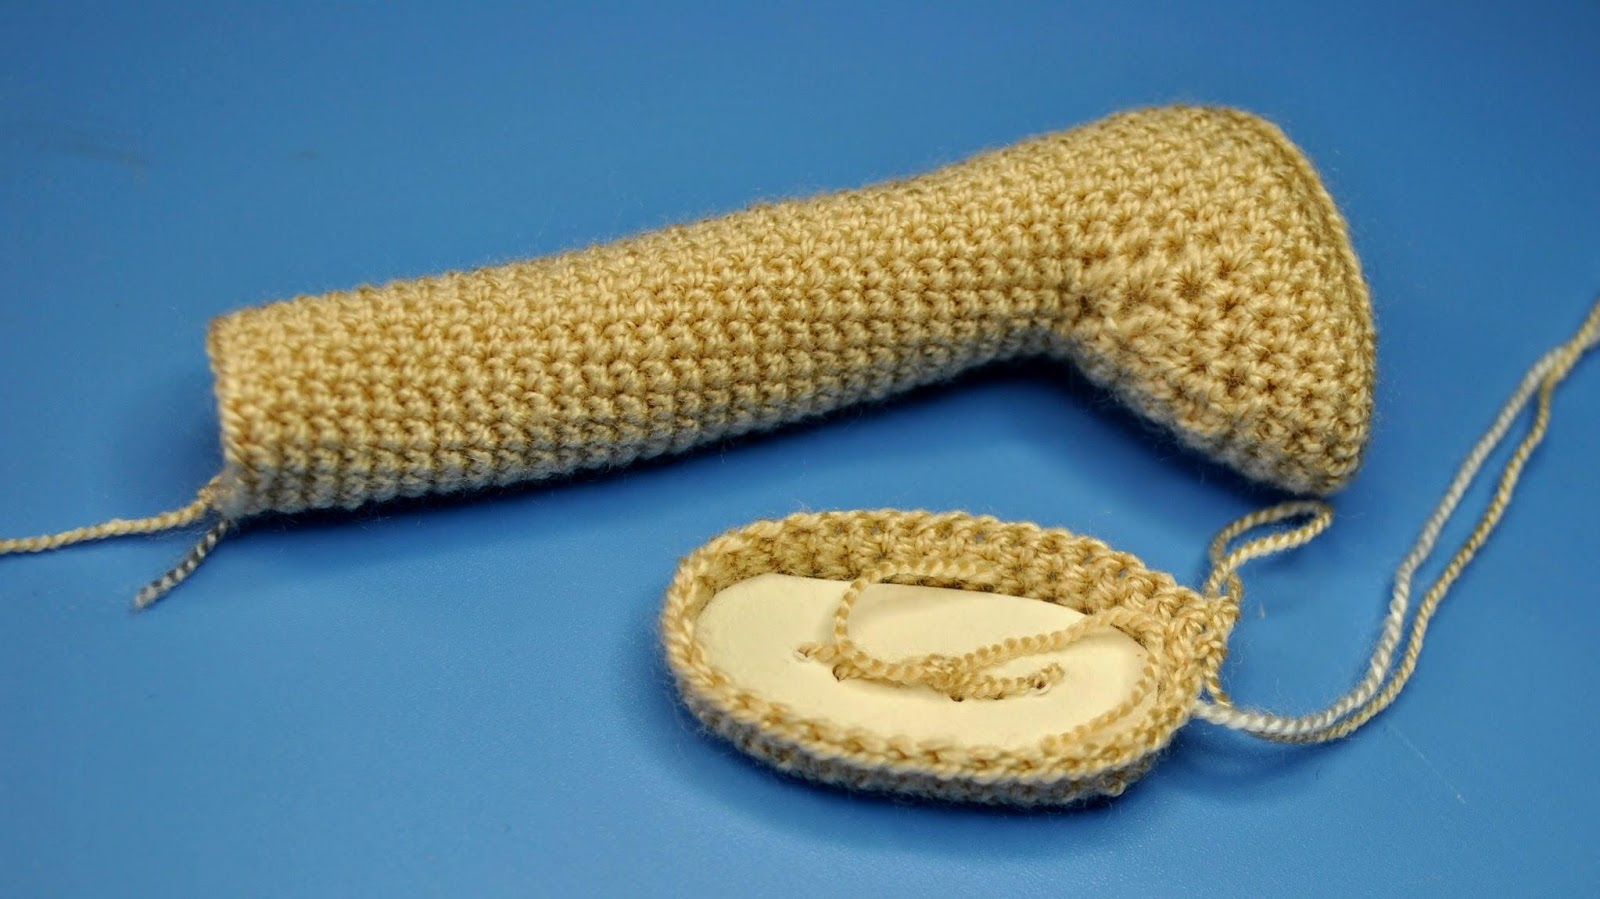
And, of course, in order to make the foot surface more flat, it is necessary to insert an insole of cardboard or plastic inside the foot.


My Mom Hare has such insole inside her foot.

DSC_0159.JPG


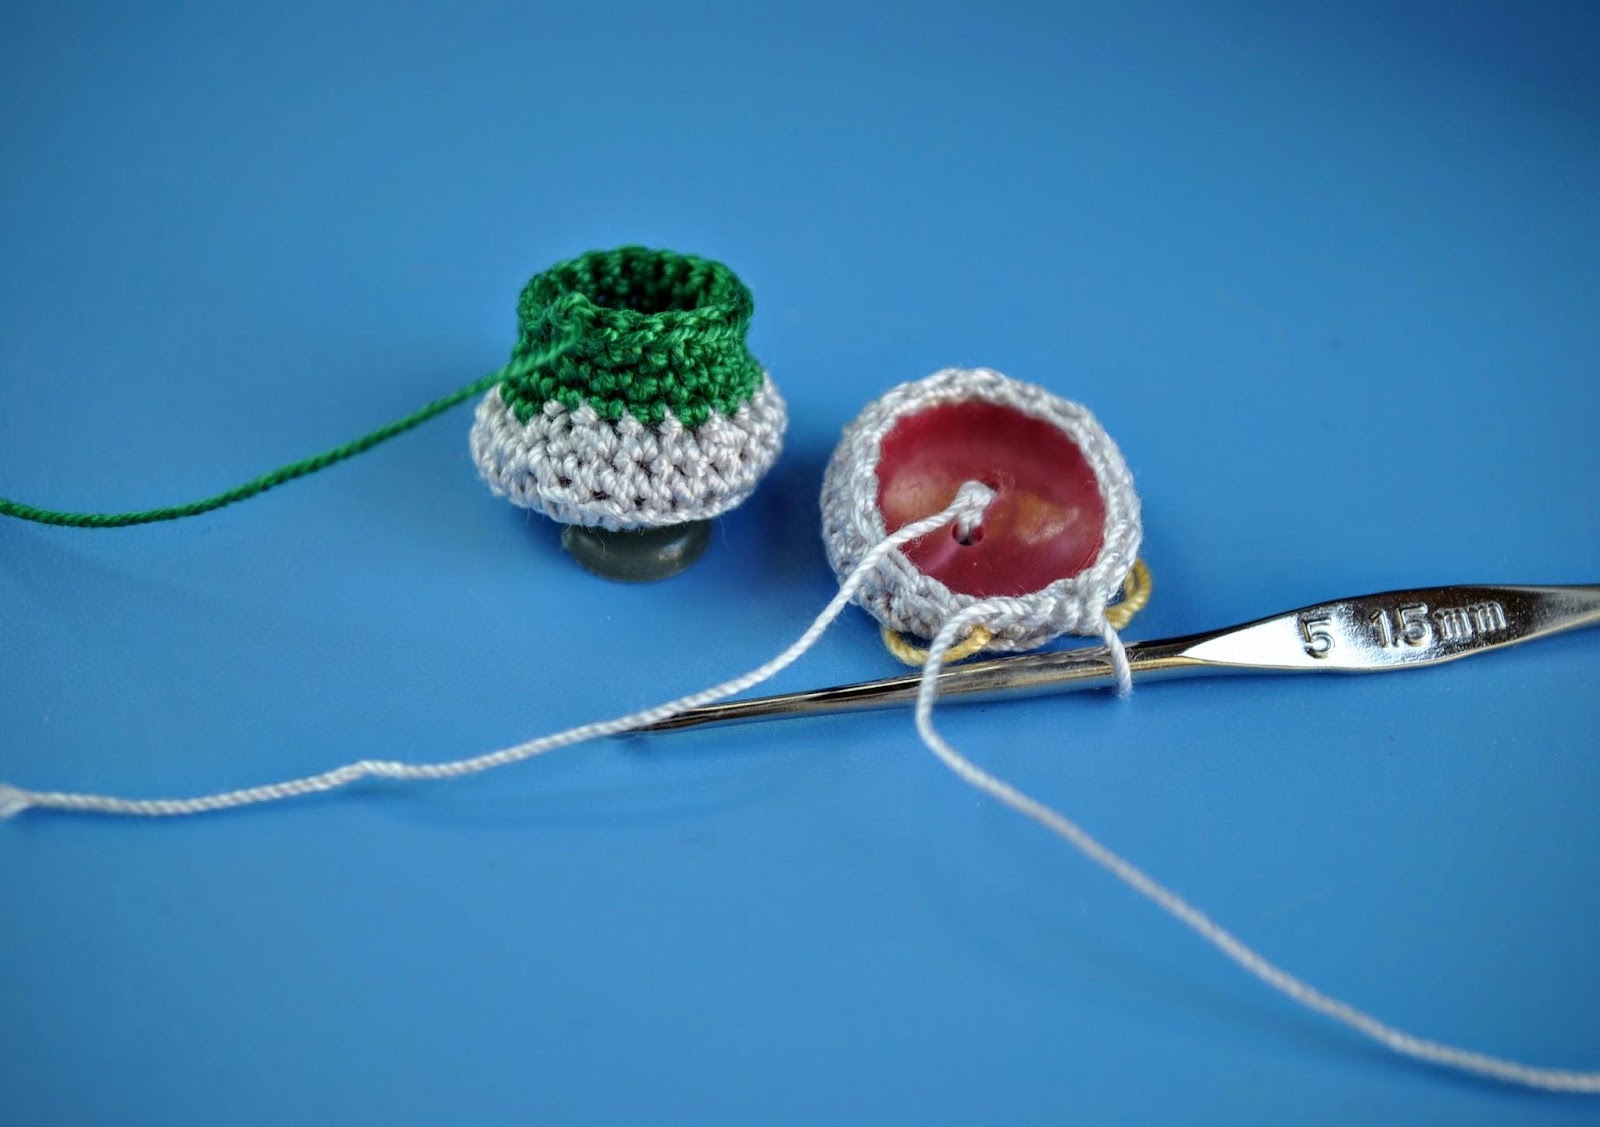
If the doll has rounded paws, then I just use plastic buttons. Fortunately, my grandmother left them to me in huge number.

DSC_0375.JPG


So, you crochet a doll's foot, then choose a fit button (of course, you can take a piece of dense plastic) and just sew it inside the foot (you can make holes in plastic using a hot needle). Then you make a leg and fill it as usual. The best side of this method is that you can even wash such toys, your doll's legs will remain the same good.

Welcome to my Ravelry store. Here you will find many interesting patterns that include detailed instructions.


Friday, September 29, 2017

Free crochet patterns: Tiger and Kanga


These were my first creations. In those days I did not even think of designing dolls. I just bought a book about Winnie the Pooh for my grandson and decided to create characters of the book.
I crocheted in free form, but just in case, only that to be able to repeat my crochet, I recorded the sequence of the rows. Unfortunately I did not make step-by-step photos, but this toys are fairly simple to work. Overwise the wireframe for kangaroos turned out not simple. Kanga was needed two-pieces skeleton.

Of course, the products are far from perfect, but if someone likes it I will be happy.
You can find it in my Ravelry store


Wednesday, September 27, 2017

Tutorial: Wire frame for your amigurumi toy/doll

I like to make amigurumi with a skeleton inside.
Of course, for children under 10-12 years (depending on their temperament) it is better not to give such toy into their hands (or at least not to leave them alone with it).
But if you want to make a gift for a teenager or your friend, there is nothing more amusing than a doll, that can be given any pose. This doll is much more interesting than soft toy standing on the shelf and leaning on the wall.


DSC_0355.JPG


My favorite wired toy is my frog. He will be an example for this small tutorial on making a simple frame for amigurumi.


1. Make measuring:
- the distance between the fingers along both hands - L(arms) (for my Frog it’s 16 cm)
- the length of the Body together with the Legs and the Feet - L(body) (14 cm)
лягущка с каркасом.jpg


2. Cut  2 pieces of aluminium wire, the length of each one:  ½ L(arms) + L(body) + 0.5 cm   (= 8+14+0.5= 22.5cm)


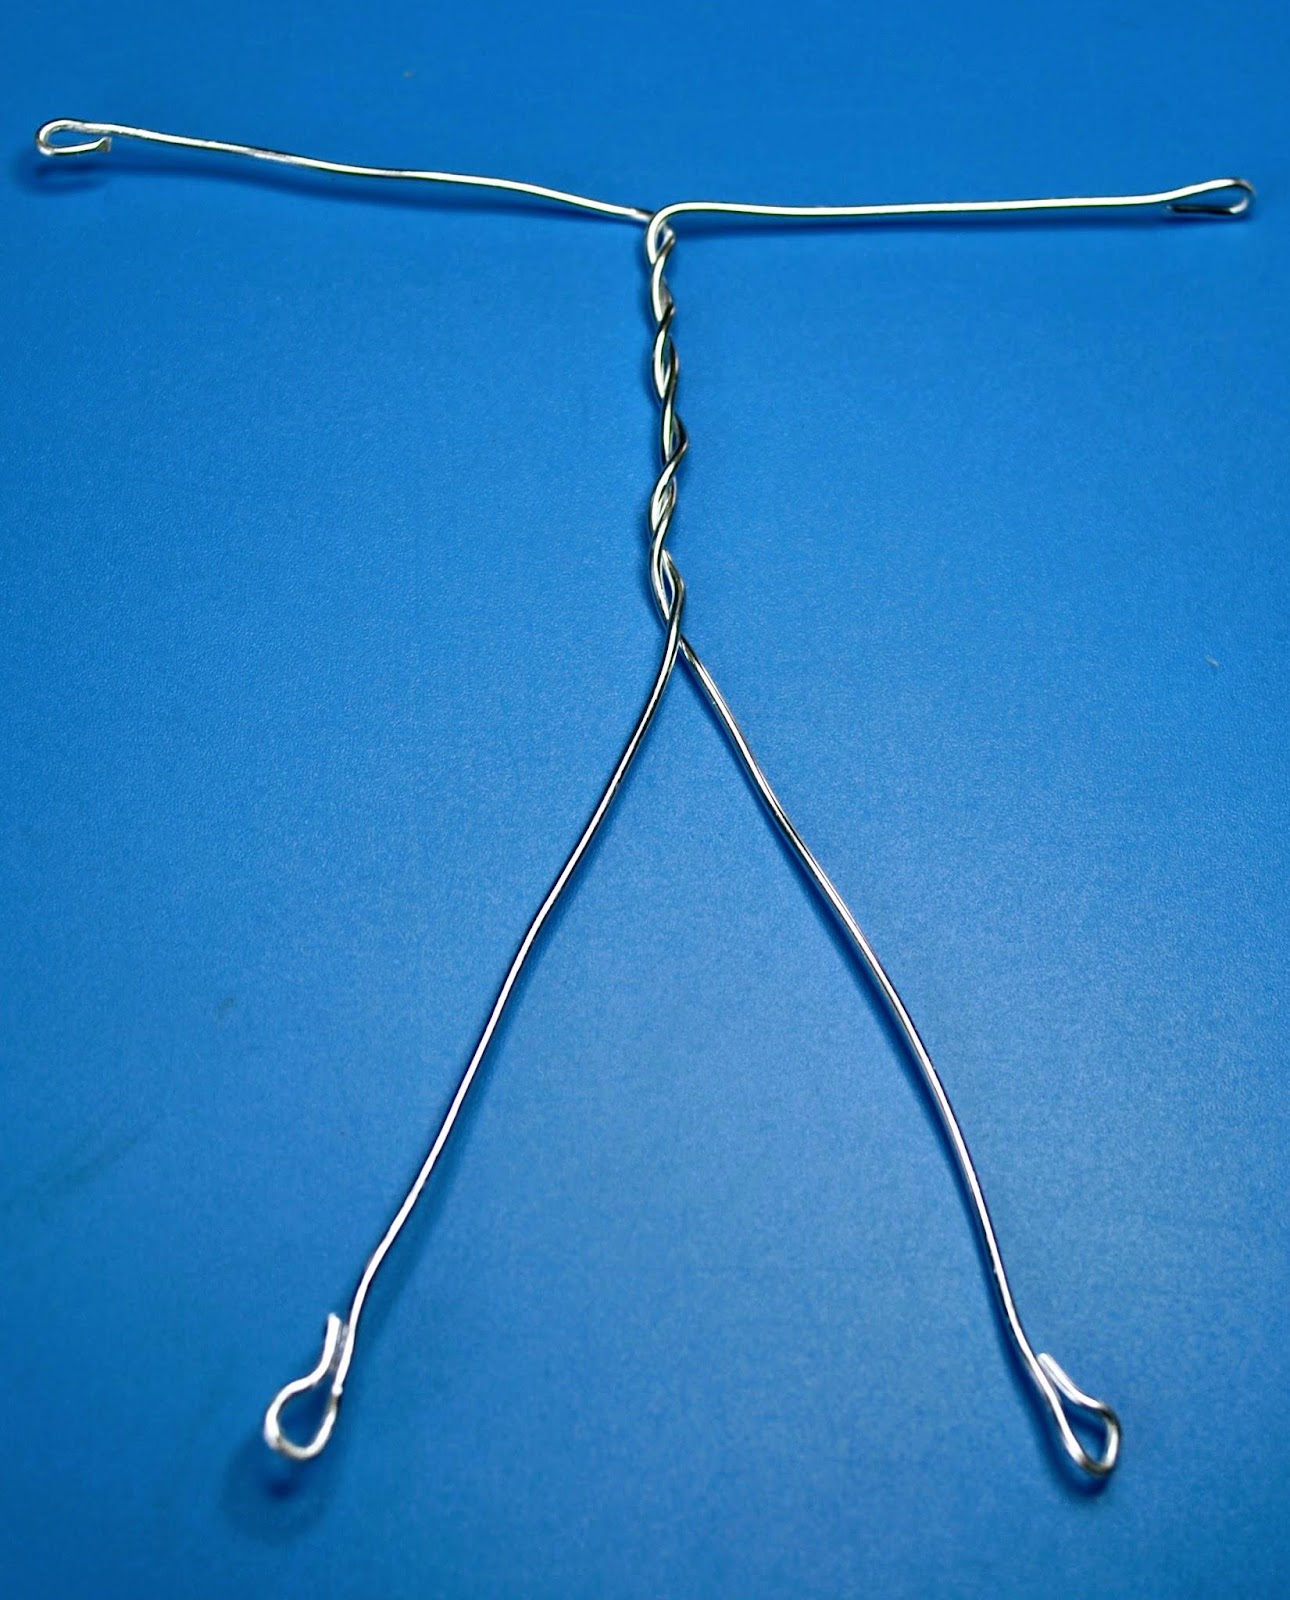
3. Make a ring at each end of the wire.


DSC_0604.JPG


4. Measure off ½ L (arms) - 1 cm along each piece   and bend the wire 90 degrees.


5. Twist together the wire pieces as shown on the photo.


6. Try on the skeleton to the Body. If it necessary, remove an excess of the wire.


DSC_0611.JPG


7. Put the skeleton inside the Body. The bend at the ends of the wire must get inside the Paws.


8. Fill the Body around the skeleton firmly, especially the bottom part.


This skeleton is very simple. More difficult option with a head part see in my pattern The Hare Family.
My Ravelry Store