Today I will share my simple way of embroidering the eyes of such a Dog.

I will use a large doll head with clearly distinguishable stitches so that you see everything.
Also I will use the embroidery thread consists of 6 thin threads.
1 For each eye I use 2 holes in the lower row and 1 hole on 1 row above.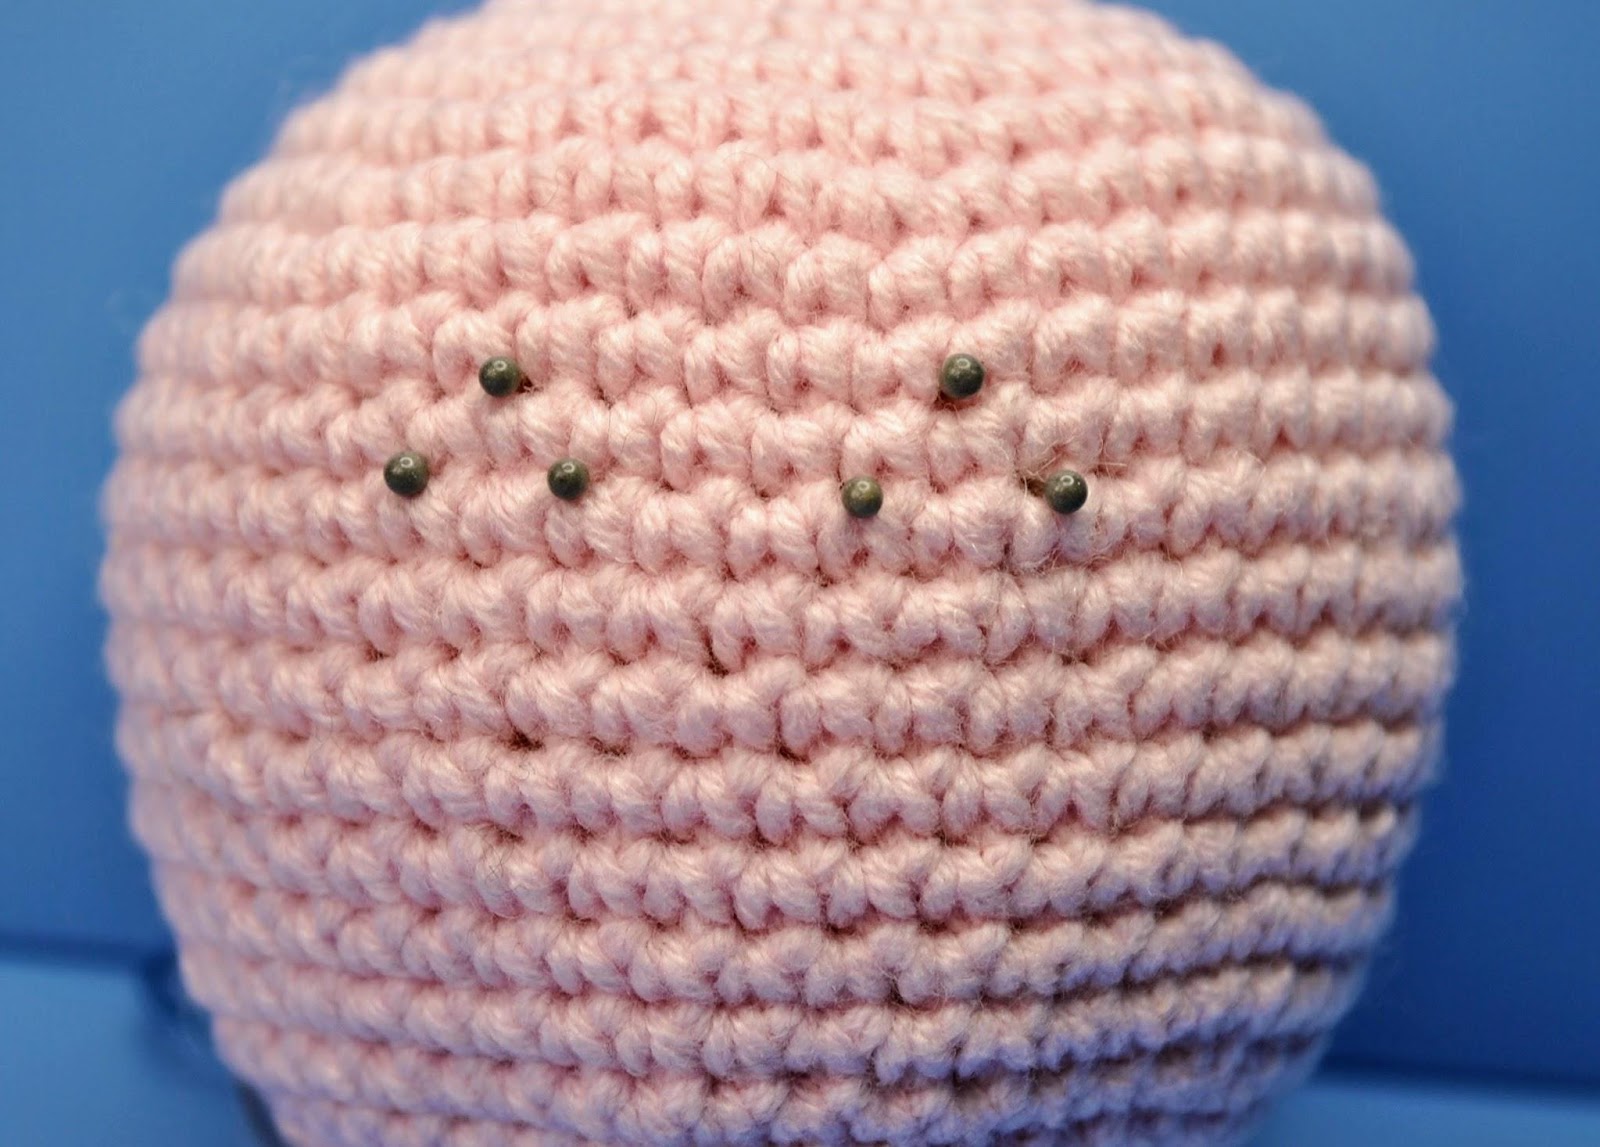

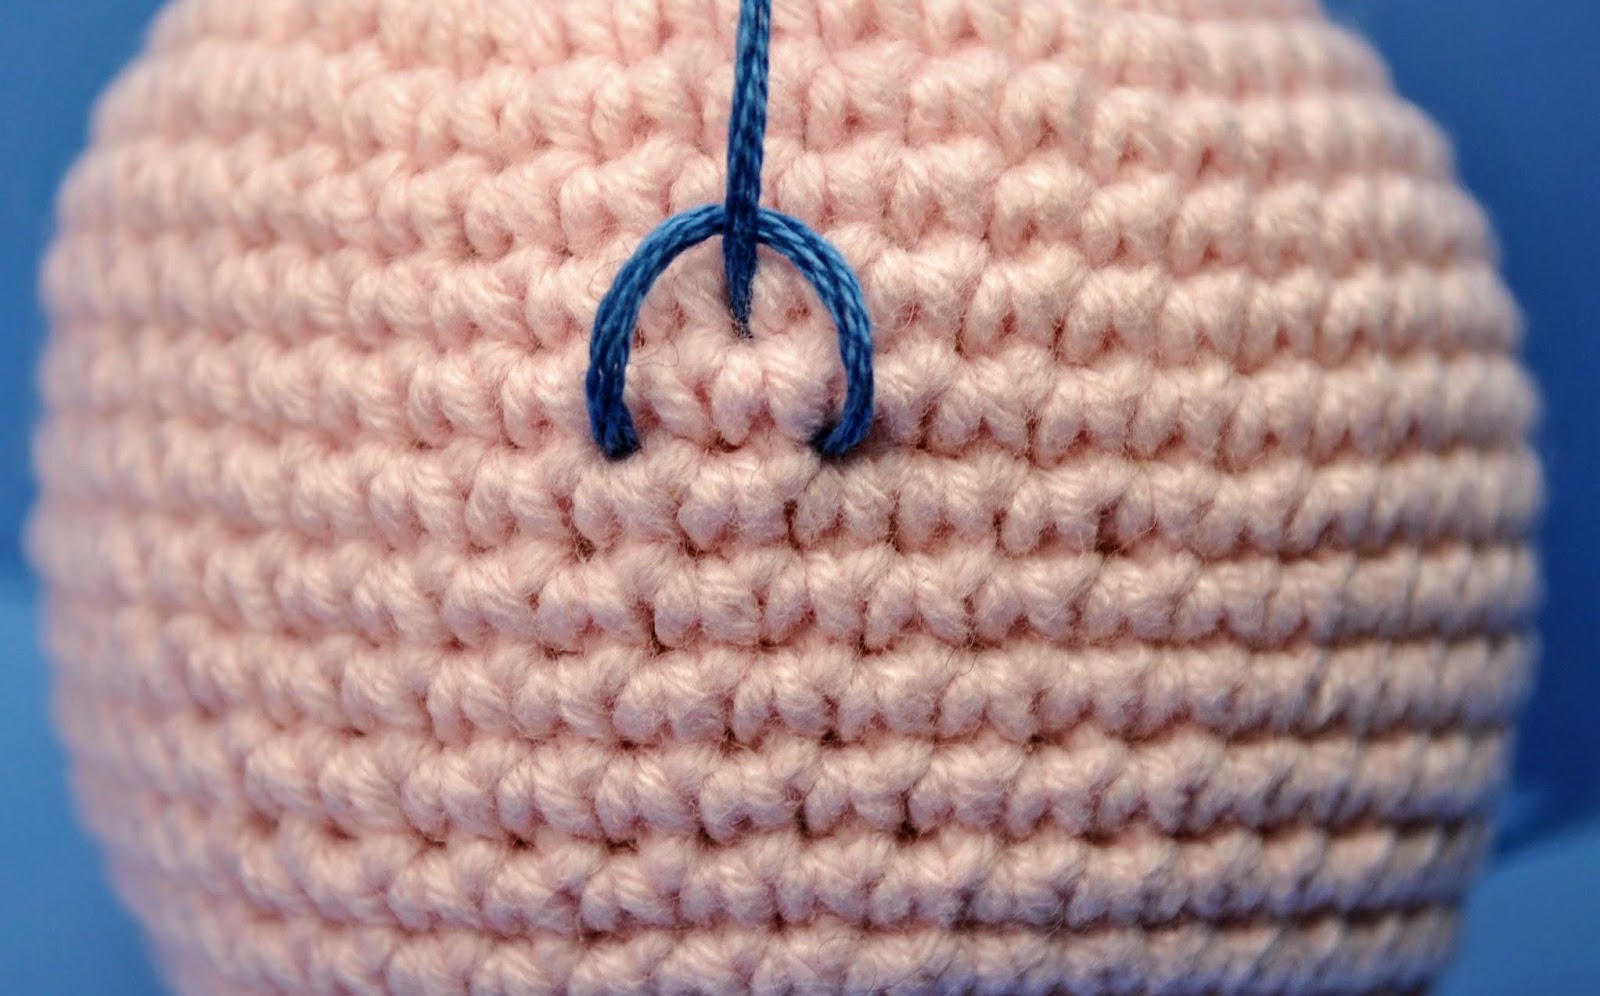
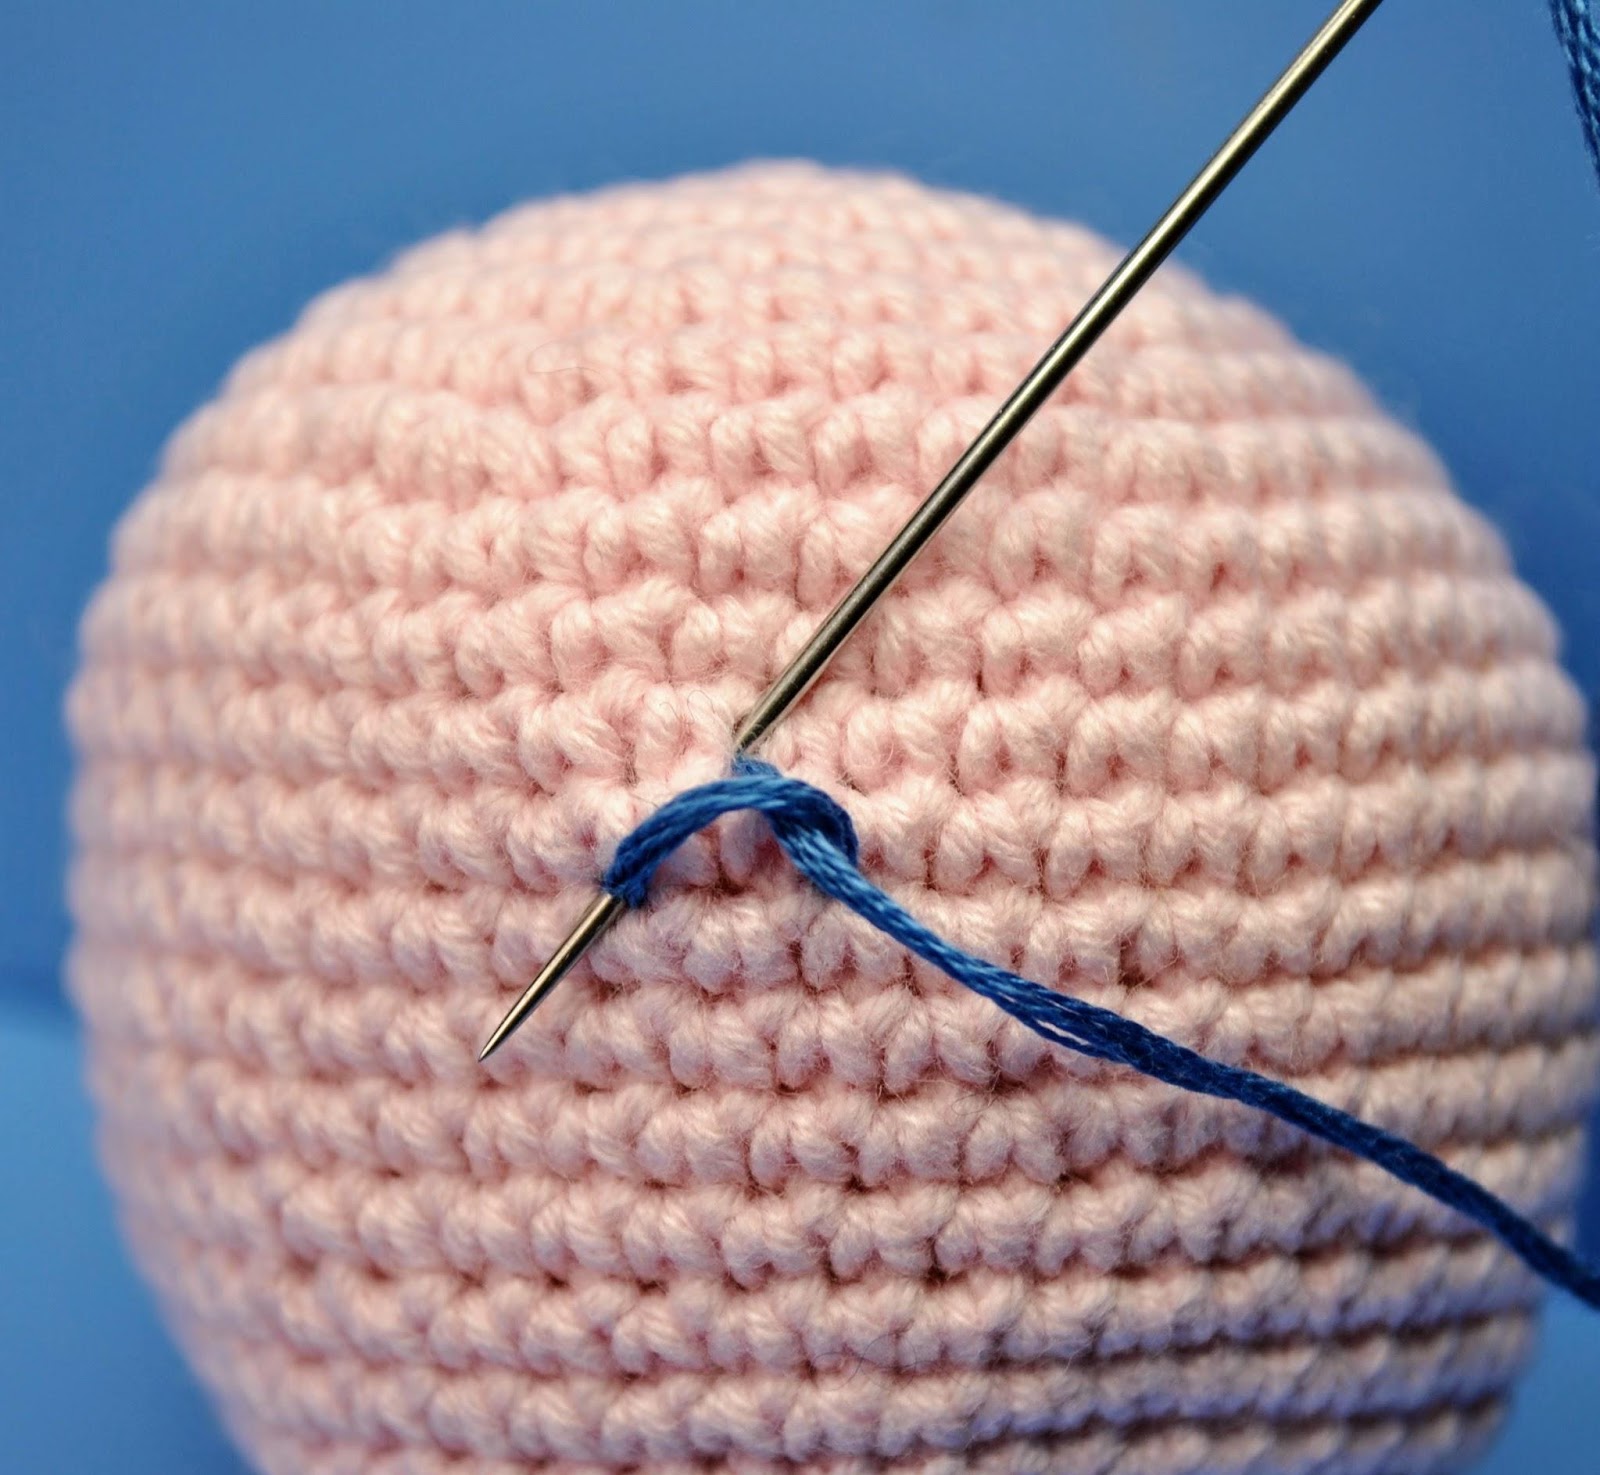
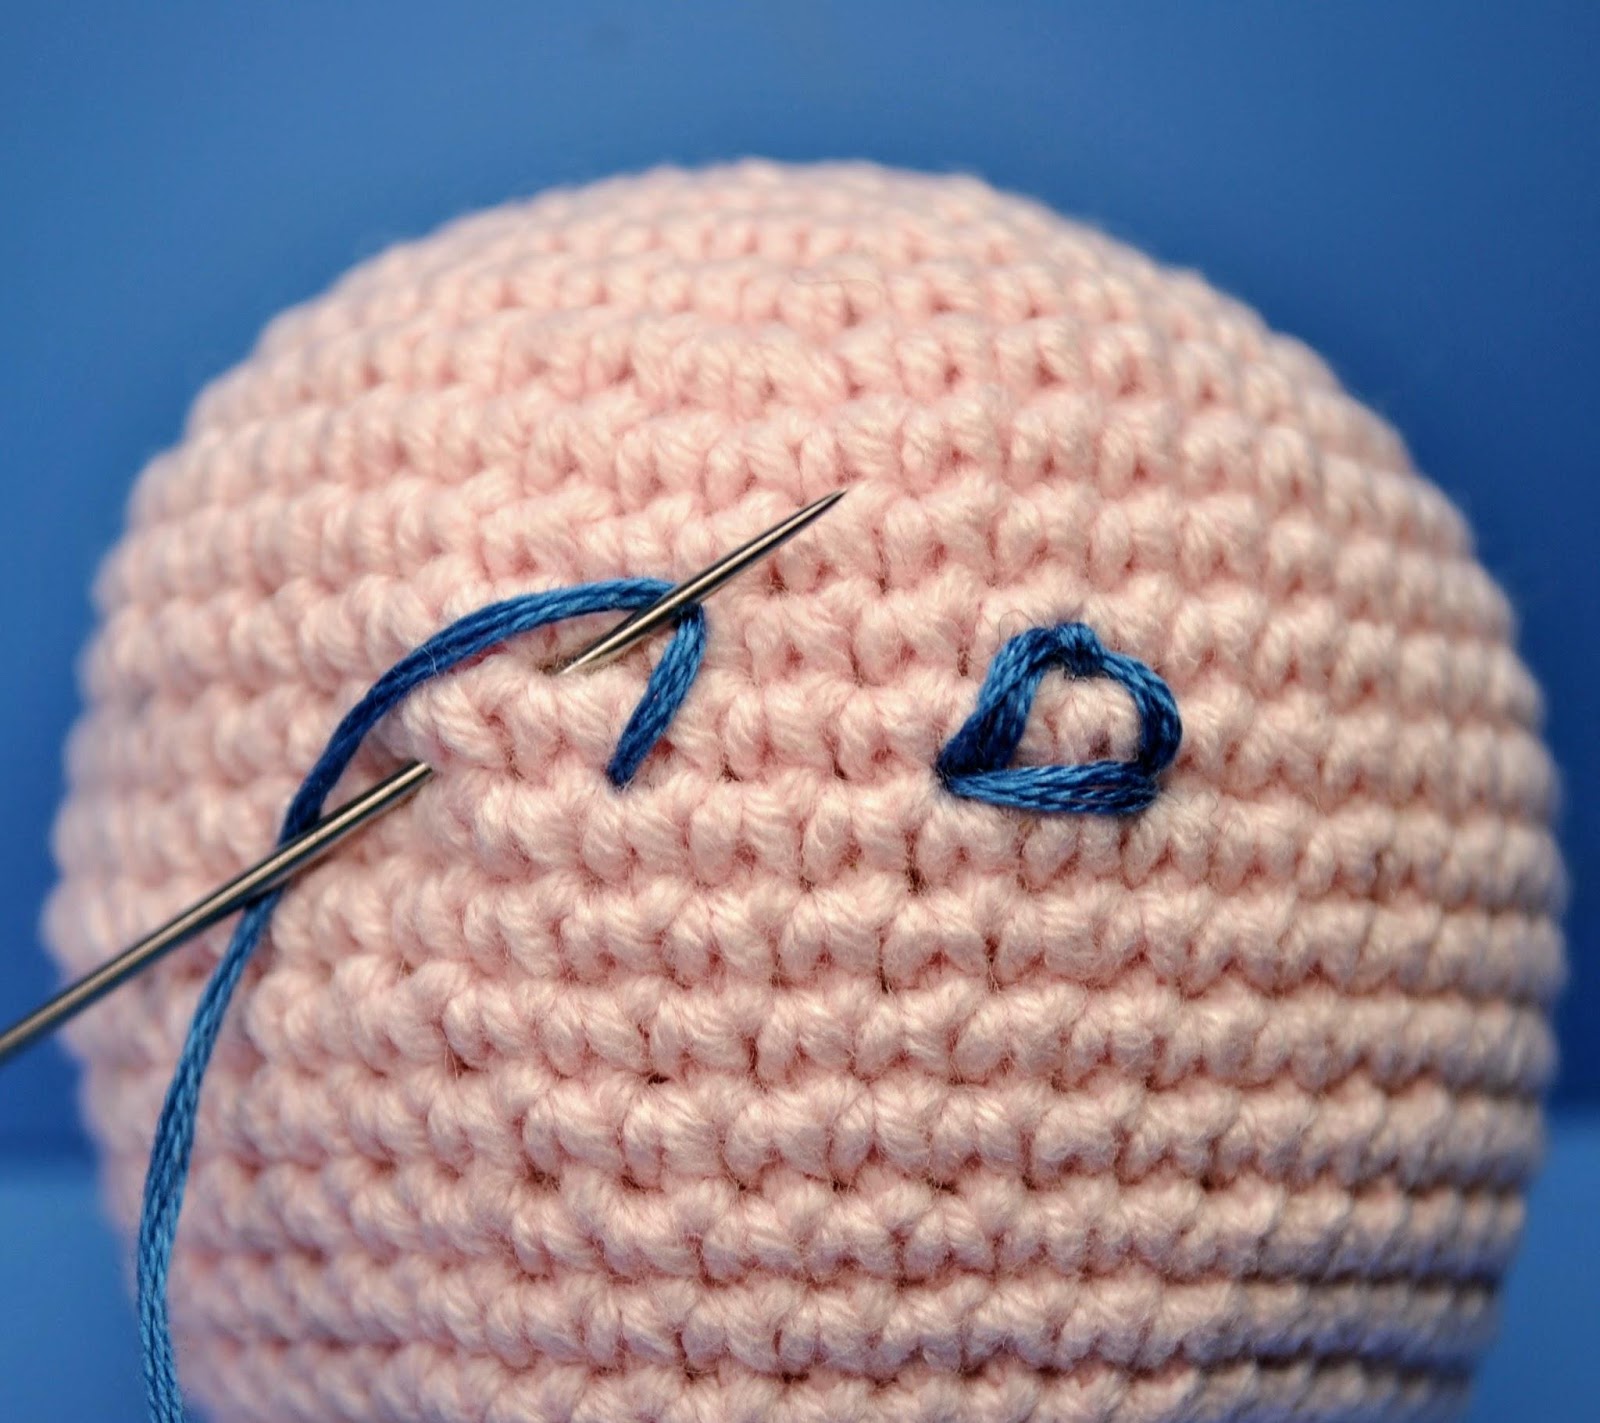
3 Put the resulting stitch over the needle and pull the thread.

point


Fasten both threads at the back of the head with tiny stitches. For the Dog, you can make them on the neck, under the collar. For another doll use such places as a line sewing the ears or head. Hide the tails of the threads inside the head.
About the thickness of the embroidery thread. Use as many thin threads as you need for your doll. For my dog I used 2 ply threads. To fill the pupil completely, you may need a 3 ply thread.
Note: In my opinion, the embroidered eyes are suitable more for dolls crocheted of fine yarn. For dolls crocheted with hook more than 2 mm, it is better to use crocheted eyes.
This is great. Thank you
ReplyDelete