Look for

Wednesday, November 8, 2017

A doll in technique 'wrong side outward' (3)

So, my doll project is little by little moving forward. Now this girl got her breasts and (how to say it in English politely?) ... butt cheeks?


DSC_0619.JPG

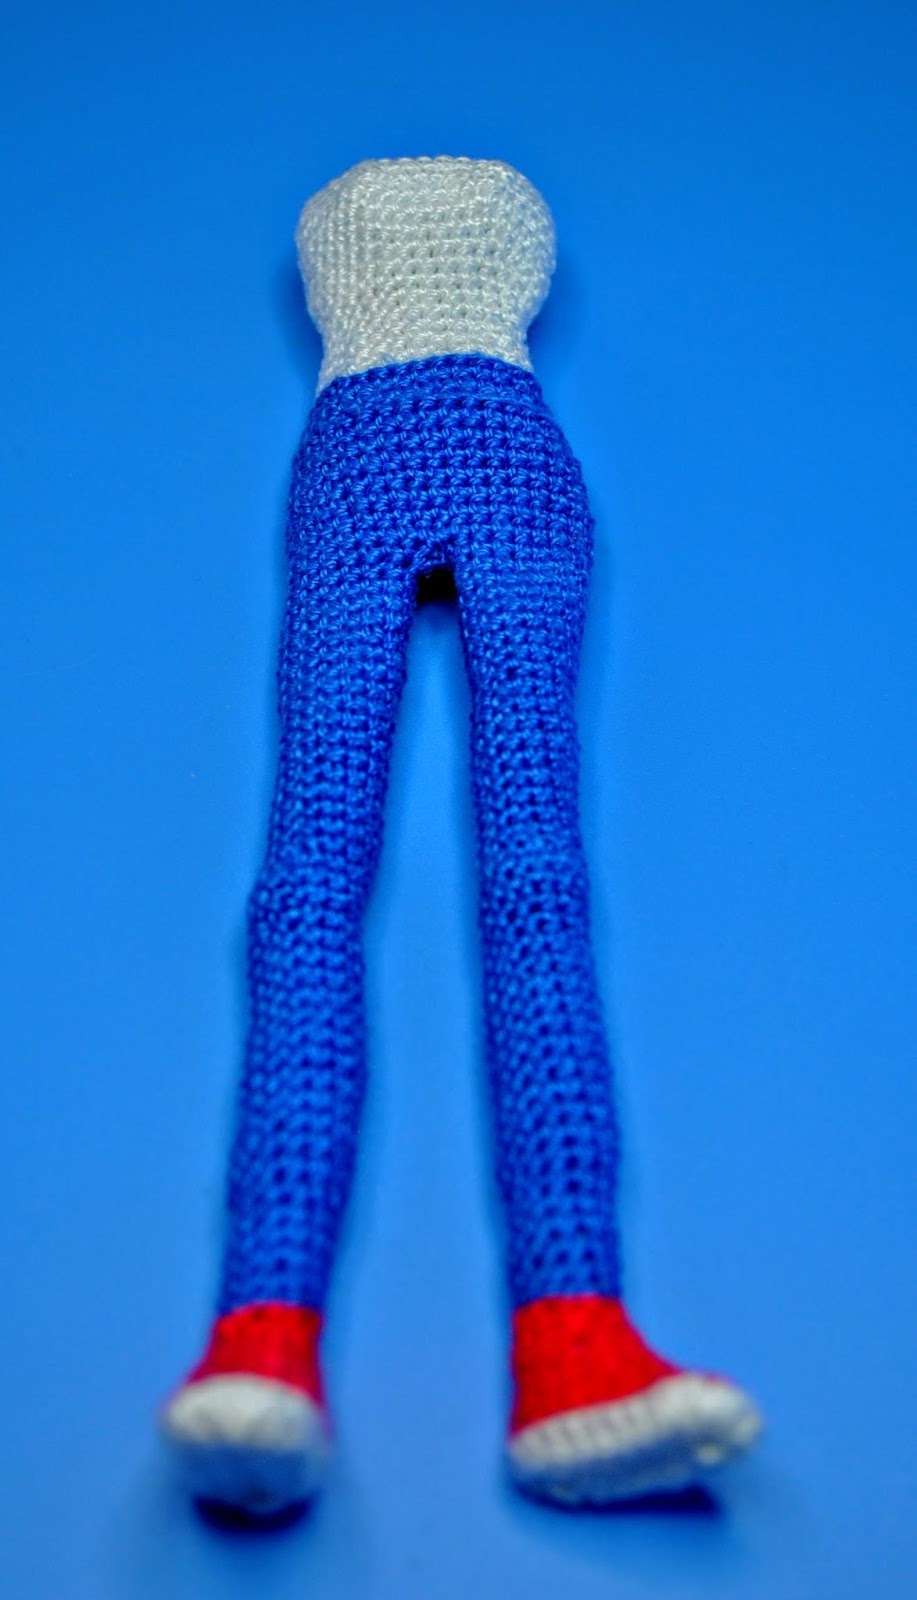
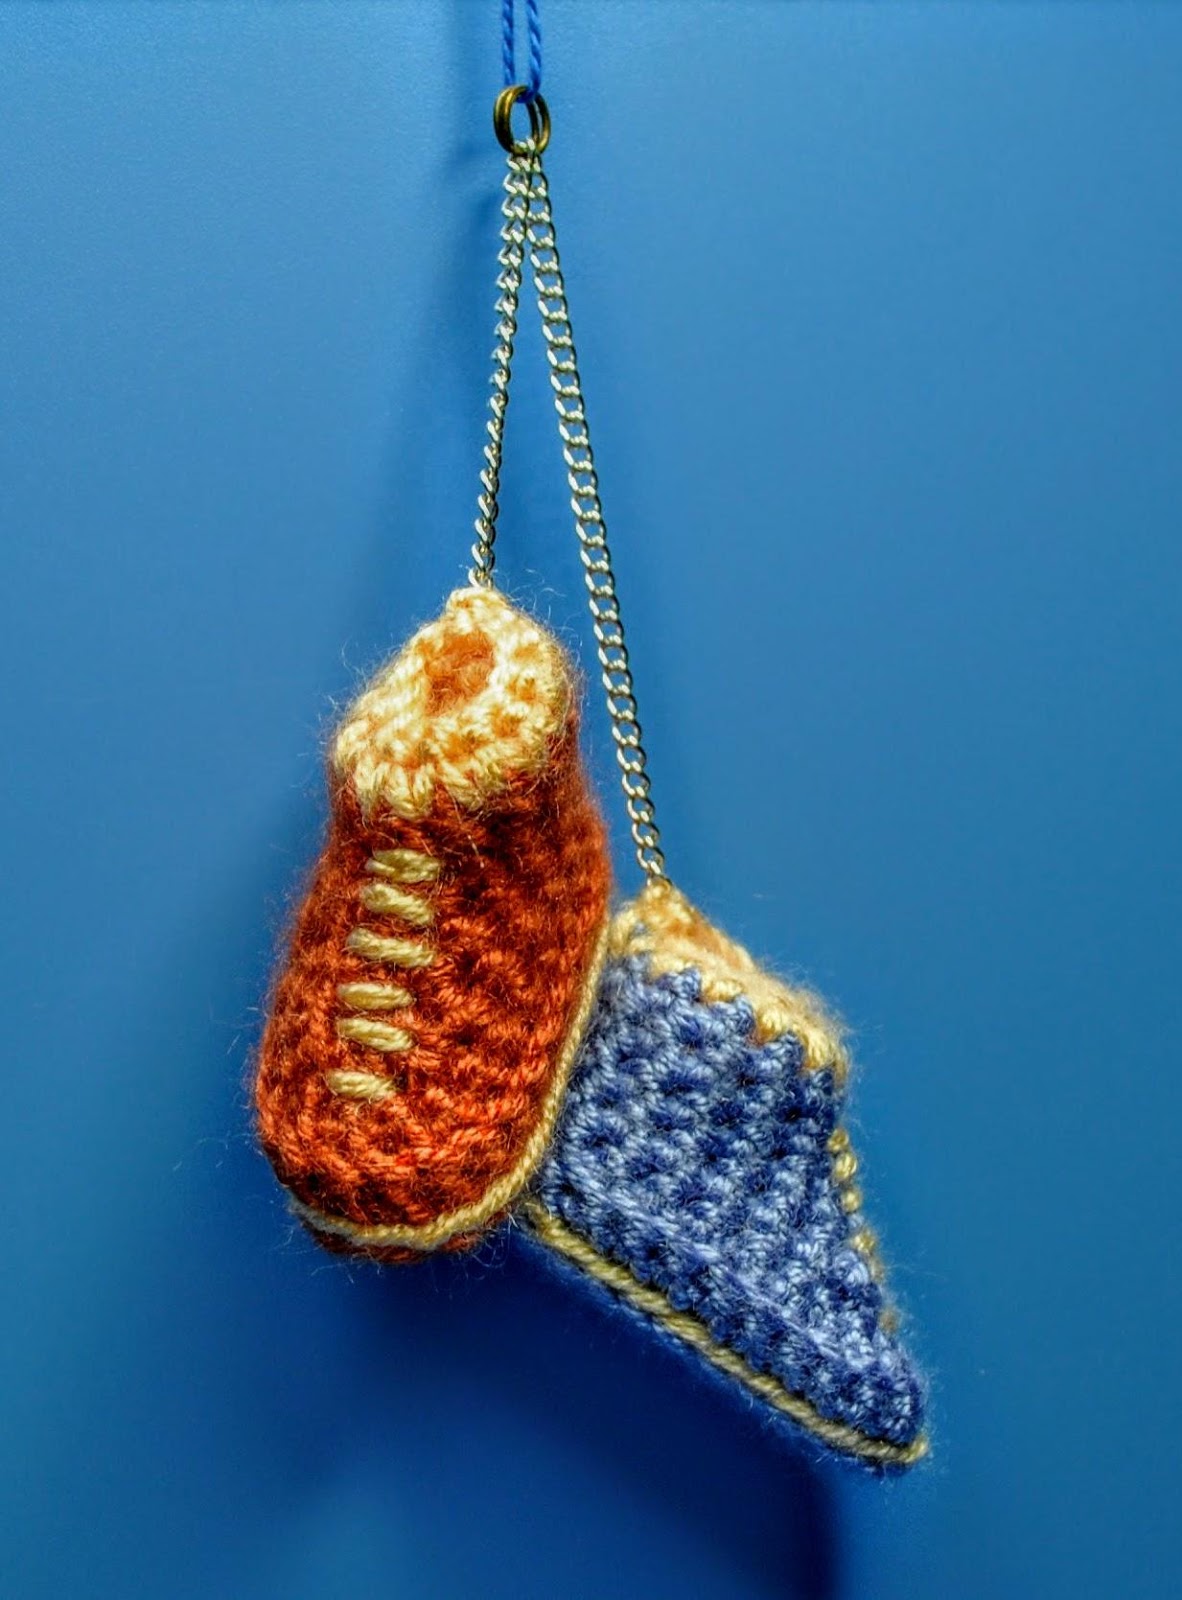
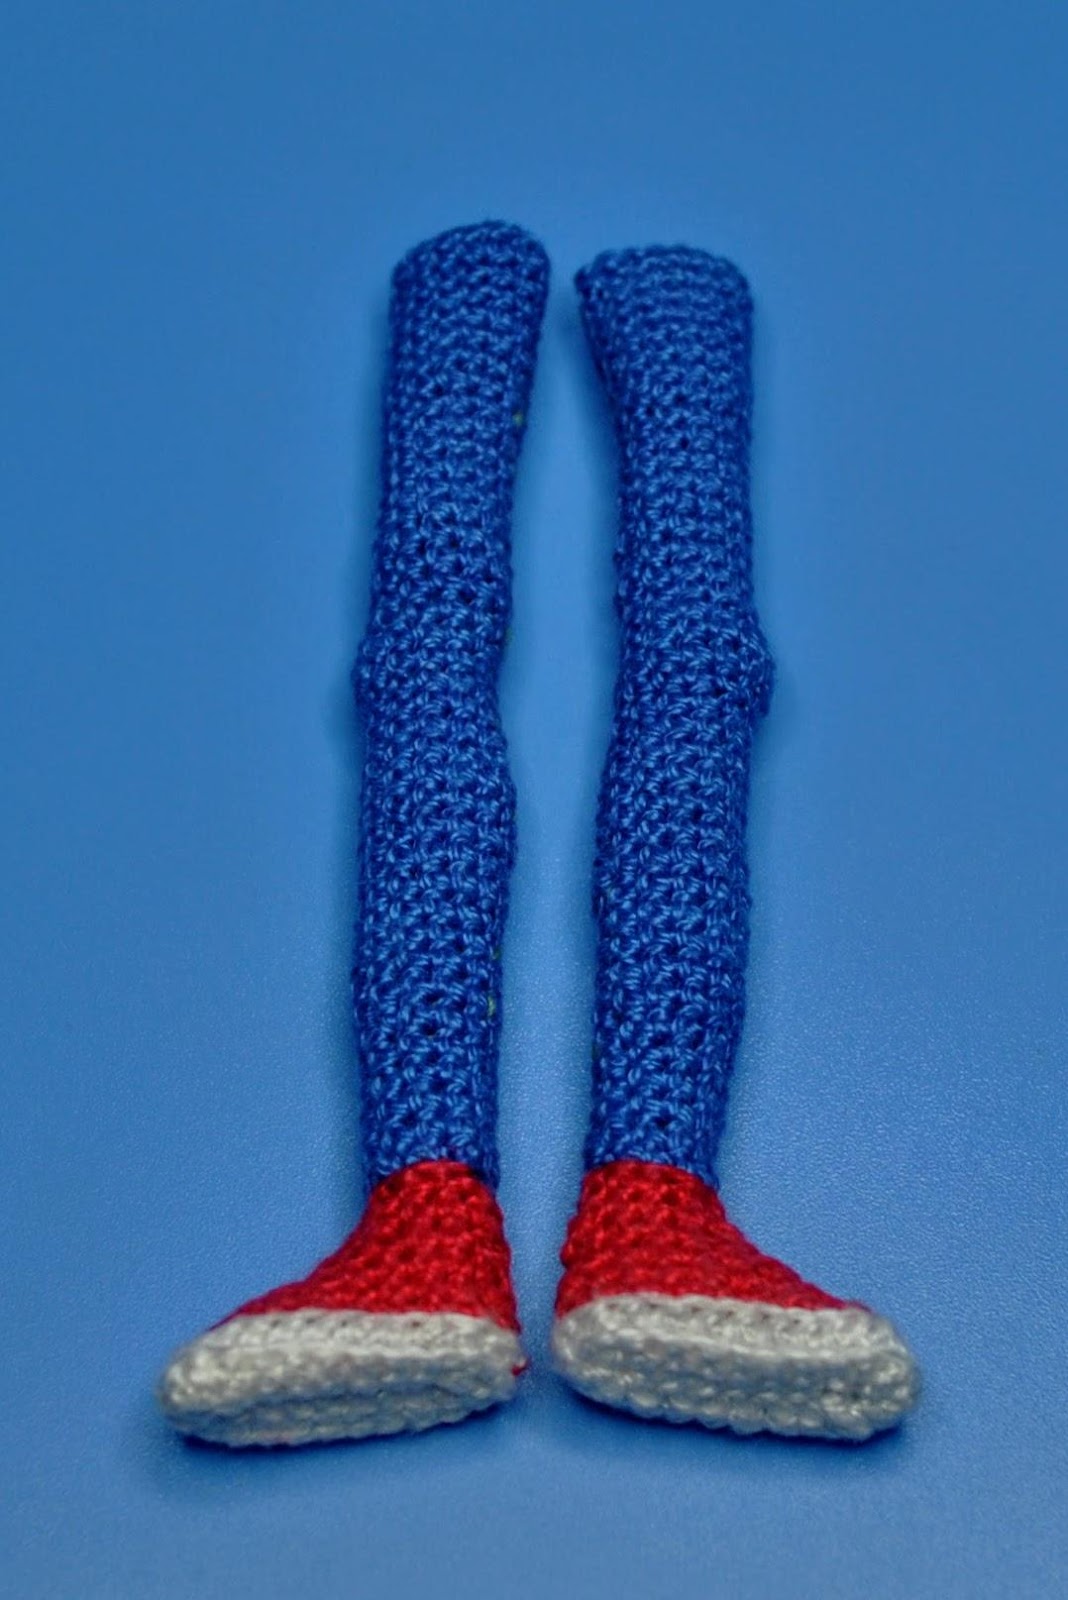
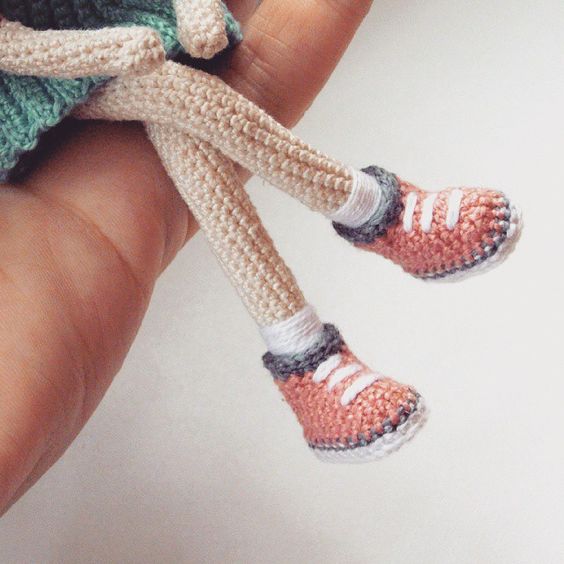
On the photo it is not visible, but one leg turned out bigger than the other because I decided to make new leg instead the first failed attempt, but could not make exactly the same size of foot insole.
In addition, the new leg is also a bit longer. I do not want to remake the legs again. I think that a filler and a wireframe will solve this problem. For example, my right leg is also a little bigger than left one, I do somehow live with it ... LOL

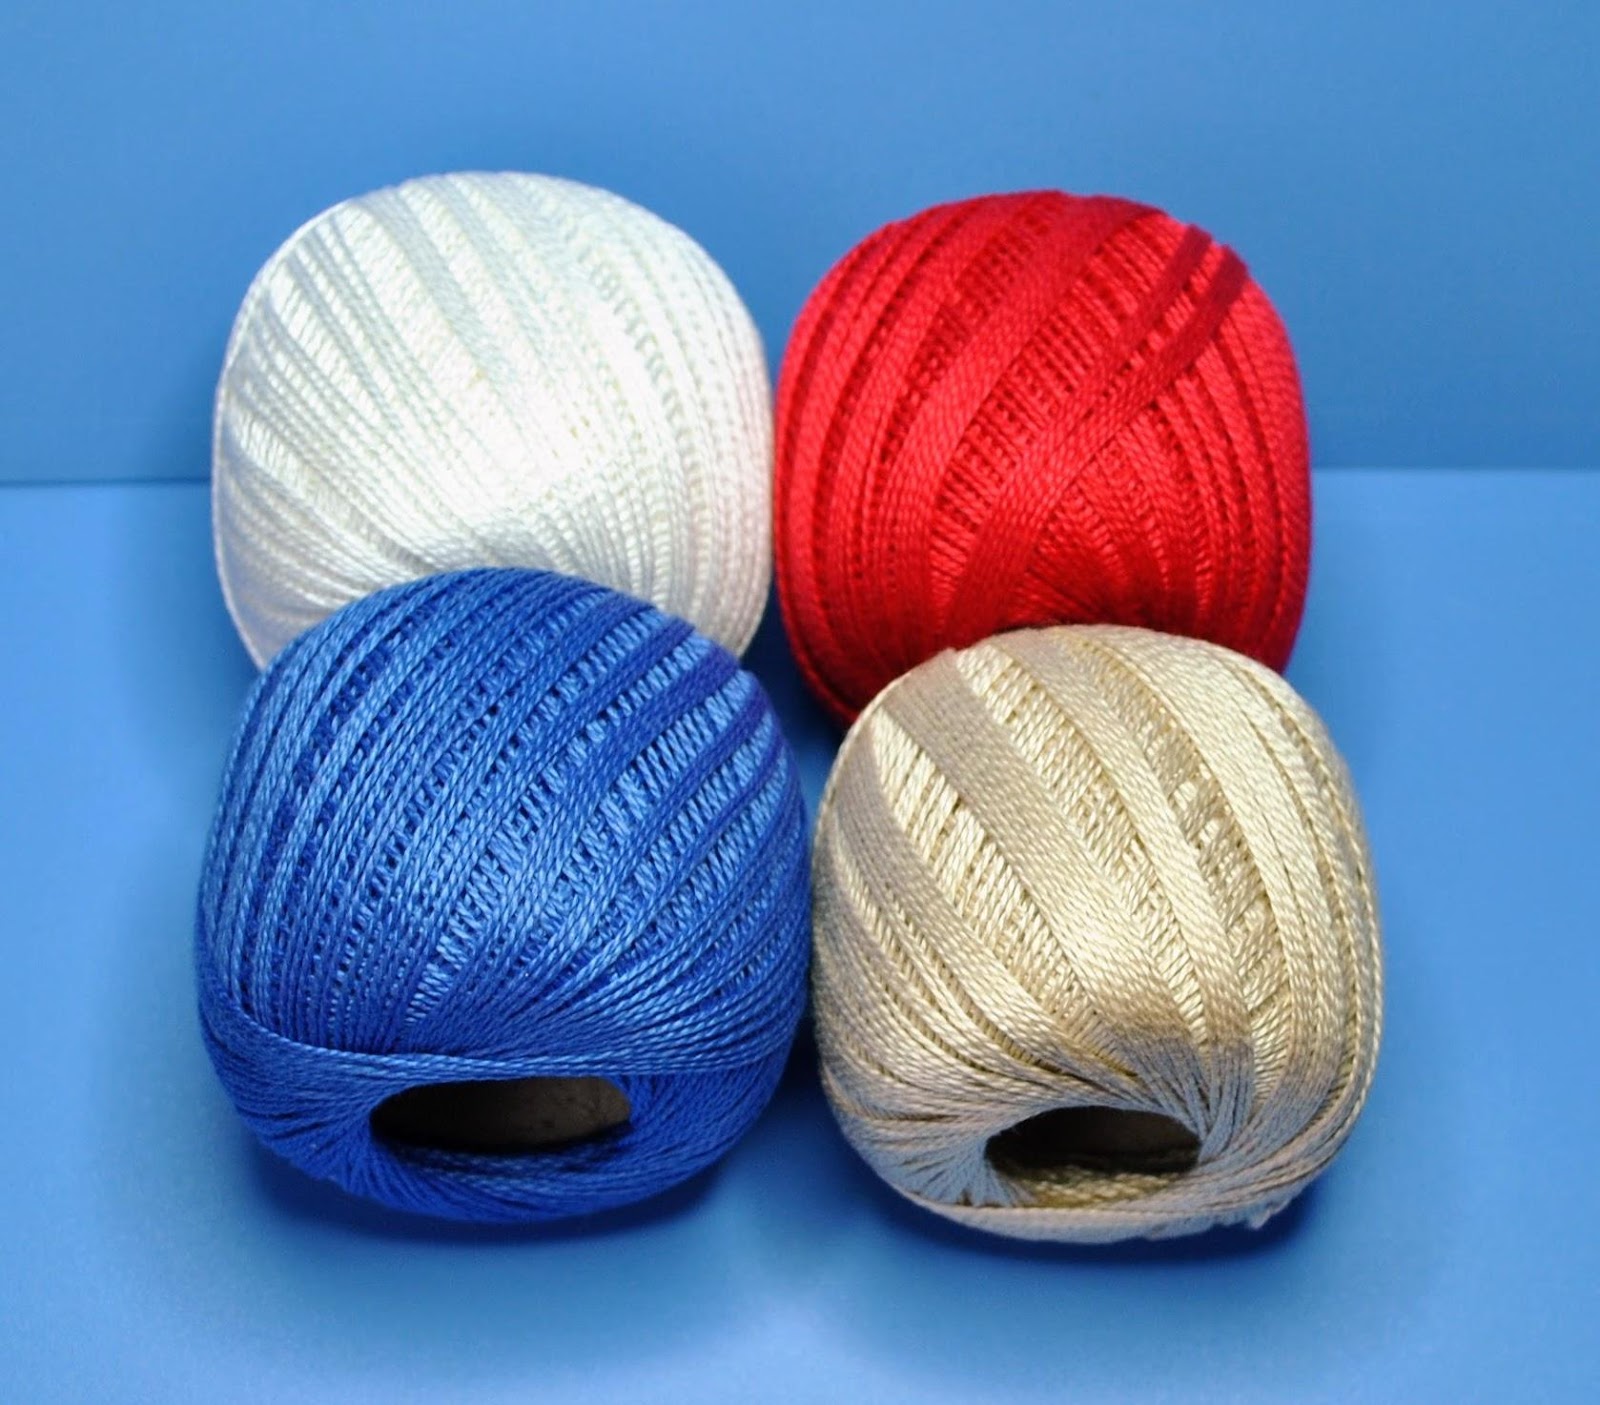
It was really hard to crochet a white T-shirt. White (as well as black) yarn is not comfortable to work at all, and then (I think so), this white thread is a little thinner than blue and red. But I succeeded.

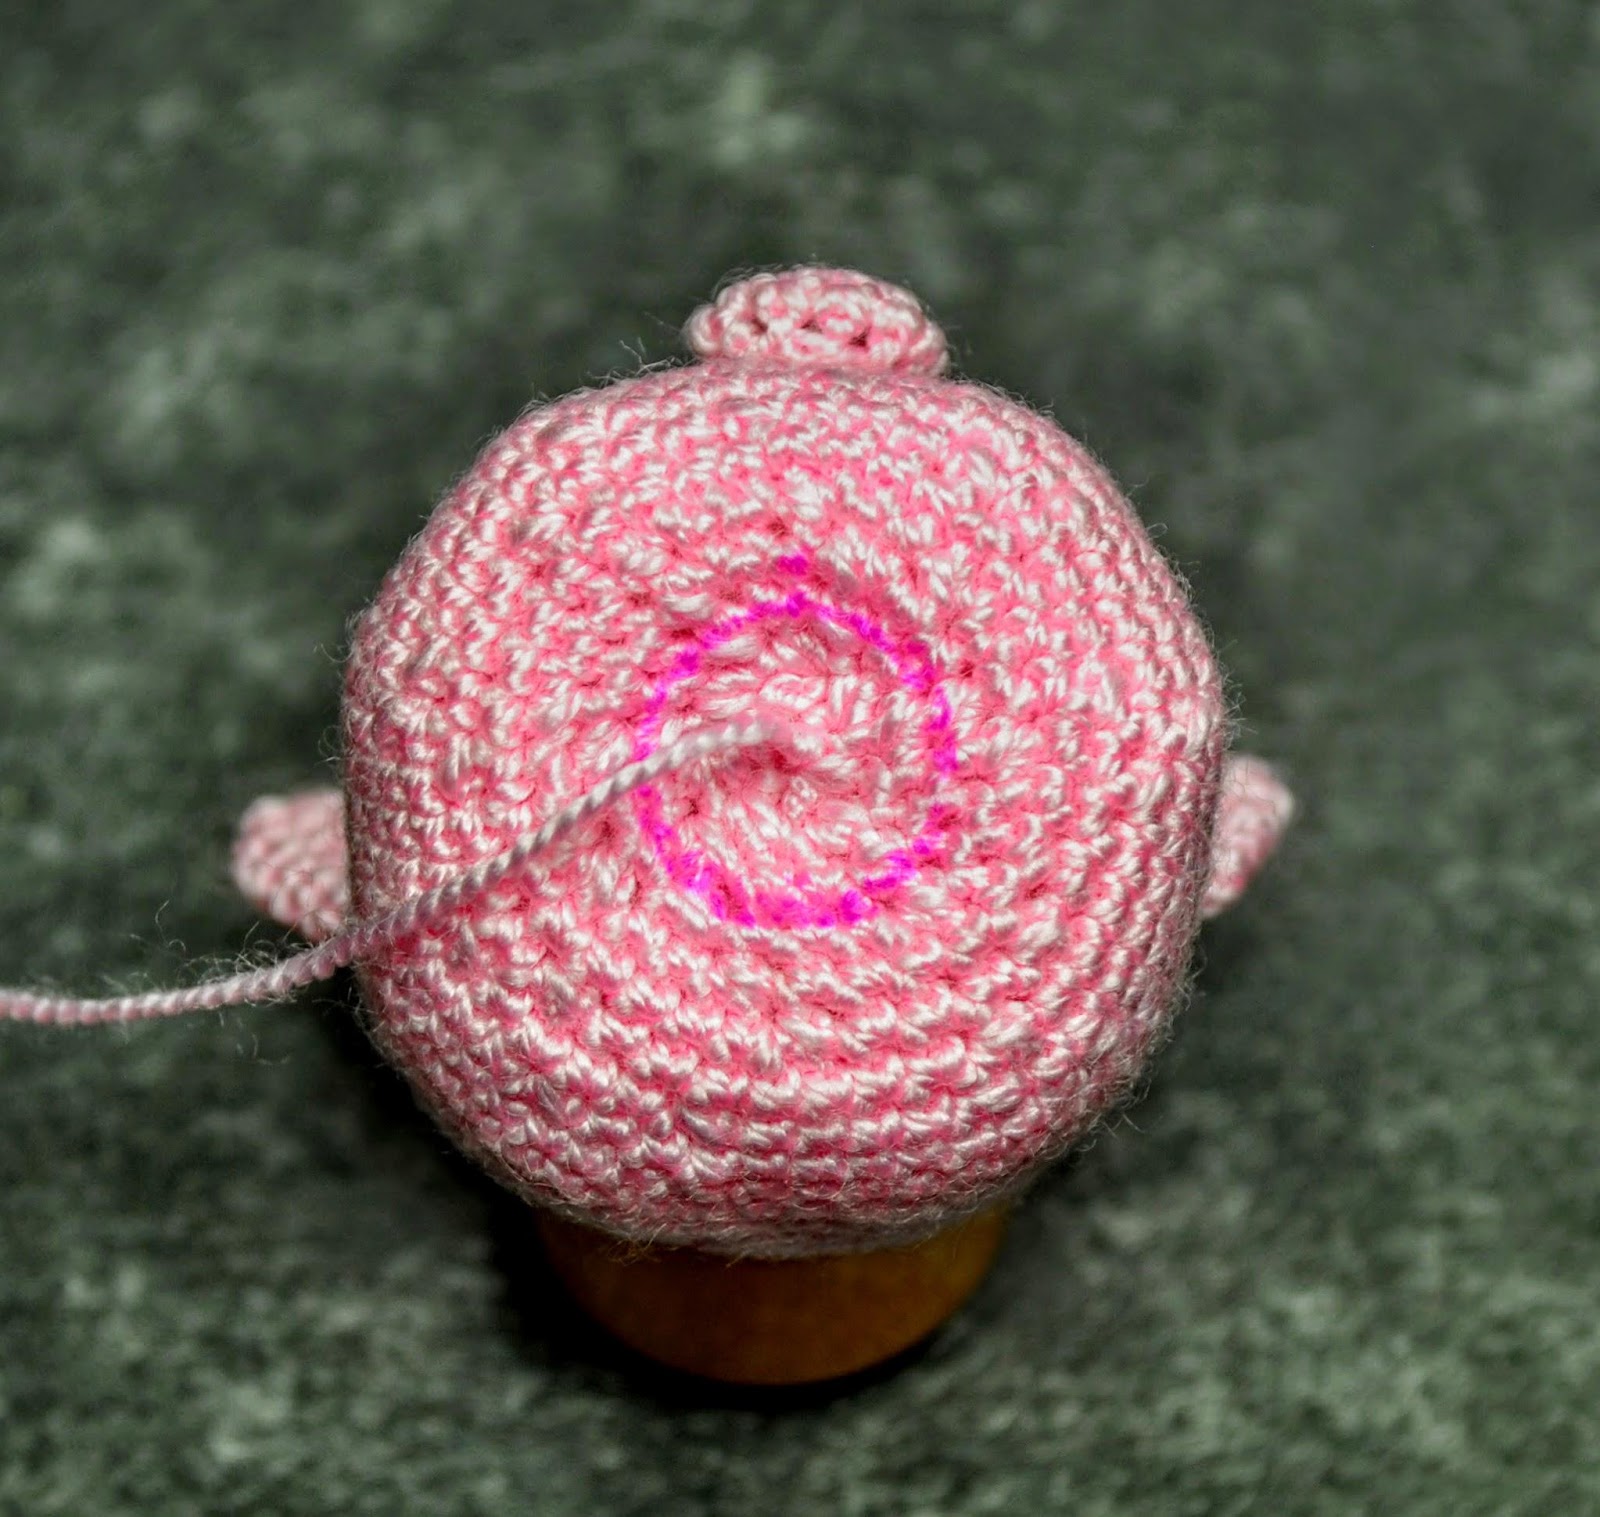
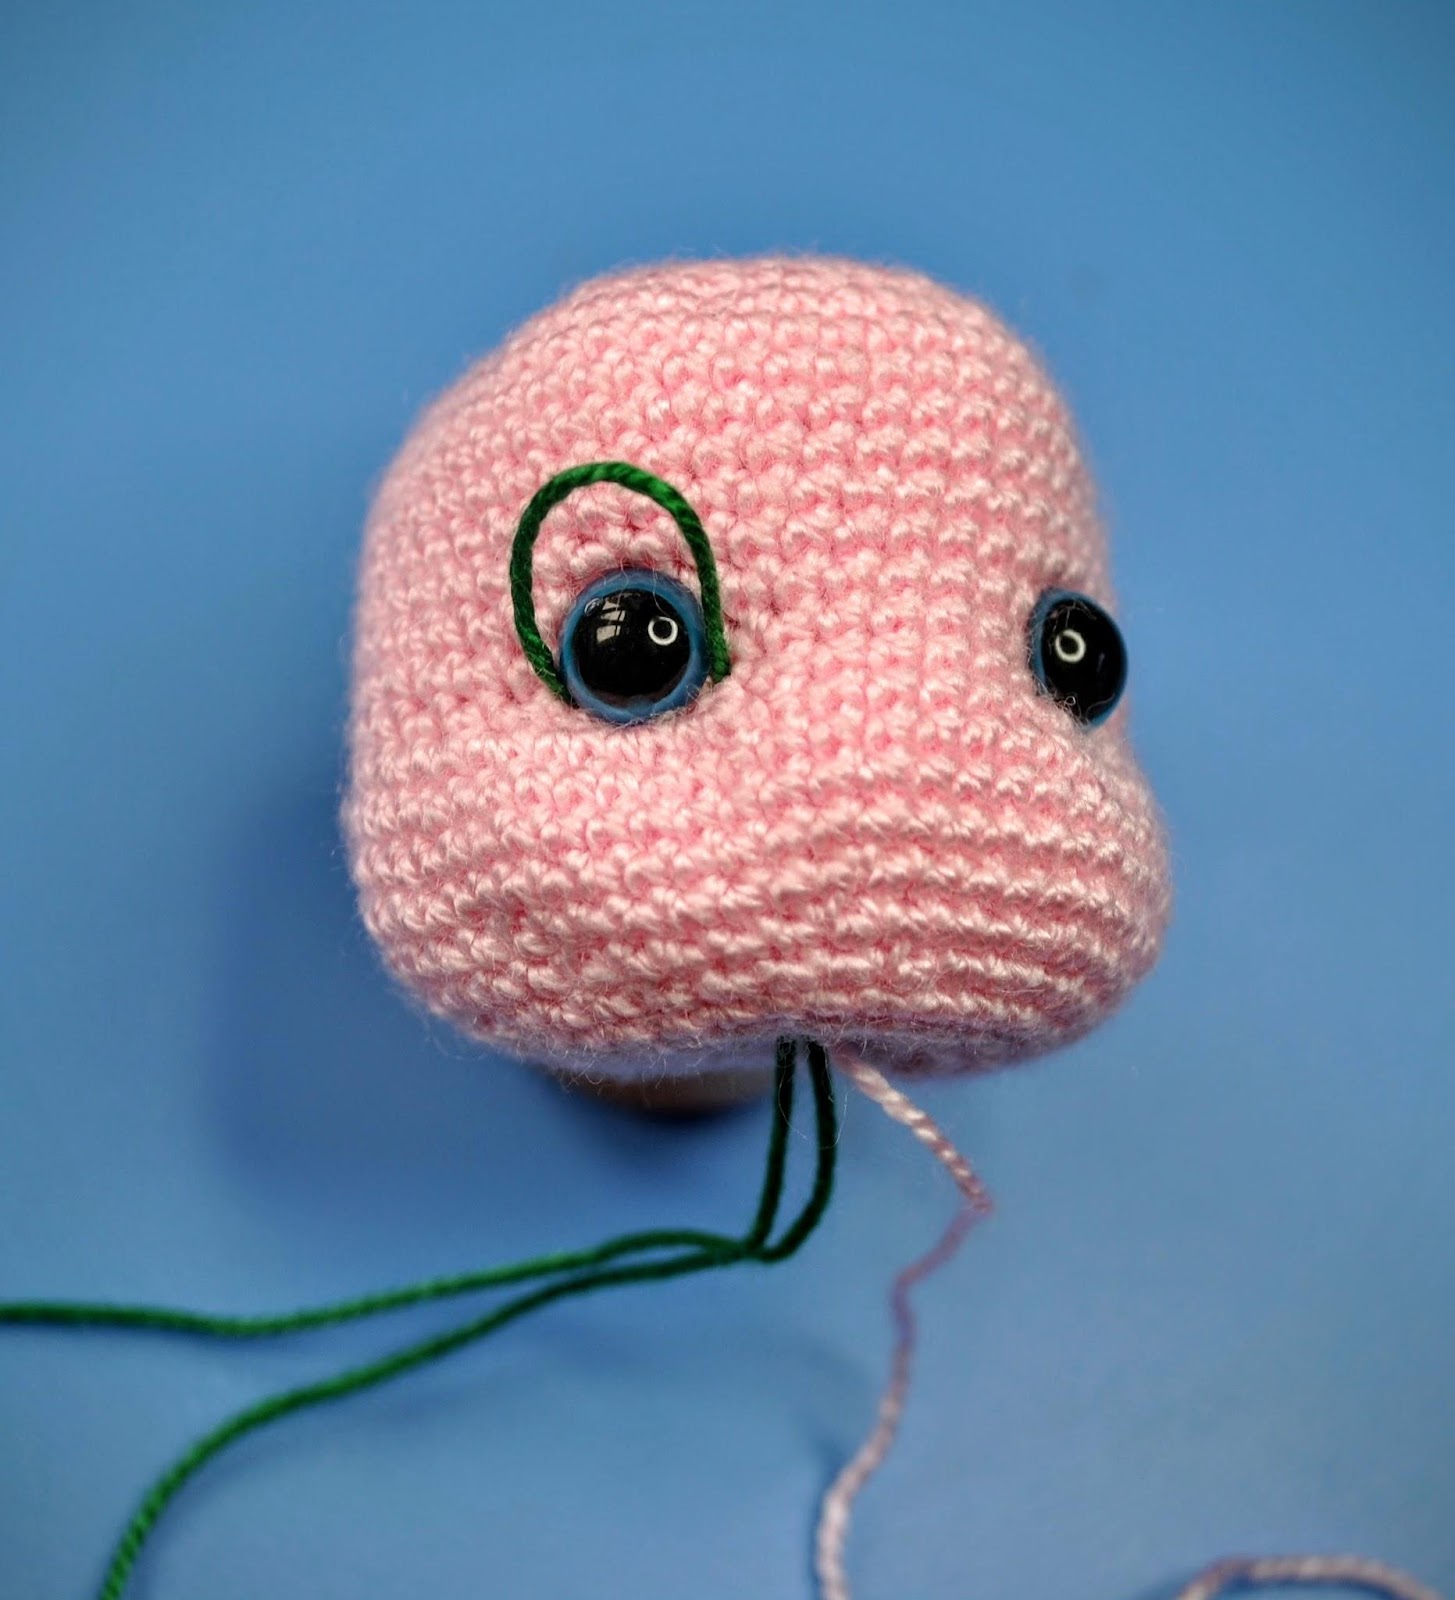
Now a need to make a head. Actually, I already have one copy of the head. But it does not quite like me.

DSC_0573.JPG

This is my first crocheted detail, so the hands turned out not so good as I would wished. Perhaps I'll crochet another upper part. And I will have one more spare head for training in embroidering eyes. This step frightens me most of all because I have not skills on embroidering.

Saturday, November 4, 2017

A doll in technique 'wrong side outward' (2)


DSC_0577.JPG


These are the tiny boot I have made for my doll. Seems I already learned crocheting in technique "wrong side outward".  Now the 'wrong' decreases (when firstly you need to pick up BLO the 2nd st. from the hook and then - the first stitch) are not a problem for me. My crocheting became more even, I have succeeded with tiny loops.


But these boots were not easy work. I did not crochet in non-spiral rounds for a long time, so I forgot HOW and WHY I do not like this type of crochet. Although video-tutorial by Milena is gorgeous and very clear for me, but the words "make a slip stitch into the chain" puzzled me at first: which is the chain stitch I need? And why I always have 1 extra stitch at the end of the round :- (((


At first I struggled with the problem, unweaved and tried to count the stitches more closely. But then I solved this problem fundamentally: I took a more thicker yarn and start to make boot, marking those ill-fated chains with a mark pen. So at the end of each round, I always saw into what stitch I have to crochet the slip stitch.


By the way, I liked the crocheted shoes from acrylic yarn. For training I have made another one, and turned out such a souvenir-keychain.


DSC_0571.JPG


My doll have got such nifty legs. The crocheting was pretty easy. I decided to dress my doll into blue jeans.

DSC_0582.JPG

Tuesday, October 31, 2017

A doll is made ‘wrong side outward’ (1)

So, I started crocheting my wireframe doll in technique 'wrong side outward'.
For the doll I bought this yarn.


DSC_0565.JPG

This is Irish RAM YarnArt, features can be viewed at Ravelry
As I expected, such crocheting is difficult because stitches are tiny. I use a hook 1.25 mm.
I started from doll head. While I was crocheting 'a ball', everything was ok, but making the neck was a little more difficult.
However the most difficult thing was making the shoulders. This is a very clever  way, and for so tiny loops it is really hard to understand what stitches are crocheted.

By the way, I want to share one more my secret. I always use such a special lamp with a magnifying glass for crocheting.


I have even two lamp with glass different degree of increasing.

Now I decided to crochet one more doll from more thicker cotton thread as a work copy. I  found a fit yarn for it in my stash. This thread is a bit thick for doll, but the crocheting is comfortable. Let's see what will turn out.

Now about the technique 'wrong side outward'. The most difficult, as I expected, is an  invisible decrease. According to this method decrease is also 'wrong' ;-) . First is necessary to pick up the back loop of the second stitch from the hook, and then come back to the first stitch. In that time the second loop tends to jump off the hook. Yes, it's not easy, but I am sure I'll eventually reach success.

Moreover, it is much more difficult to make such decrease if yarn consists of several threads. I tried two more kinds of acrylic yarn, it’s just a nightmare!

By the way, very interesting to compare size of heads made from different thickness yarn   (2 on the left are from acrylic, 2 on the right are from cotton).


DSC_0562.JPG

Tuesday, October 24, 2017

Crocheting in ‘a wrong side outward’

It seems quite easy: we can crochet in rounds as usual, then will turn wrong side of our ami outwards. And, for example, such a pretty cup of tea turns out (the pattern by magic filament) .


чашка по изнанке.jpg


Unlike such a simple amigurumi from lush acrylic yarn, these dolls below are made of thin cotton yarn and look quite differently (made by Mint Bunny).

образец1.jpg
образец2.jpg
образец3.jpg
образец4.jpg


Are you thrilled? And it's natural, I felt the same! I was shocked and excited.
I very seldom like crocheted dolls, although once I made two simple options, but was not happy with what turned out.


These cuties have caused me a strong desire to crochet something similar. I believe the work on such dolls will improve my level of crocheting and designing.


So now I plan to stock up with a thin cotton thread and to practice crocheting in 'a wrong side outward'. Of course, such perfect dolls as at the photos above are too much difficult for me now. But I found the great video tutorial by Handmade by mrs. Owl and I'll make The Pikachu girl for a start.
https://youtu.be/jNHpfPEkN3M


Anyone interested can follow the process of crocheting on my facebook page Ella's crocheted toys or in this blog. Fortunately, the author (mrs. Owl) is a generous person: she is a Russian-speaking lady, but she added English subtitles. In addition, she eagerly answers questions on YouTube and Facebook.

Monday, October 23, 2017

Secret of crafting: Cross Stitch Single Crochet


One day I noticed the crochet texture of some amigurumi dolls is different from my own toys.
For example this Teddy bear (it's taken from here a little processed for clearness)


мишка крестиками2.jpg


I guessed that the difference was in the method of making sc-stitch, but I had to google a little to find out the details.
So, if this method is still not familiar for you, we will learn to make cross stitch single crochet in rounds.
The first video is in English, the second one is in Russian.


Of course, for many dolls it does not matter which method was used for sc. I believe that crocheting with cross stitches is a bit more thick than regular sc. Any doll made using with cross stitch sc, from light-coloured and fluffy yarn, looks great because the unusual crochet texture is well visible.

I would be interested to know your opinion on this method.

Sunday, October 22, 2017

Sculpting an amigurumi face through an opened neck hole

This is a video tutorial in Turkish with my explanations in English.


So, this is my third post on sculpting of a doll face. Those who are interested in this topic, you should first read my previous publications here and here.


At the end of the second tutorial, I promised to share an interesting video about sculpting. But please be aware that I do not understand Turkish speaking.


In addition, I would like to make a few comments about this video (unfortunately, at this moment I don’t have any opportunity to make my own illustrations for this method).

So first watch the video, at least the first 2.5 minutes.


Of course, you already have understood the main difference between the last method and the first two.


Author use a flat button with 4 holes. The requirements to this button are:
1. It must pass through the neck opening.
2. It must to be wide enough in order to not sink deep inside the filler.
3. It must be easy in order that it won't add weight to doll’s head.


I think such button can be replaced with a rounded piece of solid plastic with 4 holes. Before the sculpting you need to fill the head. Everything else is done according the video.


But I would like to make one more note to this video. I absolutely don’t understand why the author makes the sculpting AFTER attaching eyes. And as result under the ready eye is seen an ugly big sewing stitch. Of course, the sculpting should be done BEFORE attaching eyes, if that are glued or embroidered eyes. For safety eyes, in my opinion, it is better to use the second method, that is to pass the sculpting thread above the leg of the safety eye.


I think, what to do when a head and a body are the whole detail according to your pattern, you can guess. Just fill your doll as usual over the button in process of crocheting.


This is all I wished to share about the sculpting of doll's face. Good luck to you, let your amigurumis will be great and will give pleasure to you, your family and your customers.


In the future I plan to learn different types of crocheting texture. I discovered that some other masters make a single crochet in different way (it's not about BLO and FLO).

That's why the outer texture of their dolls is slightly different as well. If you are interested it, you can subscribe to my facebook page Ella's crocheted toys .

Saturday, October 21, 2017

Secret of crafting: Sculpting of amigurumi face

Today I wish to share my little secret of craft. Usually I do not crochet human dolls, so the process will be shown  on animal amigurumi.
One of my first creations are these cute little piggies.


DSC_0994.JPG


Their bodies are crocheted in different ways, but the heads are similar (the pattern is available here).
I'll tell you how to make sculpting for the pig's eyes.


Unlike the previous tutorial, I never make the sculpting in the open finishing hole. Seems to me that:


1. such sculpting makes a filling structure too uneven;
2. over time the thread sinks through the filler deeper inside the head and the sculpting becomes less visible.


I crochet a head, making decreases to 6 loops in the last row, then I pull the thread through the remaining loops and close the hole.


I use a needle and the head yarn. But my needle has to pass through the last round's stitches (the body will be sewn to this side) and come out to the place where the eye should be.


DSC_0775.JPG


I make a sewing stitch 2-3 loops long and pull the needle out on the lower side, at a distance of 1 loop from the beginning tail of the thread.


DSC_0783.JPG


I need to tighten the thread well, tie the ends and hide them inside.


DSC_0748.JPG


I repeat the same for the second eye.
My way looks like the method in the previous tutorial. However there is one difference: my thread will never sink inside the filler, but on the bottom of the head in the center is formed a small dimple. Before attaching the body I mark the sewing circle around the finishing point with a disappearing marker. Its diameter should fit to the opening of the body.


DSC_0869.JPG


Note: You may need to crochet one extra round of the body, so that the neck does not seem too short.


By the way, maybe you remember I already shared my favorite method of sewing the doll's part. For those who prefer a video tutorials, I recommend to watch this. It's not mine video (that skill I still did not learn ...LOL), but the process is shown perfectly.


Perhaps, you have the right question: what should you do if you used safety eyes and already have installed them? I answer: work everything exactly the same, but make the sewing stitch over the leg of the plastic eye (I use a contrast thread only for visibility).


DSC_0006.JPG


And you might ask: if the pattern say that a head and a body are the whole part? Really is it necessary to change a comfortable pattern for the sculpting?
I can answer : No, it isn’t!   Recently I have discovered an interest way to solve this problem in video tutorial on YouTube. It's in Turkish and there are a loooooot of unclear words in it. But this method is fairly simple and effective (it seems to me). So I need to work on this tutorial, and I promise to share it later.

Wednesday, October 18, 2017

Tutorial on Face Sculpting by Tatyana Meshcheryakova

I present to you this magnificent tutorial by a russian crafter Tatyana Meshcheryakova. It does not include a lot of text, but there are many step-by-step photos.


To make understanding easy for you, I made an English cheat note for the head pattern (although I do not think it's necessary to crochet just such a head) and two paragraphs of the description.


Head
1 round – 6 sc in magic ring (6)
2 round – 6 inc (12)
3 round – (1 sc, 1 inc) – 6 time (18)
4 round – (2 sc, 1 inc) – 6 time (24)
5 round – (3 sc, 1 inc) – 6 time (30)
6 round – (4 sc, 1 inc) – 6 time (36)
7 round – (5 sc, 1 inc) – 6 time (42)
8 round – (6 sc, 1 inc) – 6 time  (48)                                 
9 round – (7 sc, 1 inc) – 6 time (54)
10 round – (8 sc, 1 inc) – 6 time (60)
11 – 21 rounds – 60 sc
22 round – 12 sc, 6 inc, 11 sc, 6 inc, 25 sc (72)
23 – 28 rounds – 72 sc
29 round – (10 sc, 1 dec) – 6 time (66)
30 round – (9 sc, 1 dec) – 6 time (60)
31 round – (8 sc, 1 dec) – 6 time (54)
32 round – (7 sc, 1 dec) – 6 time (48)
33 round – (6 sc, 1 dec) – 6 time (42)
34 round – (5 sc, 1 dec) – 6 time (36)
35 round – (4 sc, 1 dec) – 6 time (30)
36 round – (3 sc, 1 dec) – 6 time (24)
37 round – (4 sc, 1 dec) – 4 timeа (20)
38 – 40 rounds – 20 sc
Fasten off, cut the yarn


Sculpting for eyes
I use the same thread I have crocheted. Put the needle inside through the neck hole and get it out 1 round above the 6th increase of the 22nd round. Make a sewing stitch of length 2-3 loops. Get the needle out through the hole. Pull the thread (not tightly), knot the ends of the thread.


Make the same for the second eye. Put the needle inside through the hole, but bring it out one round above the 7th increase of the 22nd round.


For the sculpting of a nose I use a sewing thread. You can use also dental floss or monofilament of your choice. Mark the outline with pins. Top pins set approximately between 17 and 18 rounds. The distance between them is 6 loops. Place the lower pins between 26 and 27 rounds. The distance is 8 loops. Then work according to the photos. In the process, after each sewing stitch tighten the thread a little, trying to form a nose.

Monday, October 16, 2017

A small dictionary for translating Russian-language patterns

From time to time I see in amigurumi groups requests for english author versions (or translations) of russian-language patterns. As you know, to translate any pattern (even free one) into another language without permission of its author is a violation of copyright. But, unfortunately, the authors rarely respond to such request for translation. And Google Translator does not help in this case, because there are a lot of special crocheting terms and abbreviations, so such translating comes out just awful.


To solve the problem, I share a small dictionary of "Russian crochet language" (such an english-russian dictionary has very much helped me once).


Here you will find a list of abbreviations and russian crocheting terms. The list is based on several popular Russian-language patterns that do not have the english versions.

Dear amigurumi crocheters!
If you have any problem translating any Russian-language pattern, you can ask for help on my Facebook special group "Help with russian pattern". As well you can find here many interesting russian patterns in english.


Условные обозначения:
Abbreviations:
СС = сс = соединительный столбик
a slip stitch
ВП = вп =  в.п. = воздушная петля
a chain(s)
СБН = сбн = ст. б/н = столбик без накида
a single crochet
ПСН = псн = пссн = полустолбик с накидом
a half double crochet
С1Н = с1н = столбик с 1 накидом
a double crochet
УБ = уб = убавка
a decrease(s)
ПР = пр = приб = прибавка
an increase(s)
п/петля (задняя или передняя)
a loop of stitch (back or front)
пропуск = пропустить
to skip stitch
поворот = повернуть
to turn


пр*6 = (приб) - 6 раз = прибавка повторить 6 раз - (1 increase) repeat 6 times
уб*6 = (уб) - 6 раз = убавка повторить 6 раз - (1 decrease) repeat 6 times


3 сбн вместе - 3 sc crochet together
4 шт. - 4 pieces


без изменений - no change, to work even


вяжем прямыми и обратными рядами - to crochet in back-and-forth rows
вязать = провязать= вяжем = вяжите - to crochet
вязать по кругу - to crochet around
вышить - to embroider


замкнуть в кольцо - to make a ring
закрыть = закройте - to close up (usual about the finishing hole of round detail)
закончить - to finish, to fasten off, to work off


нам потребуется - we (will) need
нить = пряжа - a yarn, a thread
набрать 4 вп - to pick up 4 ch
начать во 2ую вторую от крючка петлю - to begin into the 2nd stitch from the hook
набивать = наполнять = наполнить = набить наполнителем = заполните - to fill, to stuff with a filler


повторить - to repeat
пришить - to sew
присоединить = прикрепить - to add (about yarn), to attach (about parts of doll)
проволока = проволочный каркас - a wire frame


стянуть = стягиваем - to pull, to tighten
сменить нить на ... -  to change your yarn color to ...


оборвать нить - to cut off the thread (yarn)
оставить нить для пришивания - to leave a tail (of the yarn) for sewing
обвязать по краю - to crochet along the edge
обвязать сбн вдоль ... - to crochet sc-row along ...


р, ряд - a row, round


утяжка = утяжки - (to make) sculpting