Recently I read about a new way to make doll hair. I decided to check it and found one
big mistake: the hair can be easy pulled out when drawing out an end of yarn. So I tried to
big mistake: the hair can be easy pulled out when drawing out an end of yarn. So I tried to
find some method that would help to solve this problem. And this is what I came up with.

But, as they say "There is no perfection in the world". And this method also has
a problem. This hair is attached during the process of crocheting the doll's Head, so you
need to know where exactly on the Head you want the hair. And after filling the Head
it's impossible to add more hair (in the same way). Although, you can remove excess hair.
need to know where exactly on the Head you want the hair. And after filling the Head
it's impossible to add more hair (in the same way). Although, you can remove excess hair.
So, how is it done?
Crochet the top of the Head, prepare pieces of yarn for doll hair. For clarity the first
2 pieces of the yarn on the following photos will be of different colors .
2 pieces of the yarn on the following photos will be of different colors .
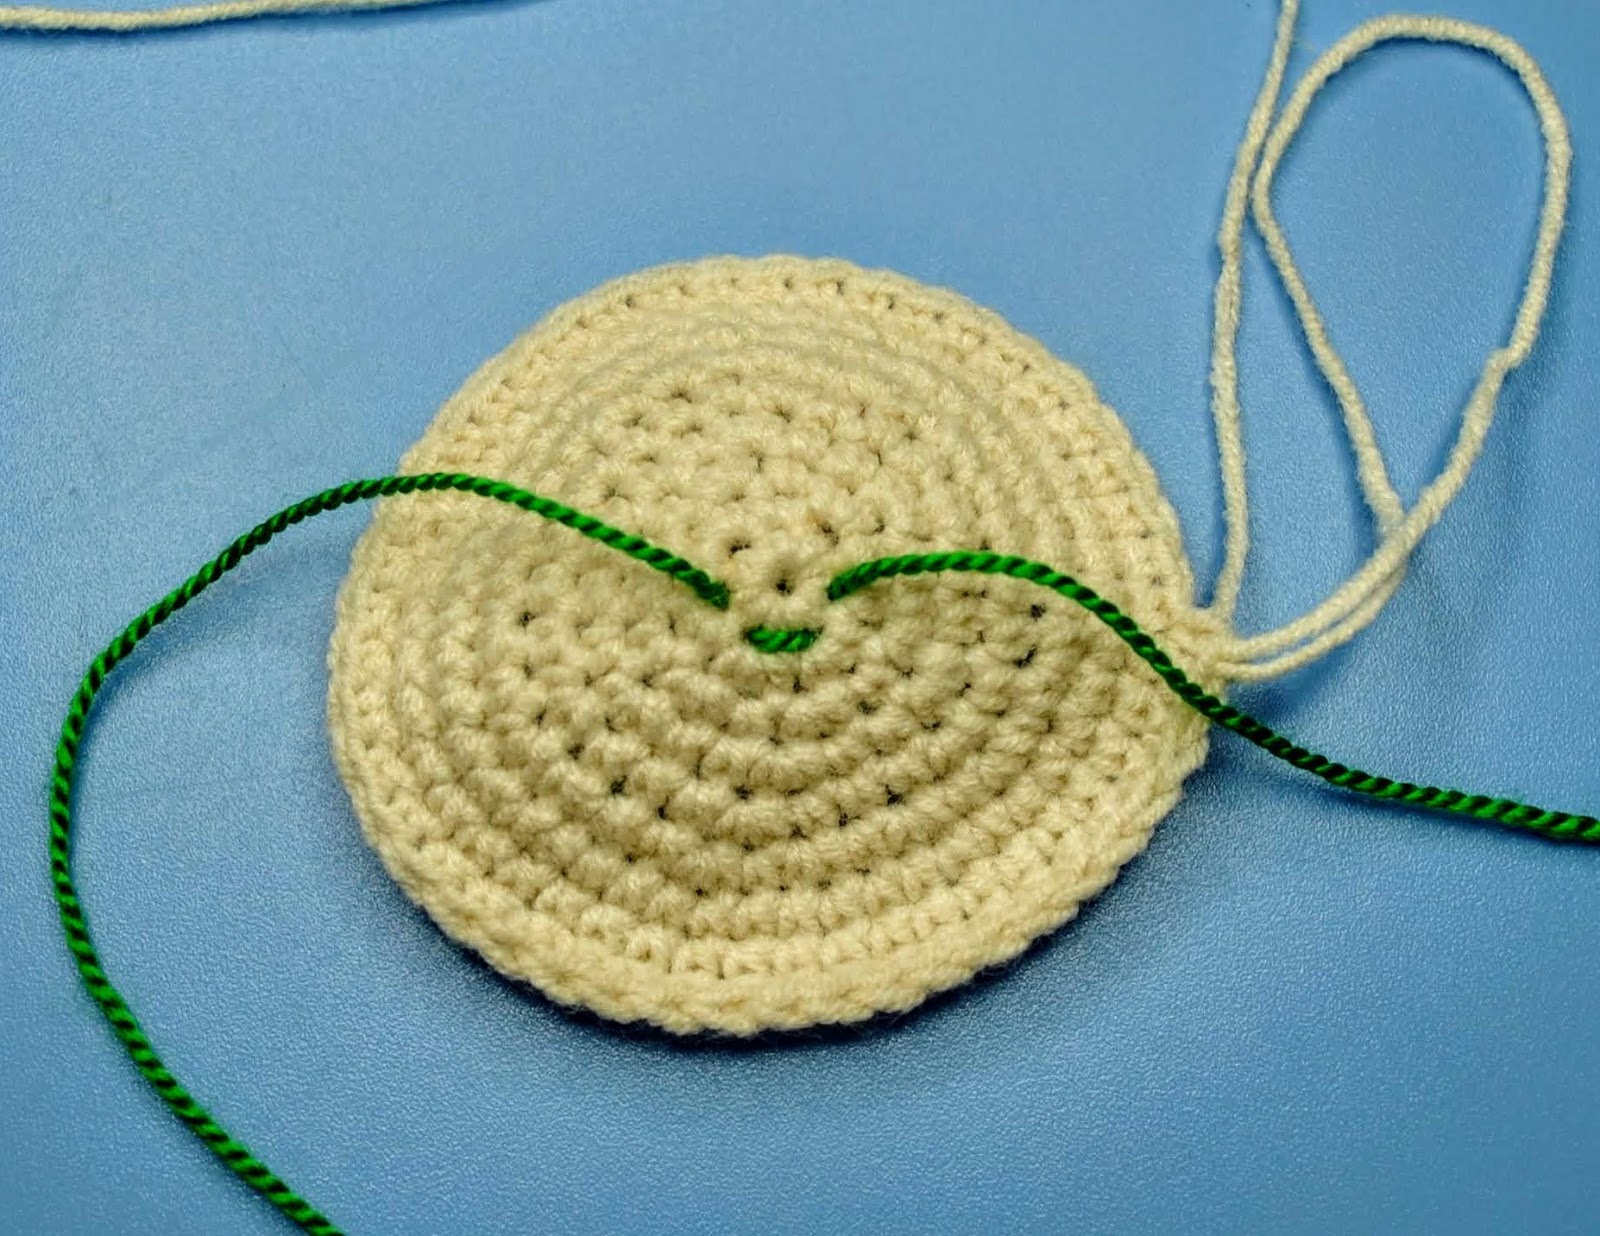
Step 1

Start working in the holes of the 1st round of the Head. Usually this is 6 sc in a magic ring.
Thread the yarn so both ends of the yarn to the wrong side of your work through two
nearby holes. Align them so they are the same length and tie firmly with a knot.
Pull the ends of your hair yarn back through to the front side, using different holes not
through the same holes, usually the next holes around in your circle.
Step 2
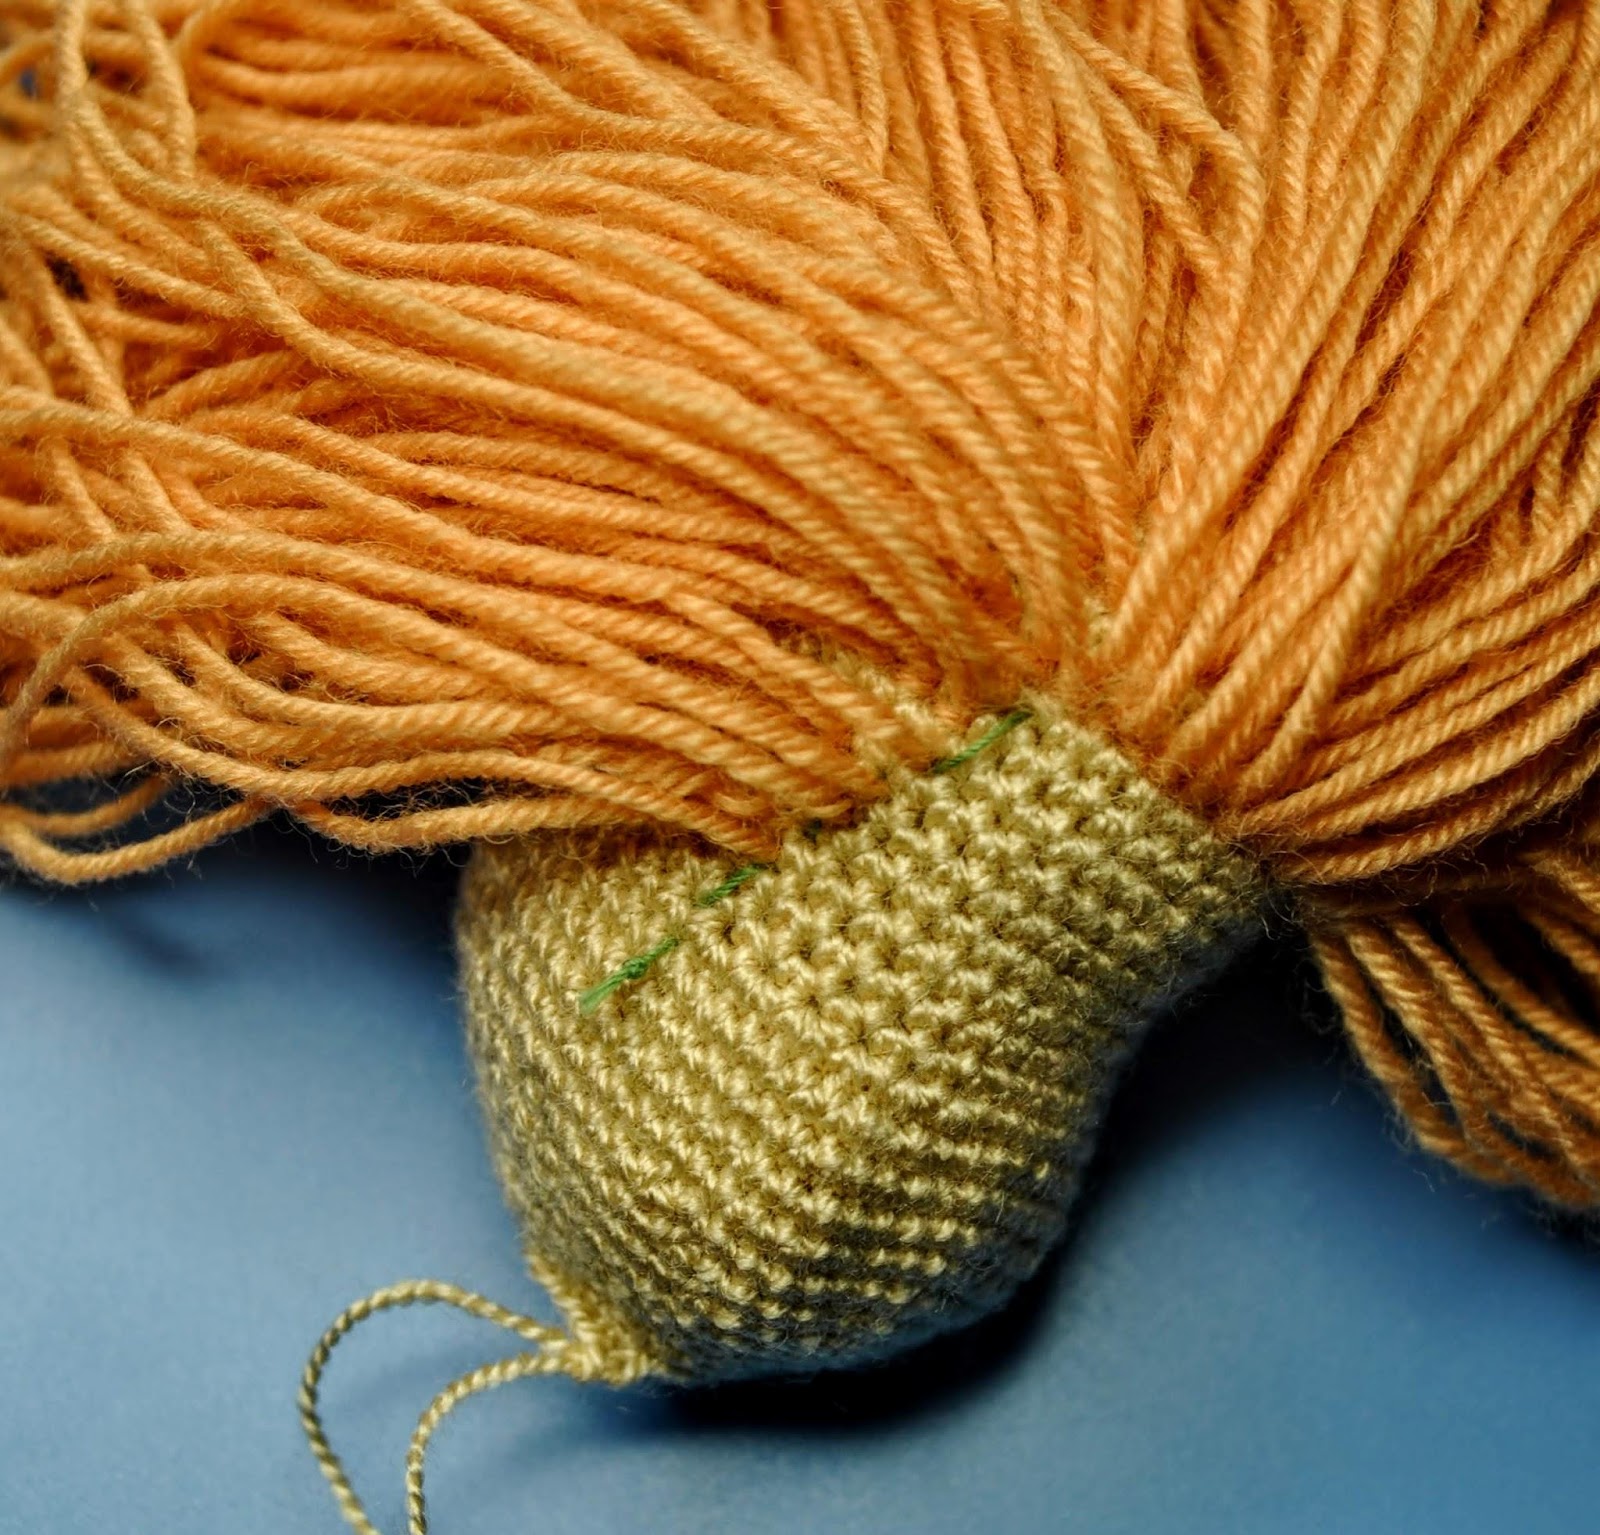
Take the next piece of Hair yarn (the orange one on the next photo) and repeat the same
process. Pull the yarn through the nearby holes as shown on the next photo.


That, in fact, is all you need do.
The next piece has to be pulled out at the left of the orange piece.
Repeat these steps in all the holes of the first round. Once finished on the front side you will
have 2 yarn pieces out from each hole of the 1st round, and between these holes are
stitches which look like a seam. On the wrong side of your work, each yarn piece has been
tied with a knot.
Now if you try to pull out the piece of the yarn, the knot will only become tighter.
However, the hole of the magic ring remains free from hair yarn. Therefore, I suggest to
pull any 2 ends of yarn through this hole.
Continue in each row with these steps to complete your doll hair.

Today it is not my aim to tell you in detail how to make doll hair. But I can give some
advice about the making doll hair according to this method.
advice about the making doll hair according to this method.
Crochet the first 5-6 rounds of the Head and make 3-4 rounds of hair in your each
crocheted rounds. Then crochet a few more rounds, then add to your hair rounds.
crocheted rounds. Then crochet a few more rounds, then add to your hair rounds.
Perhaps, further it will be possible to skip 1 or 2 crocheted rounds.
Think where your doll's eyes will be placed. Usually the hairline on the forehead is
located several rows above.
located several rows above.
In case it's hard for you to design the hairline, you can complete the Head, mark the eyes
and the hairlines on the doll face, and then undo the Head to the round of the lower
hairline.
For example, on the photo below: I marked the hairline beside the face with
the green thread.
Try it yourself, you may like my method. Hair done this way is not exactly easily pulled out!
I want to thank Gillian Weldon and Sharri Eastridge for help in preparing
this publication.
I want to thank Gillian Weldon and Sharri Eastridge for help in preparing
this publication.
No comments:
Post a Comment