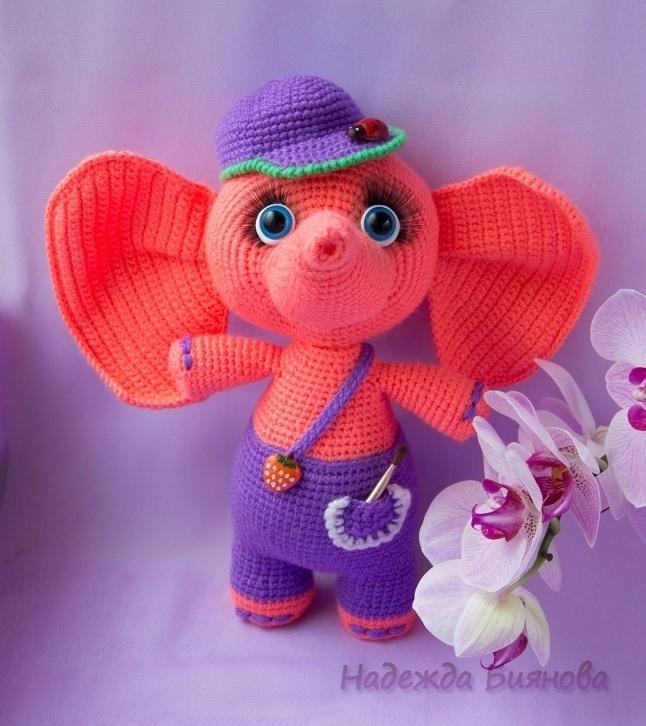
Crochet pattern by Nadezhda Bianova
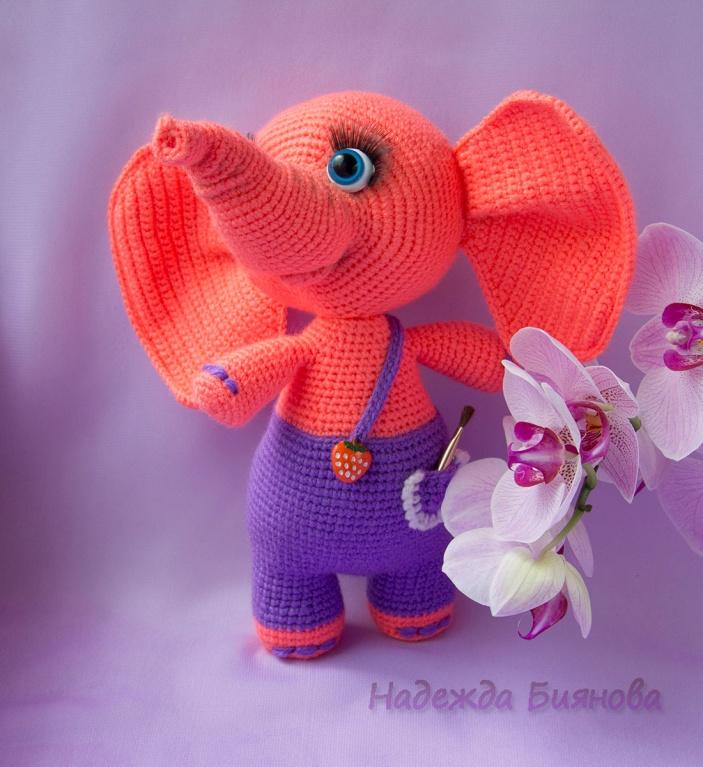
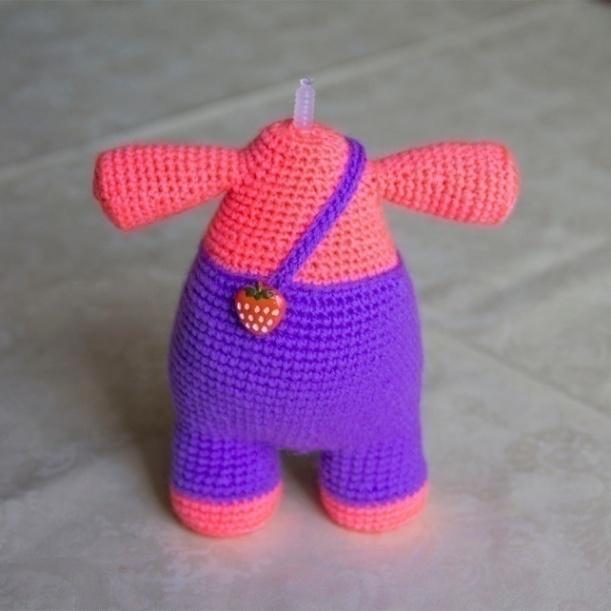
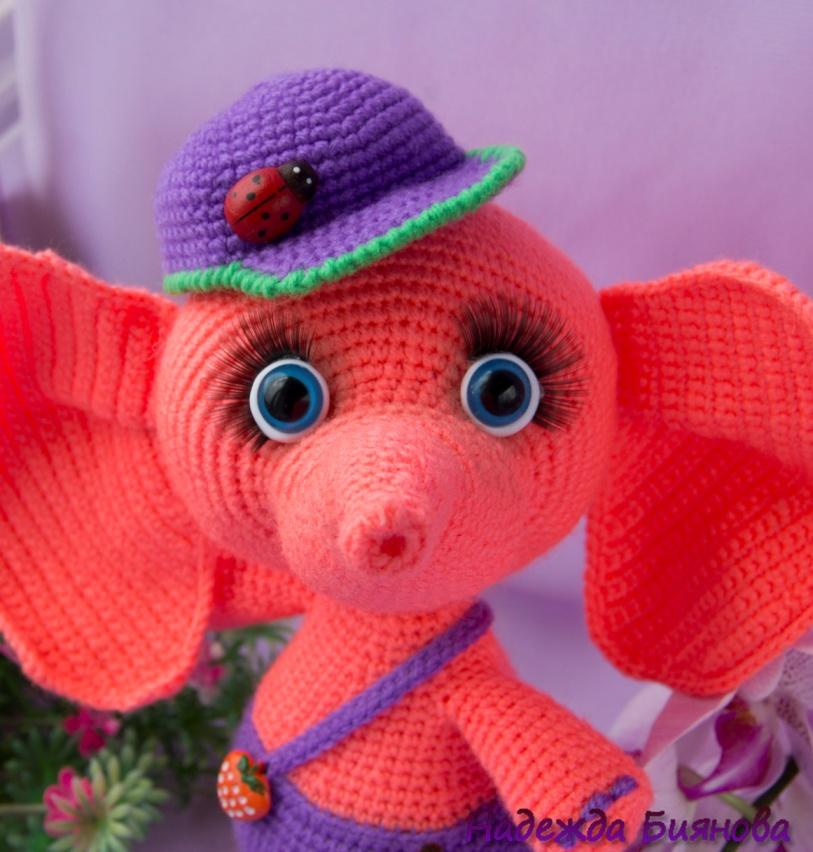
Baby elephant Puff

The pattern does not contain crocheting lessons. All parts are crocheted in spiral rounds. To mark the beginning of the rows , use a stitch marker or a contrasting thread. When using the recommended materials, the toy is 20 cm. When working with thicker yarn, the size of your toy will increase.
Take a hook smaller than the size indicated on the yarn package so that there are no gaps between the loops.
Work in both loops of stitches unless noted otherwise. When indicated — in front or back loops only — follow these directions.
Materials:
- Acrylic yarn, 50g/200m
- pink color 50g, lavender - 25g
- Crochet hook 1,5-1,75 mm
- Filler of your choice
- Long yarn needle for sculpting
- Plastic joint (d= 20-25mm) or cotter pin
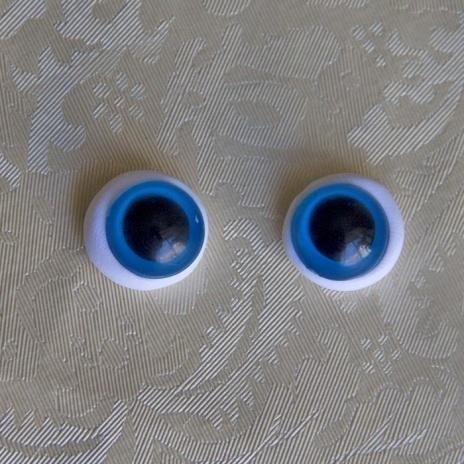
- Plastic eyes d=13мм, also you can use Oven Bake Clay for a white of the eye
- Artificial eye lashes, button
- Wire 1.5mm for neck instead the joint and cotter pin
Abbreviations and terms:
- sc – single crochet
- ch – chain/s
- inc - increase, make 2 sc in 1 stitch of the previous row
- dec – decrease, crochet 2 next sc together
- +1 - displacing stitch (at the end of round: make one more stitch in the 1st stitch of the next round, displace your stitch marker to left, the 2nd stitch of the next round became the 1st stitch)
- sl st – slip stitch
- FLO - work in front loops only
- BLO - work in back loops only
Hands 2 pieces

1 rnd 6 sc in a magic ring
2 rnd 6 inc=12
3 rnd (1 sc, inc)*6=18
4 rnd (2 sc, inc)*6=24
5 rnd BLO: 24 sc
6-7 rnds 24 sc
- make cardboard or plastic copy, put it inside
8 rnd (4 sc, dec)*4=20
9-11(3) rnds 20 sc
12 rnd (3 sc, dec)*4=16
13-14 rnds 16 sc
15 rnd (2 sc, dec)*4=12
16-18(3) rnds 12 sc, cut the yarn
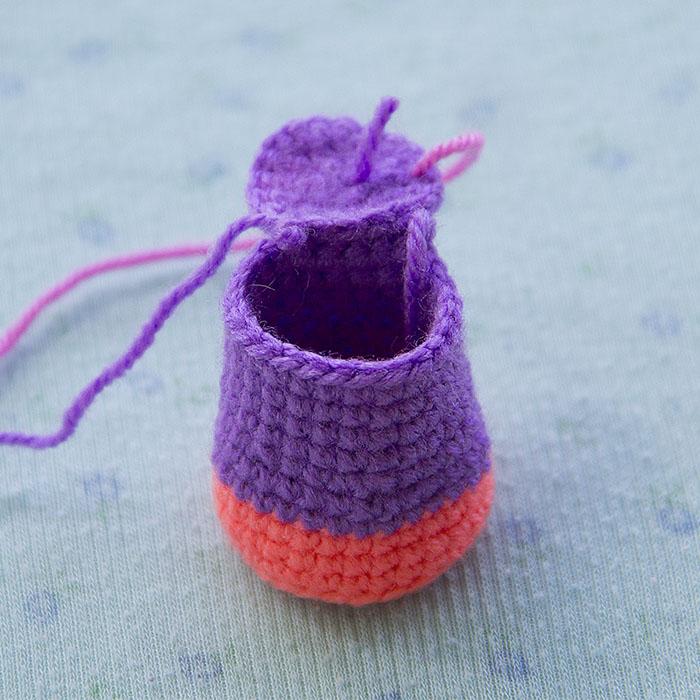
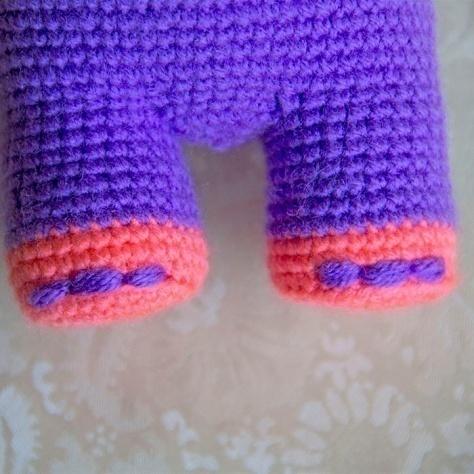
Legs 2 pieces
1 rnd 6 sc in a magic ring
2 rnd 6 inc = 12
3 rnd (1 sc, inc)*6 = 18
4 rnd (2 sc, inc)*6 = 24
5 rnd (3 sc, inc)*6 = 30
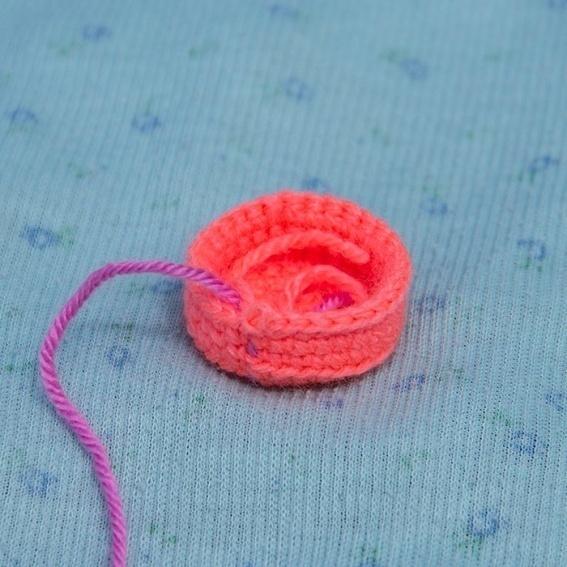
6 rnd BLO: 30 sc
7-8 rnds 30 sc
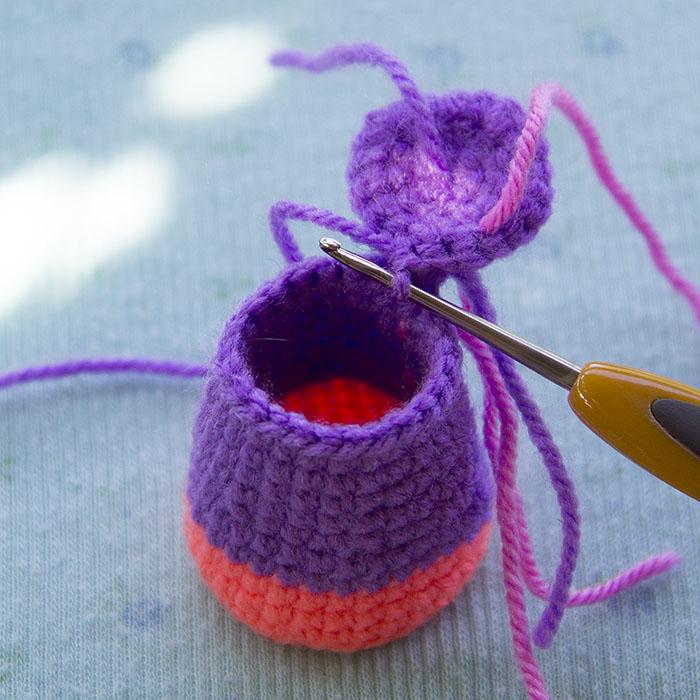
- change the yarn of the body color to the pants yarn
9-10 rnds 30 sc
- make cardboard or plastic copy and put it inside
11 rnd (3 sc, dec)*6=24
12-15(4) rnds 24 sc, cut off the yarn
Put a weighting inside, for example, some coins. Stuff the leg with filler.

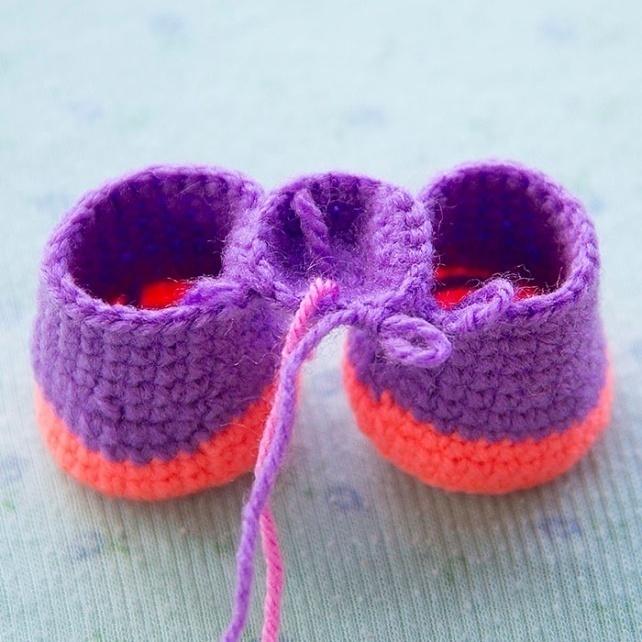
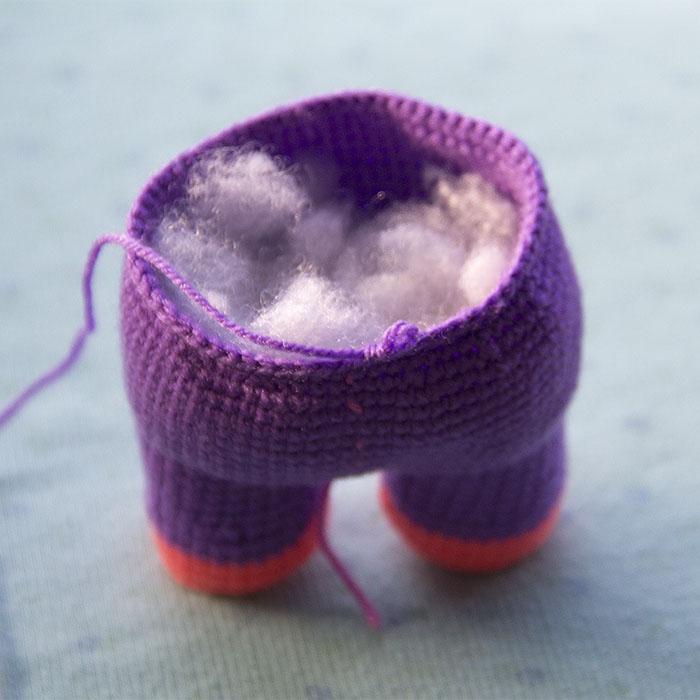
Body
1 rnd 6 sc in a magic ring
2 rnd 6 inc = 12
3 rnd 1 sc, (3sc in 1 stitch, 2sc)*3 times, 3sc in 1 st, 1sc = 20, don’t cut the yarn
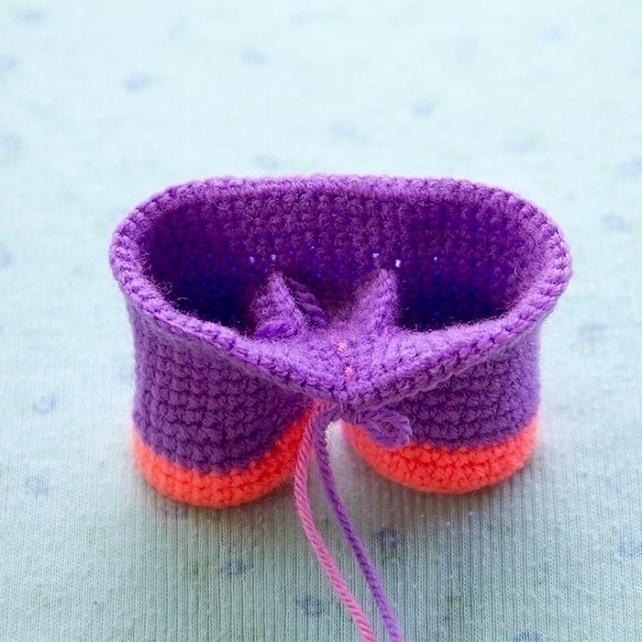
4 rnd (attaching the legs) 2 sc along the body, apply the 1st leg (so that its row marker is placed on the back side of the body), make 5 sc through opposite loops of both the body and the leg, 6 sc along the body, apply and attach with 5 sc the 2nd leg in the same way, 2 sc = 20
5 rnd 48 sc
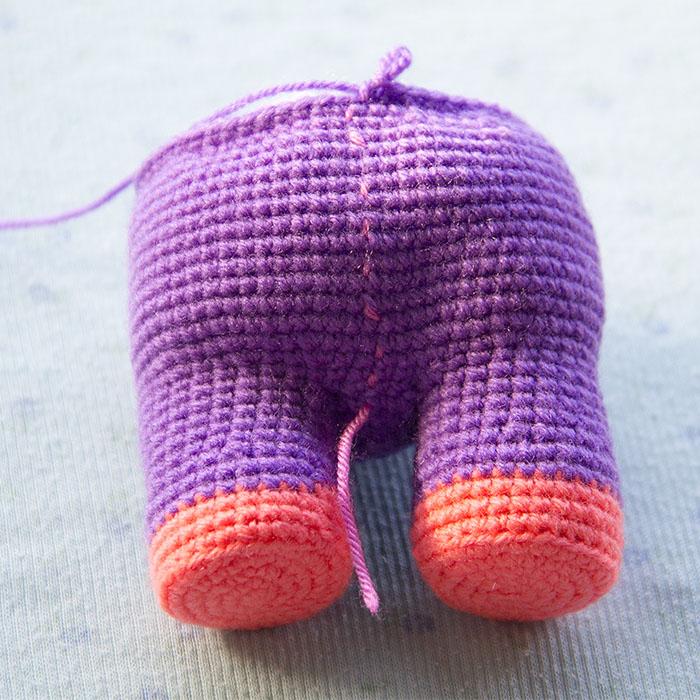
Note: In the crochet process, your row marker should be located exactly in the middle of the back, if necessary, make additional displacing stitches.
6 rnd 15 sc, (2 sc, inc)*6, 6 sc, (inc, 2 sc)*3 = 57
7 rnd (2 sc, inc)*3, 36 sc, (inc, 3 sc)*3 = 63
8 rnd (3 sc, inc)*3, 51 sc = 66
9 rnd 66 sc + 1
10 rnd 19 sc, (3 sc, inc)*6, 23 sc = 72
11-18(8) rnds 72 sc
19 rnd 72 sc + 1
20 rnd 57 sc, (dec, 3 sc)*3 = 69
21 rnd (3 sc, dec)*3, 54 sc = 66
22 rnd 54 sc, (dec, 2 sc)*3 = 63, well stuff in the process
23 rnd (2 sc, dec)*3, 51 sc=60
24 rnd 60 sc
25 rnd (8 sc, dec)*6=54, change the yarn to the body color
26 rnd BLO: 54 sc
27 rnd (7 sc, dec)*6 = 48 + 1
28 rnd 48 sc
29 rnd 12 sc, (2 sc, dec)*6, 12 sc = 42
30-31 rnds 42 sc
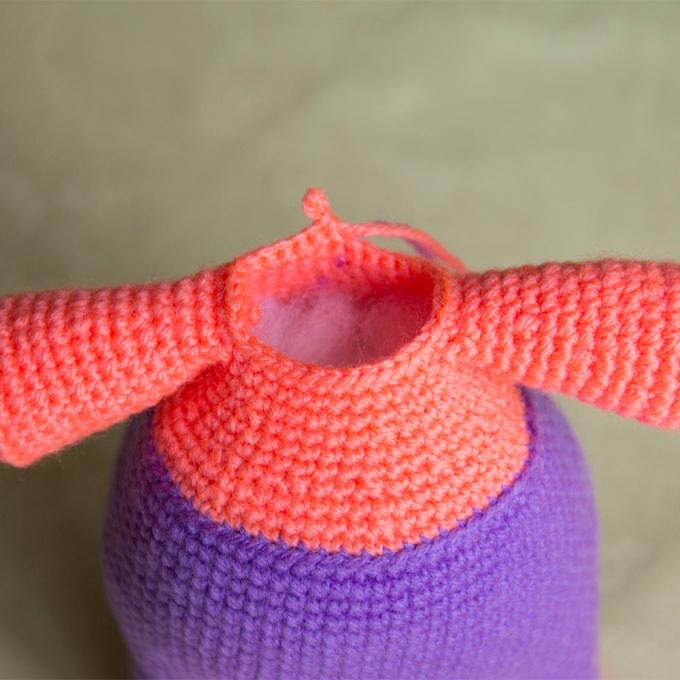
32 rnd (5 sc, dec)*6 = 36 + 2
33 rnd 6 sc, 6 sc joining the body and the 1st hand, 12sc, 6 sc joining the body and the 2nd hand, 6 sc = 36, check the symmetry of the attachment
34 rnd 6 sc, make 6 sc through the rest hand and body stitches, 12 sc, 6
sc through the rest hand and body stitches, 6 sc= 36

35 rnd (4 sc, dec)*6 = 30
36 rnd 30 sc
37 rnd (3 sc, dec)*6 = 24
38 rnd (2 sc, dec)*6 = 18
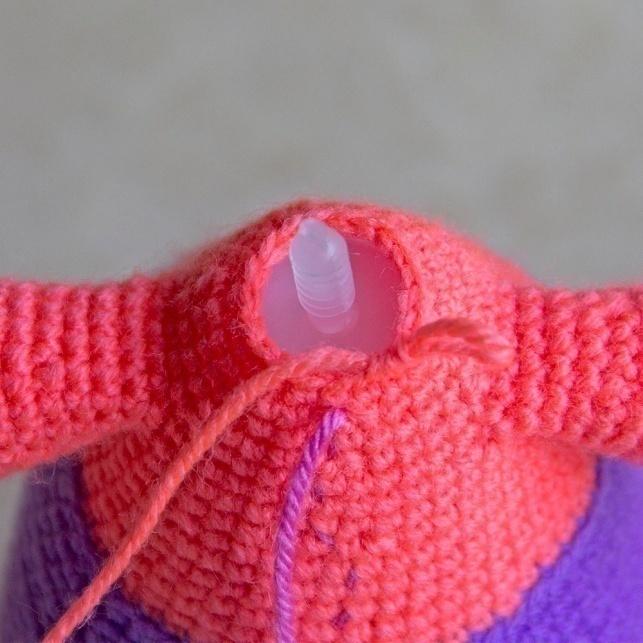
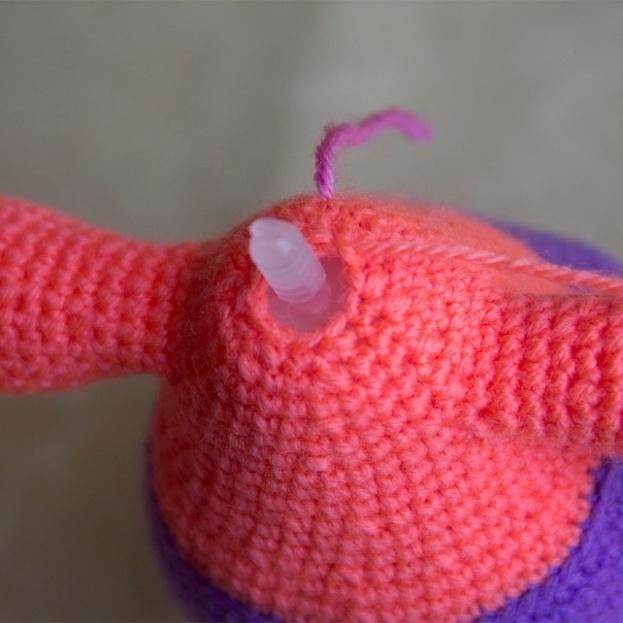
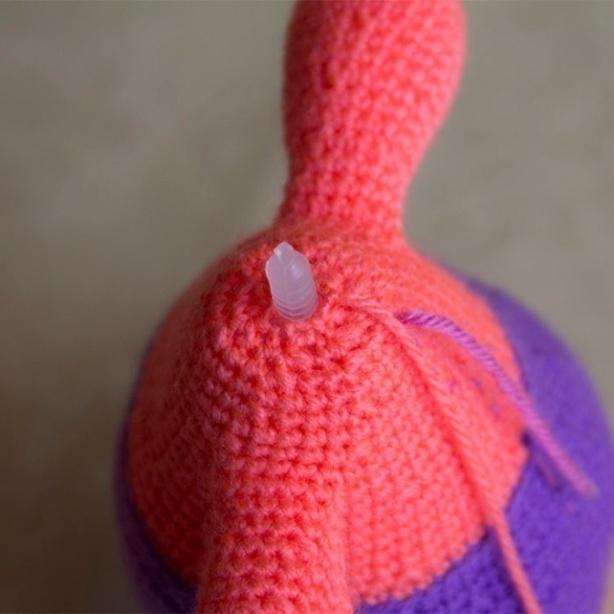
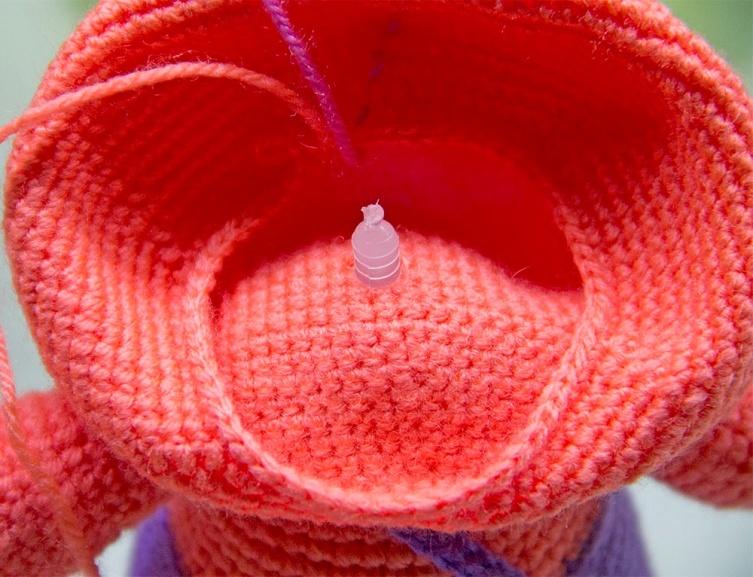
Stuff tightly, install the plastic joint. You can use the cotter pin or sew the head later (insert inside a wood stick or a piece of wire).
39 rnd (1 sc, dec)*6 = 12, cut the yarn, leaving a long tail.
Weave the tail through the front loops of the stitches. Close the finish hole around the joint.

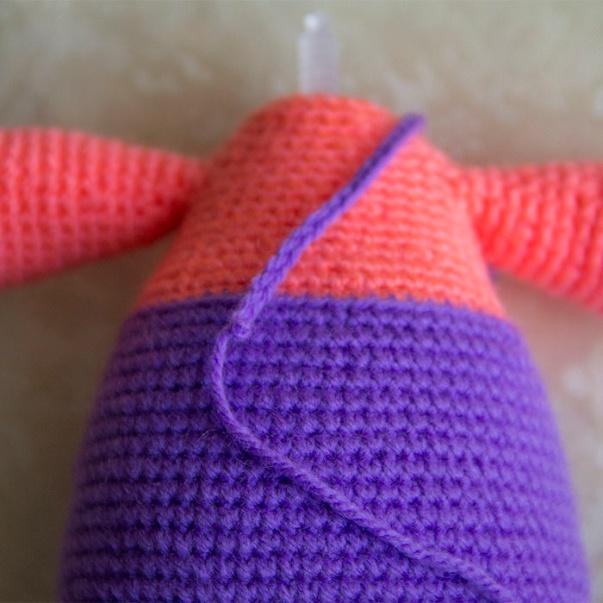
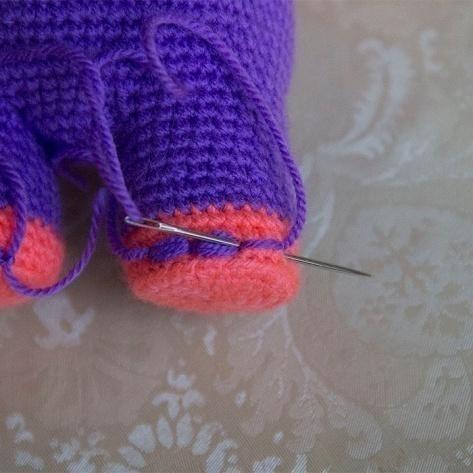
Strap for the pants
Attach the yarn on the back closer to the side, make 39 ch.
Start in the 8th st from the hook, make 1 sc (now we have a chain for the button), make 30 sc along the chains, attach to the pants with 1 sl st.
Sew the button.


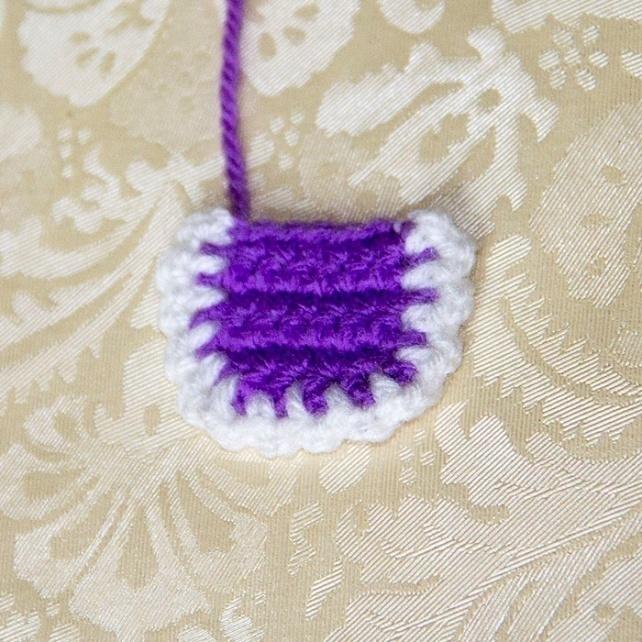
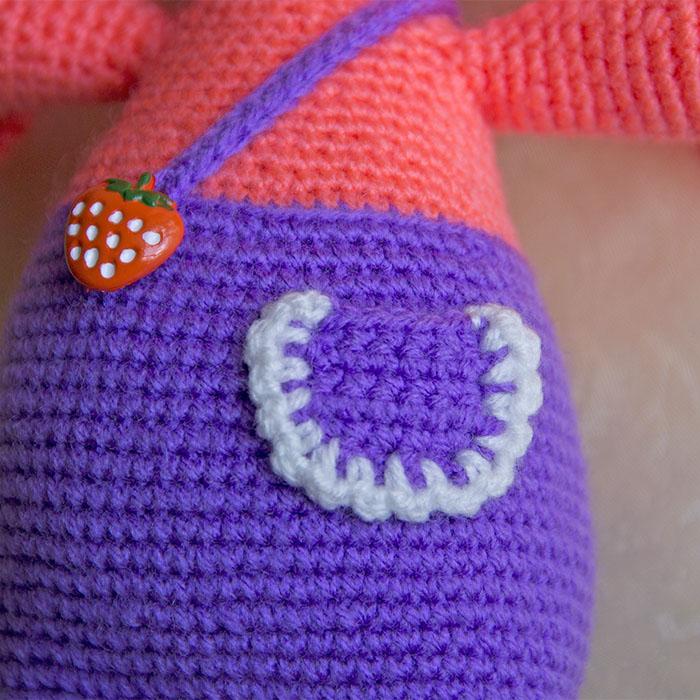
Pocket
1 rnd 7 ch, start in the 2nd from the hook: 6 sc, 1 ch+turn
2 rnd inc, 4 sc, inc = 8 sc, 1ch+turn
3-7(5) rnds 8 sc, cut off the yarn, leaving a long tail for sewing. Crochet (sc, 2ch) with the white yarn in each stitch along the edge.
Lower lip
1 rnd 6 sc in a magic ring
2 rnd (1 sc, inc)*3 = 9
3 rnd (2 sc, inc)*3 = 12
4 rnd (3 sc, inc)*3 = 15
5 rnd 7 sc, inc, 7 sc = 16
Cut off the yarn
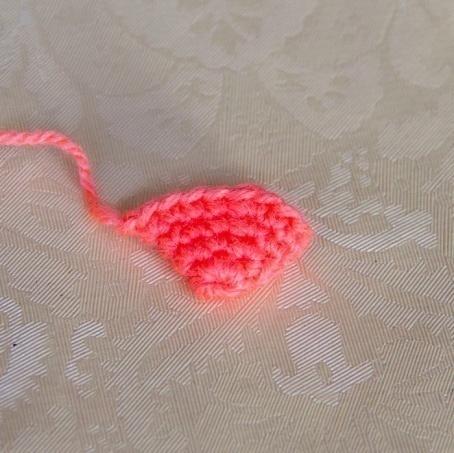
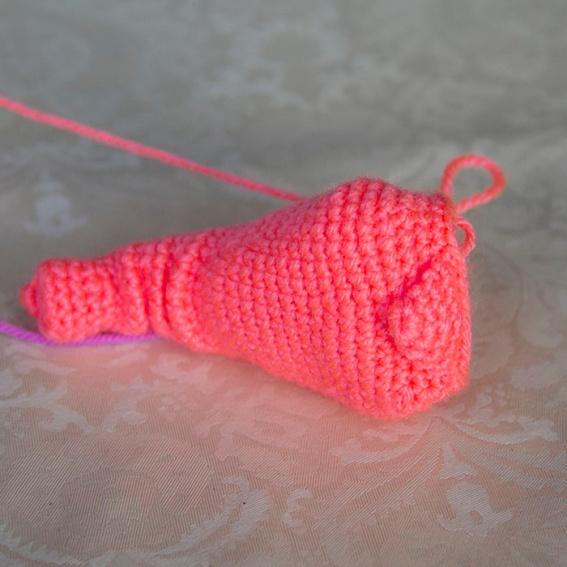
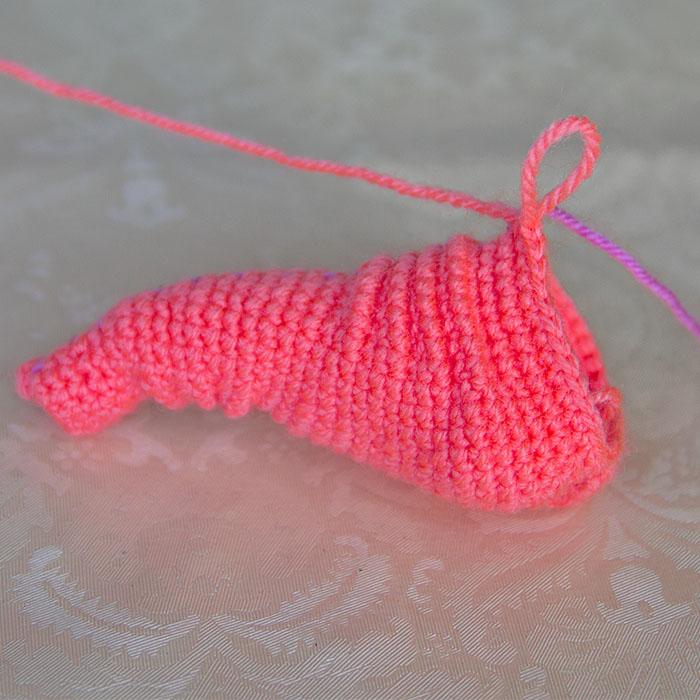
Trunk
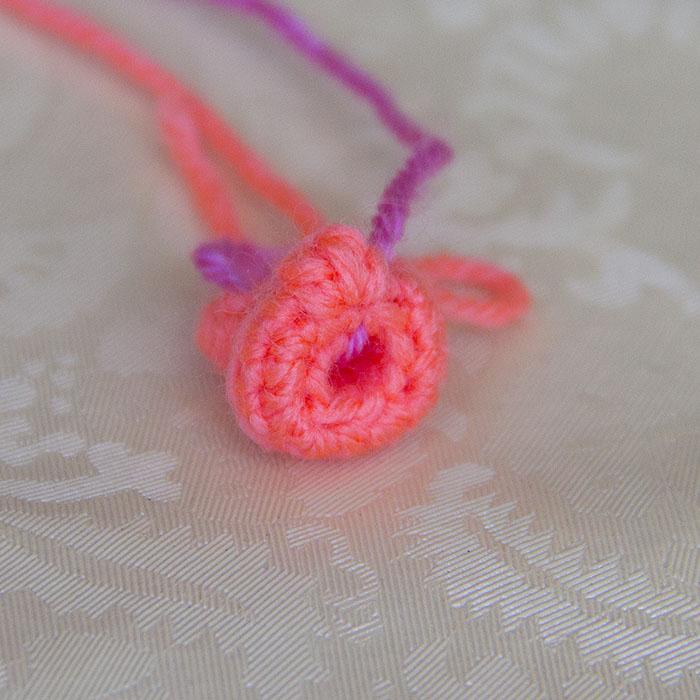
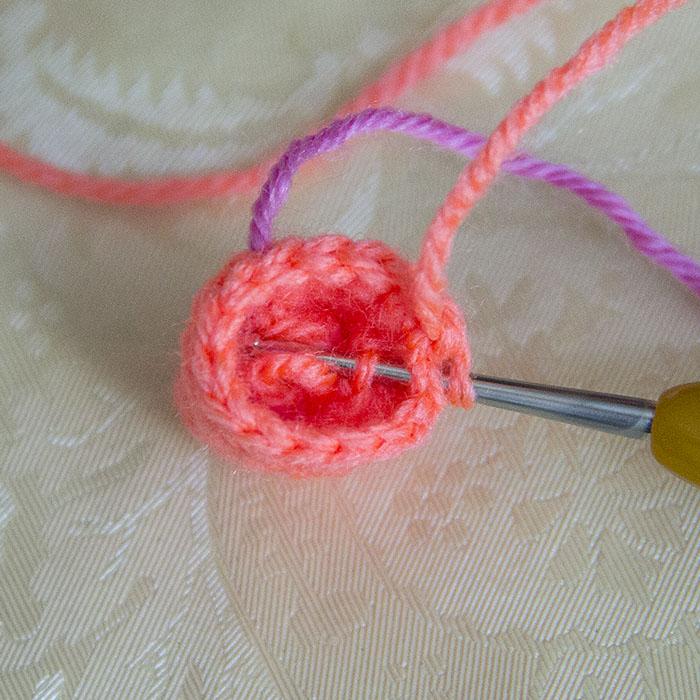
1 rnd 6 sc in a magic ring
2 rnd (2 sc, inc)*2=8
3-6(4) rnds 8 sc
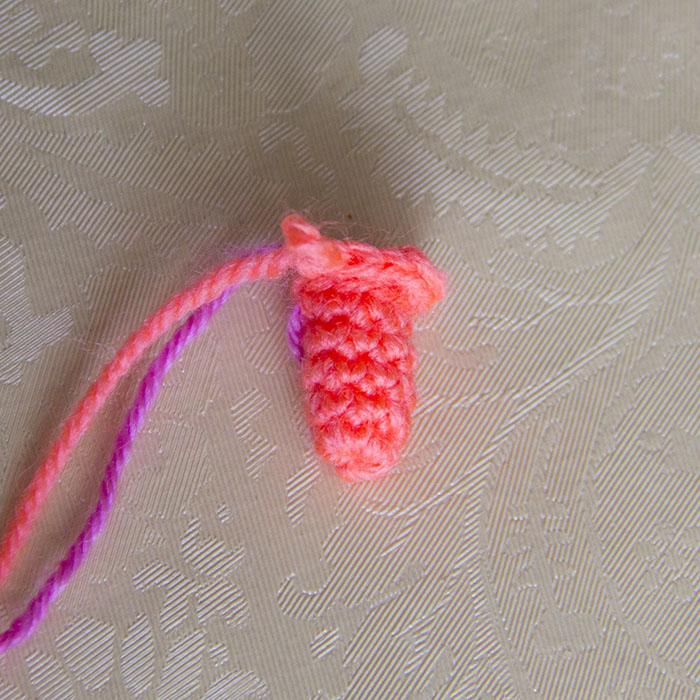
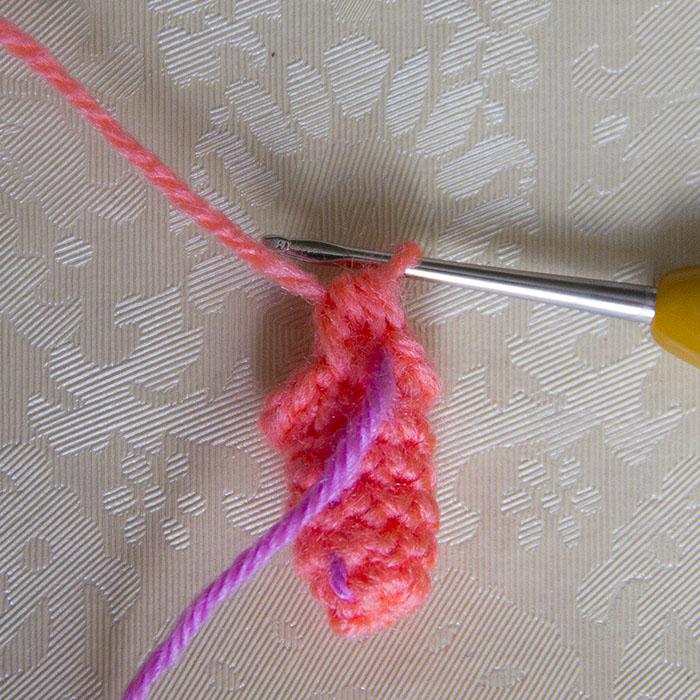
7 rnd BLO: (1 sc, inc)*4=12
Push the tip of the elephant's trunk inward. Continue crocheting as usual on the front side, but the tip of the trunk should be inside.
1 2

3 4
9 rnd 12 sc + 1
10 rnd (2 sc, dec)*3 = 9
11 rnd (2 sc, inc)*3 = 12
12 rnd (3 sc, inc)*3 = 15+пс
13 rnd 5 sc; make FLO 5 sc; 5 sc in both loops = 15
14 rnd 15 sc
15 rnd 5 sc, make 5 sc together with the corresponding back loop of the 13th round, 5 sc = 15
16 rnd 4 sc, inc, make FLO 4 sc, in both loops: inc, 4 sc, inc
=18
17 rnd 18 sc + 1
18 rnd 7 sc, make 4 sc together with the corresponding back loop of the 16th round, 7 sc
= 18
19 rnd 5 sc, inc, FLO: 5 sc, in both loops: inc, 5 sc, inc
= 21
20 rnd 21 sc
21 rnd 8 sc, make 5 sc together with the corresponding back loop of the 19th round, 8 sc
= 21
22 rnd (6 sc, inc)*3 = 24
23 rnd 24 sc
24 rnd (7 sc, inc)*3 = 27
25 rnd 22 sc, FLO: 5 sc = 27


26 rnd FLO: 5 sc, in both loops: 3 sc, inc, (8 sc, inc)*2 = 30
27 rnd 30 sc
28 rnd 25 sc, 5 sc together with the corresponding back loop of
the 25th round= 30
29 rnd 5 sc together with the corresponding back loop of the 26th round, 19 sc; FLO: 6 sc = 30
30 rnd FLO: 6 sc, in both loops: 3 sc, inc, (9 sc, inc)*2 = 33
31 rnd 27 sc, 6 sc together with the corresponding back loop of
the 29th round = 33
32 rnd 6 sc together with the corresponding back loop of the 30th round, 5 sc, inc,(4 sc, inc)*2, 4 sc, FLO: 7 sc = 36
33 rnd FLO: 7 sc, in both loops: (5 sc, inc)*3, 11 sc=39
34 rnd 32 sc, 7 sc together with the corresponding back loop of
the 32th round =39
35 rnd 7 sc together with the corresponding back loop of the 33th round, 24 sc, BLO: 8 sc = 39
36 rnd FLO: 8 sc, in both loops: (5 sc, inc)*3, 13 sc=42
37 rnd 14 sc, dec, 10 sc, dec, 6 sc, 8 sc together with the corresponding back loop of the 35th round = 40
38 rnd 8 sc together with the corresponding back loop of the 36th round, 5 sc, dec, 10 sc, dec, 13 sc = 38
39 rnd 12 sc, dec, 10 sc, dec, 12 sc=36
- Attach the lower lip in the next round, folding it in half.
40 rnd 14 sc, 8 sc through the lip and trunk stitches, 14 sc=36
41 rnd (5 sc, inc)*6 = 42
42 rnd (1 sc, inc)*3, 6 inc, 18 sc, 6 inc, (inc, 1 sc)*3 = 60
43 rnd (2 sc, inc)*3, (1 sc, inc)*6, 18 sc, (inc, 1 sc)*6,
(inc, 2 sc)*3 = 78 + 1
44 rnd (12 sc, inc)*6 = 84
45 rnd 84 sc
46 rnd (13 sc, inc)*6 = 90
47-48 rnds 90 sc
49 rnd 44 sc, 2 ch, skip 2 st, 44 sc=90
50 rnd 44 sc, 2 sc in the chain st, 44 sc=90
(it’s a hole for the joint)
51-54(4) rnds 90 sc
55 rnd (13 sc, dec)*6=84
56-58(3) rnds 84 sc
59 rnd (12 sc, dec)*6=78
60 rnd 78 sc
61 rnd (11 sc, dec)*6=72
62 rnd (10 sc, dec)*6=66
63 rnd (9 sc, dec)*6=60
64 rnd (8 sc, dec)*6=54
65 rnd (7 sc, dec)*6=48
Install the plastic join to the hole, fasten with another part (before that, warm it in hot water).

66 rnd (6 sc, dec)*6=42
67 rnd (5 sc, dec)*6=36
68 rnd (4 sc, dec)*6=30
- Stuff the head well, especially tightly fill the cheeks.
69 rnd (3 sc, dec)*6=24
70 rnd (2 sc, dec)*6=18
71 rnd (1 sc, dec)*6=12
72 rnd 6 dec
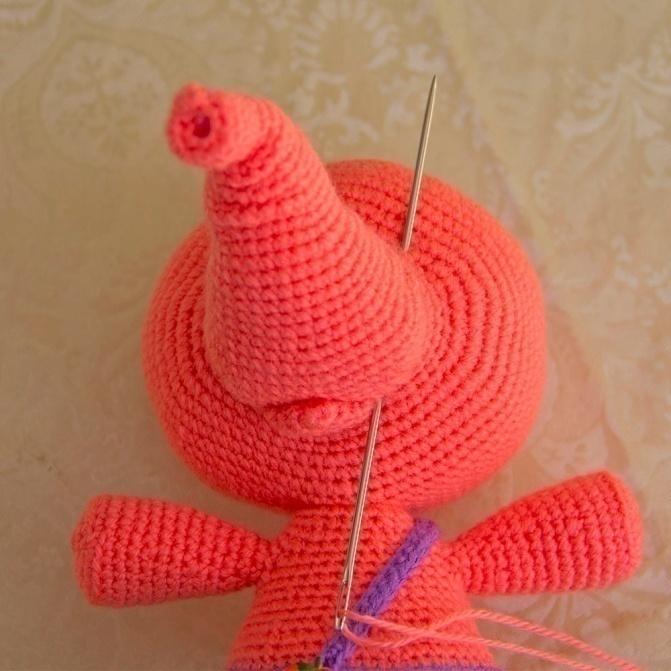
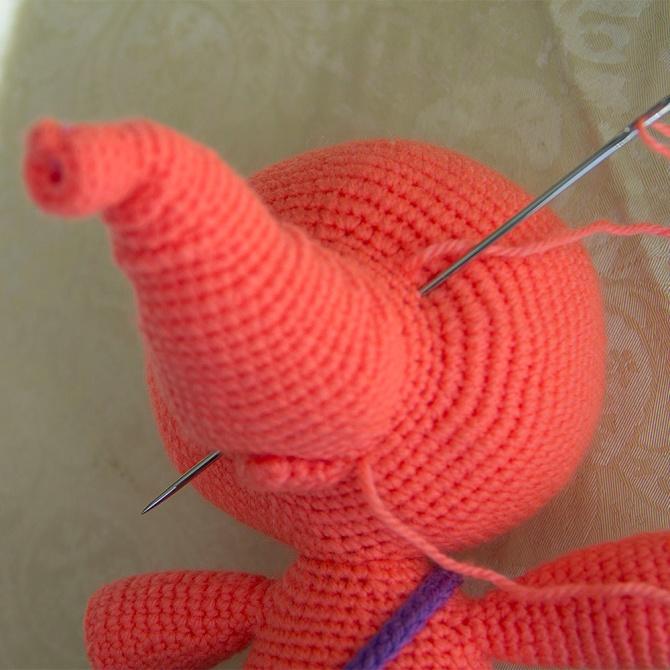
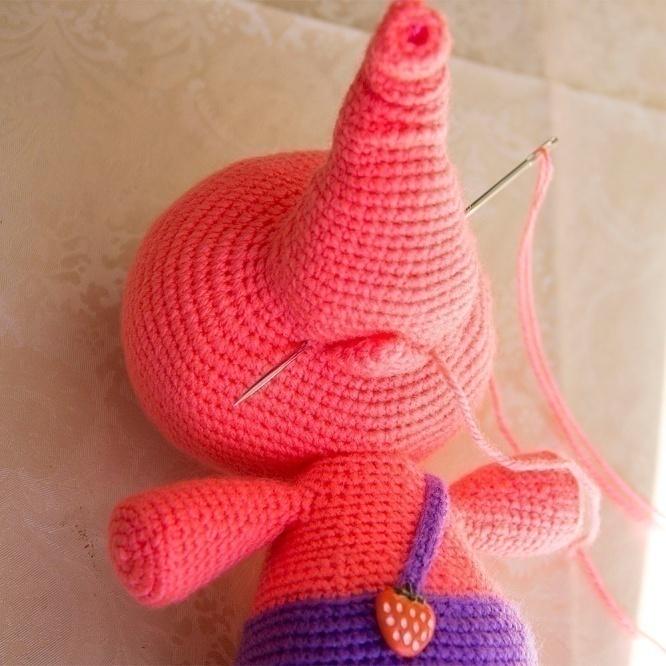
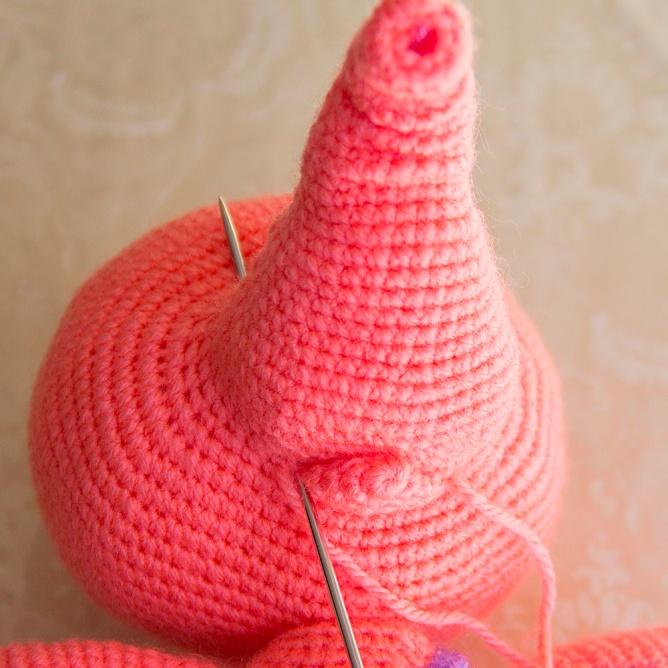
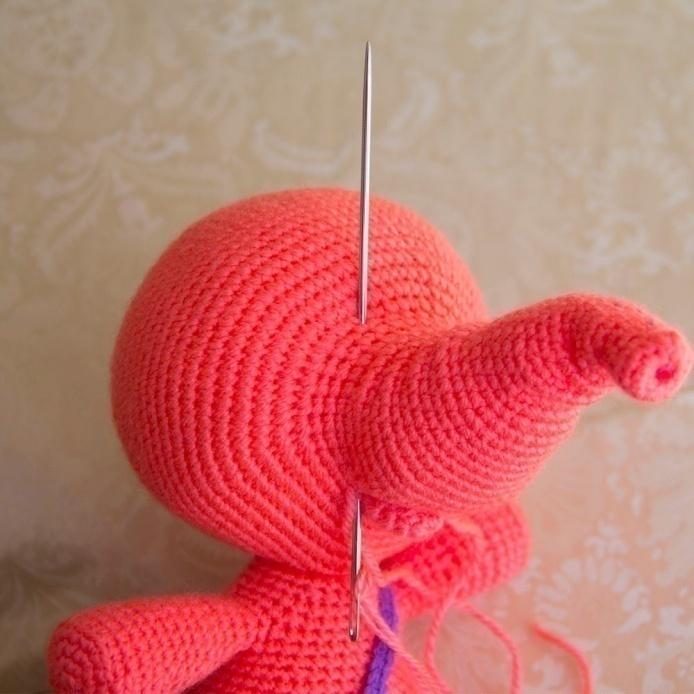
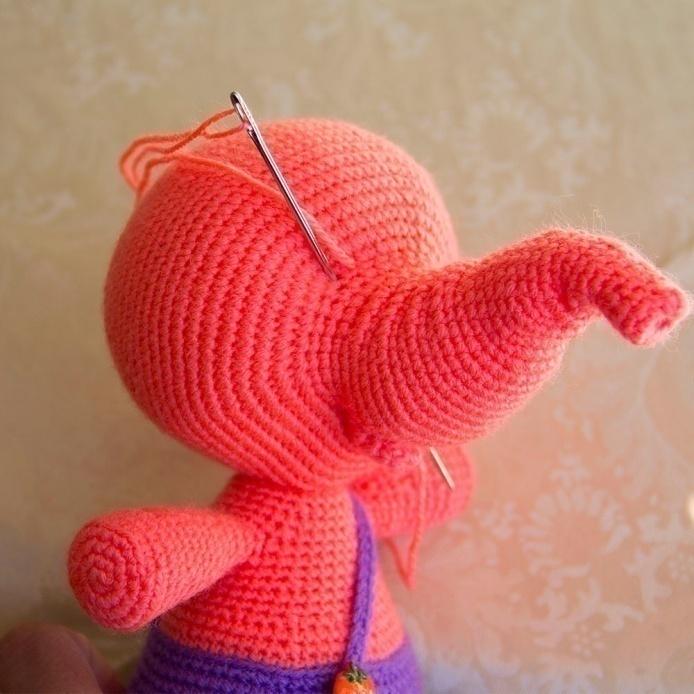
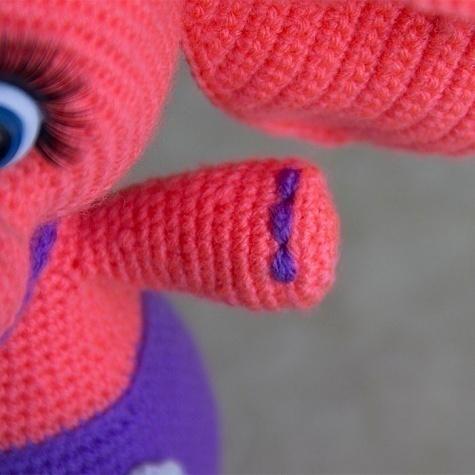
Make sculpting at the mouth and the eyes as shown on the photos, tighten slightly. Tie the thread with knot well, hide the yarn tail inside the head.


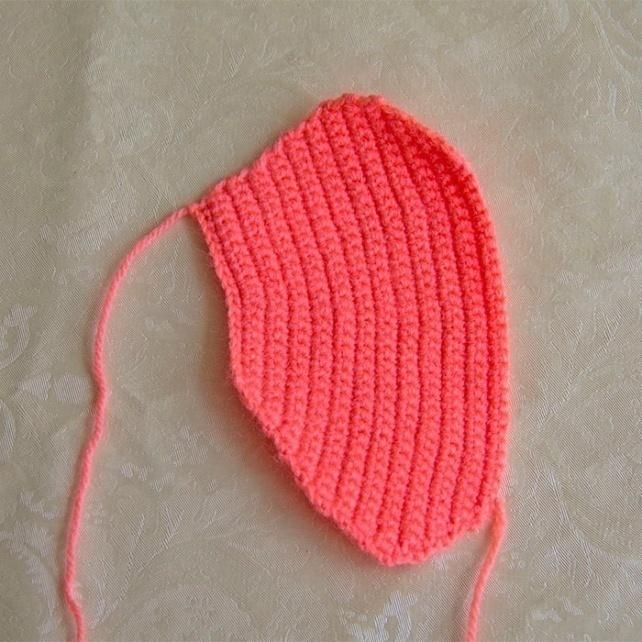
Ears work in back-and-forth rows
1 row 18 ch, start in the 2nd st from the hook: 1 sc, 16 sc = 17, 1 ch+turn
2 row (inc, 7 sc)*2, inc = 20, 1 ch+ turn
3 row inc, 19 sc = 21, 1 ch+ turn
4 row 20 sc, inc = 22, 1 ch+ turn
5 row (inc, 10 sc)*2 = 24, 1 ch+ turn
6 row 23 sc, inc = 25, 1 ch+ turn
7 row inc, 23 sc, inc = 27, 1 ch+ turn
8 row 26 sc, inc = 28, 1 ch+ turn
9 row inc, 12 sc, inc, 13 sc, inc = 31, 1 ch+ turn
10 row 30 sc, inc = 32, 1 ch+ turn
11 row inc, 30 sc, inc = 34, 1 ch+ turn
12 row (16 sc, inc)*2 = 36, 1 ch+ turn
13 row 36 sc, 1 ch+ turn
14 row 10 sc, inc, 13 sc, inc, 10 sc, inc = 39, 1 ch+ turn
15 row 39 sc, 1 ch+ turn
16 sc dec,(8 sc, inc)*3, 8 sc, dec = 40, 1 ch+ turn
17 row 38 sc, dec = 39, 1 ch+ turn
18 row dec, 35 sc, dec = 37, 1 ch+ turn
19 row dec, 33 sc, dec = 35, 1 ch+ turn
20 row dec, 31 sc, dec = 33, 1 ch+ turn
22 row dec, 29 sc, dec = 31, 1 ch+ turn
23 row dec, 27 sc, dec=29
Finish the ear with the sc-round along the edges, make a
crease at the base side. Sew the ears to the 56-57th rounds of the head.

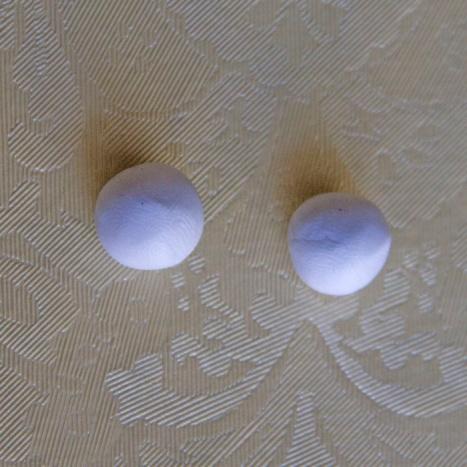
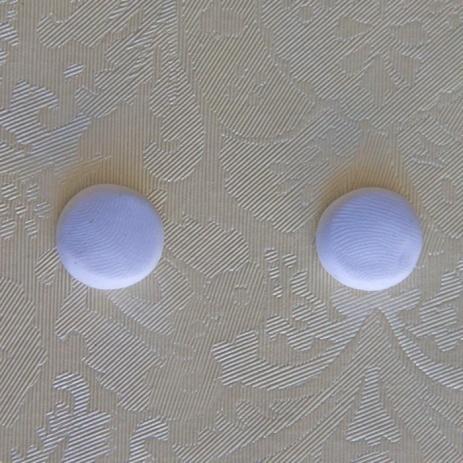
Make the eye's whites from polymer clay, put the pupils in the center, push them lightly. Carefully remove the plastic pupils, the glass pupils can be left in place. Bake the whites for 6-7 minutes at 130 °, then glue the pupils. You can also make the whites from felt. Glue the eyes and the cilia to the head.
Embroider fingers and toes, making by 3-4 stitches on each finger. Don’t pull the yarn tightly.
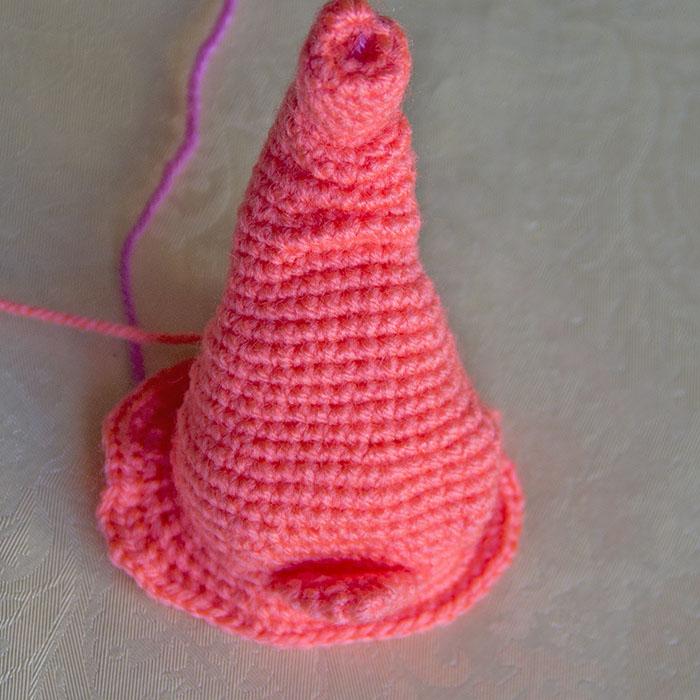
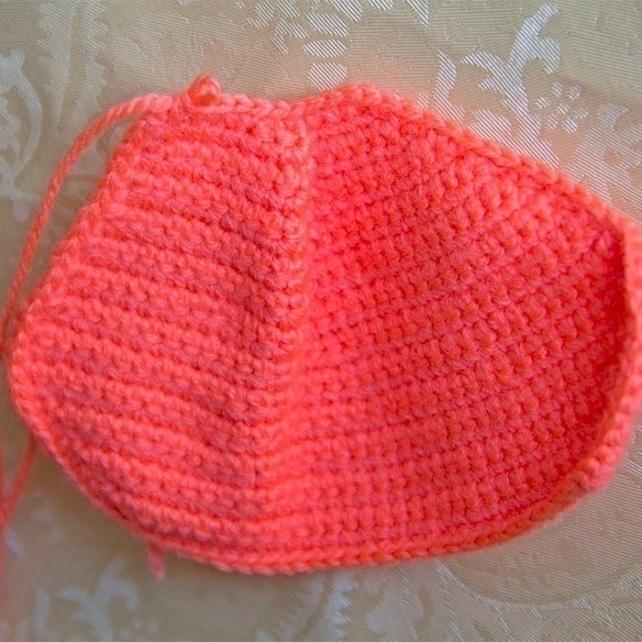
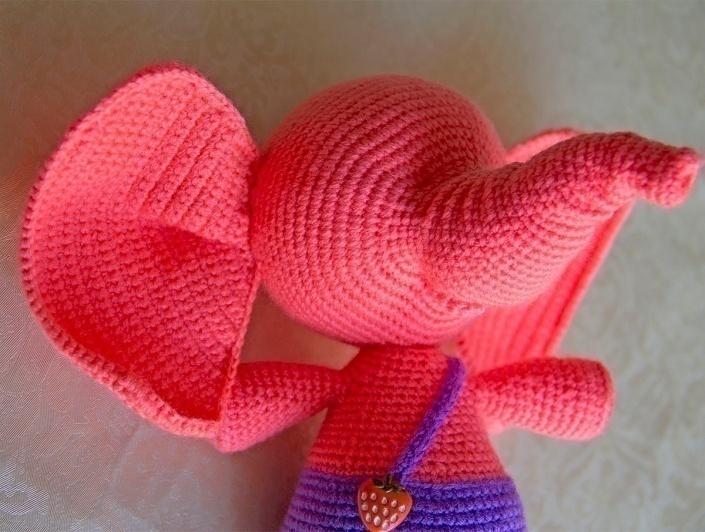
Cap
1 rnd 6 sc in a magic ring
2 rnd 6 inc = 12
3 rnd (1 sc, inc)*6 = 18
4 rnd (2 sc, inc)*6 = 24
5 rnd (3 sc, inc)*6 = 30
6 rnd (4 sc, inc)*6 = 36
7 rnd (5 sc, inc)*6 = 42
8 rnd (6 sc, inc)*6 = 48
9-13(5) rnds 48 sc
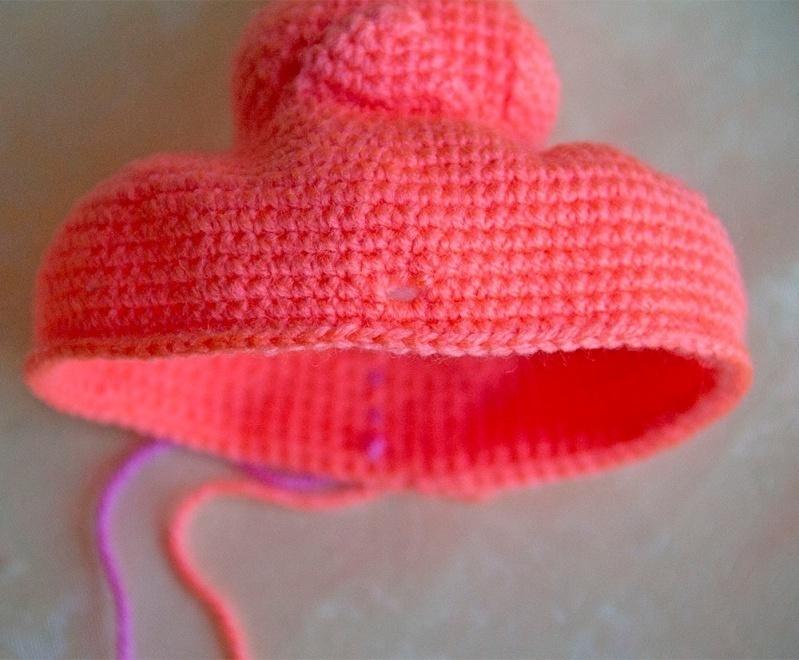
14 rnd BLO: (5 sc, inc)*2, 5 sc = 19 sc, turn
15 rnd 19 sc, turn
16 rnd dec, 4 sc, inc, 5 sc, inc, 4 sc, dec = 19 sc, turn
17 rnd 19 sc, turn
18 rnd dec, 4 sc, inc, 5 sc, inc, 4 sc, dec = 19 sc, turn
19 rnd dec, 15 sc, dec = 17
20 rnd dec, 13 sc, dec = 15, cut off the yarn, hide the tail.


Make the toning around the eyes and at the wrinkles on the elephant trunk using with dry pastel or eyeshadow.
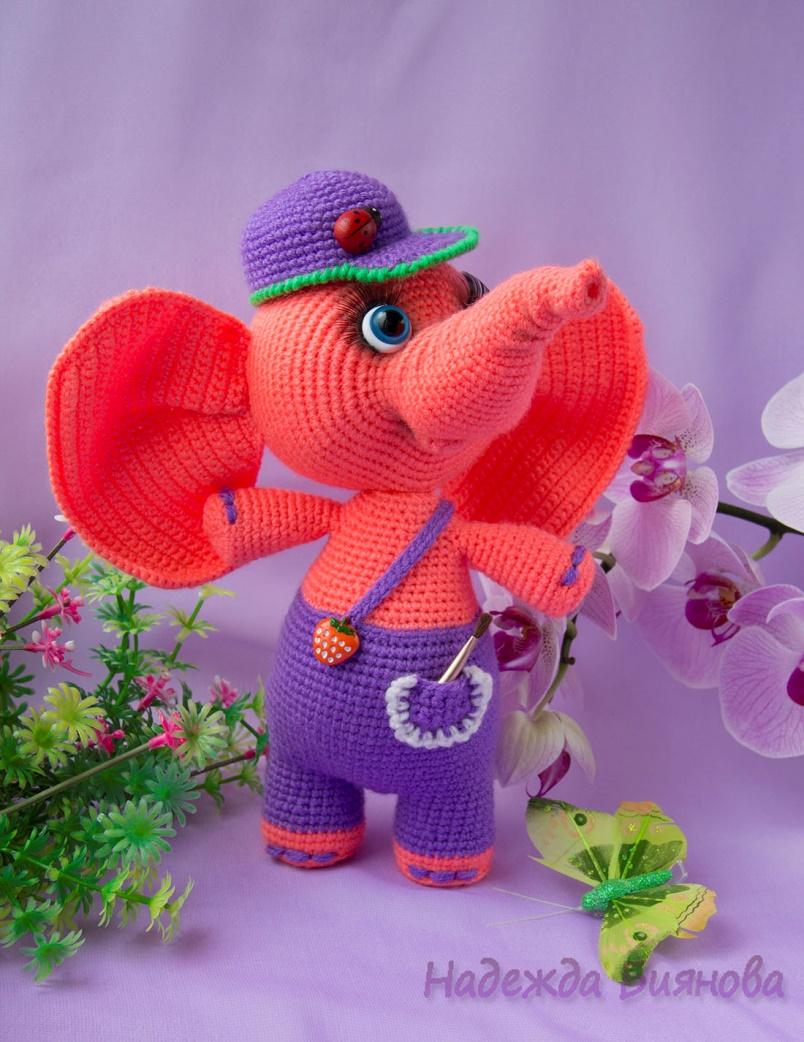
Your Puff is ready!
This comment has been removed by a blog administrator.
ReplyDelete