Crochet pattern by Nadezhda Bianova
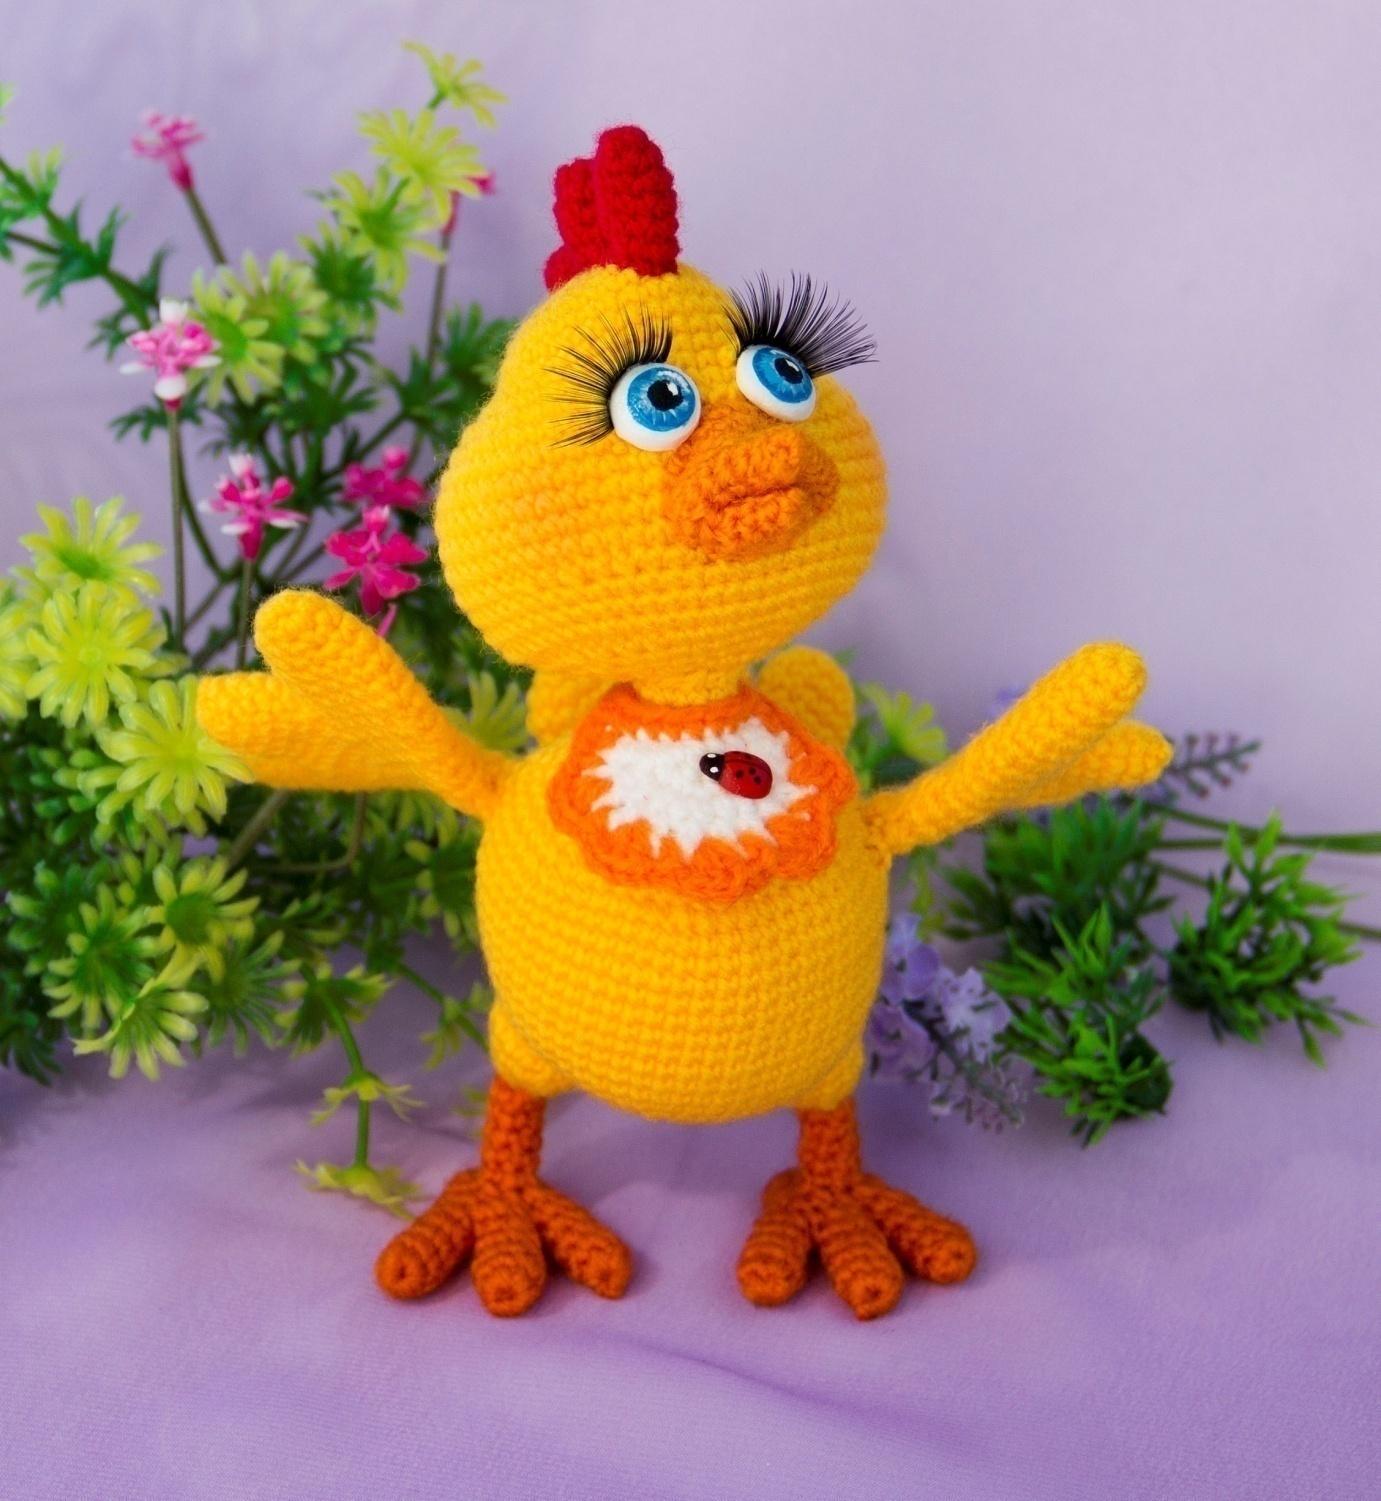
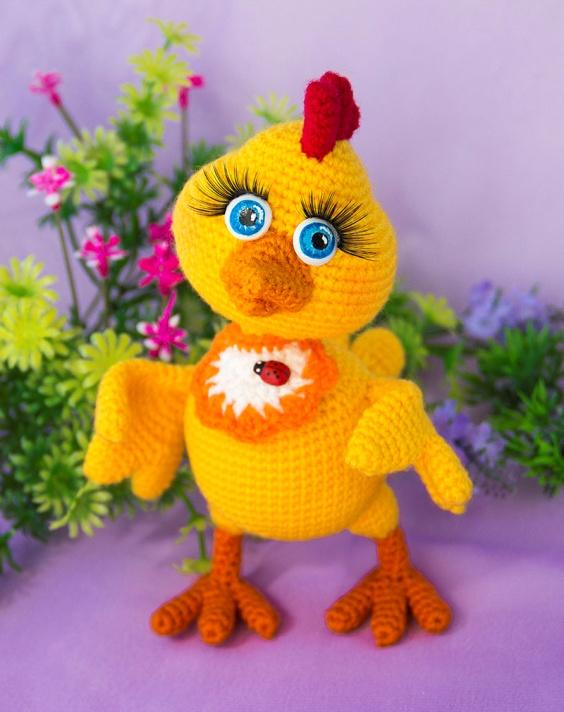
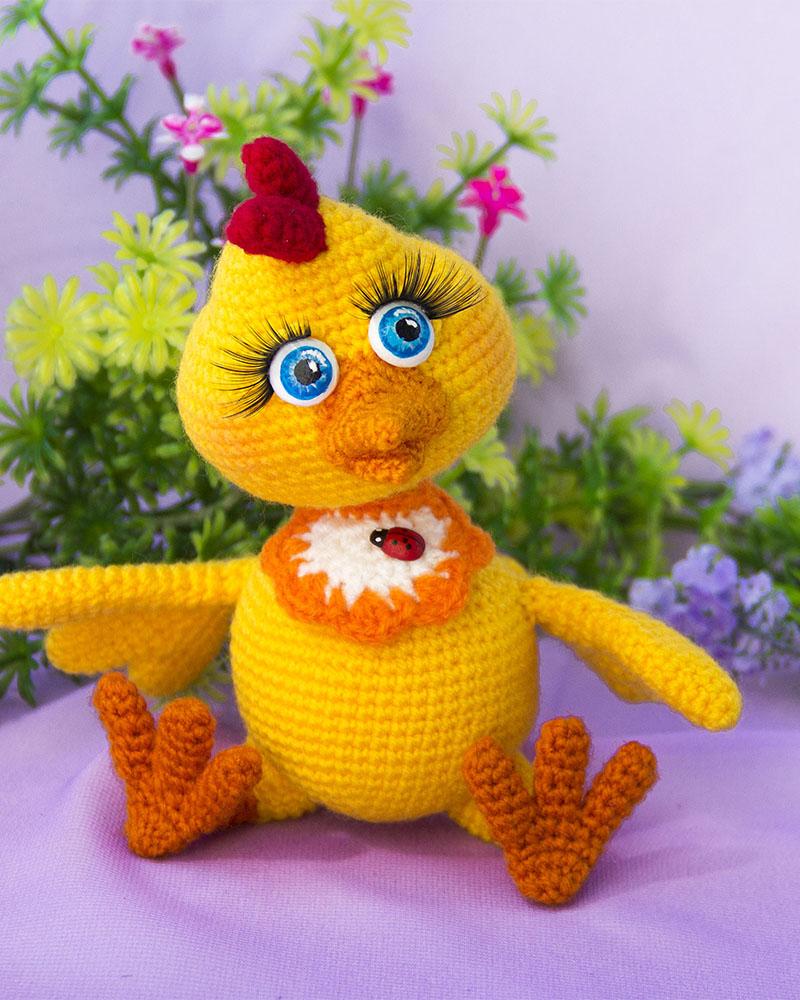
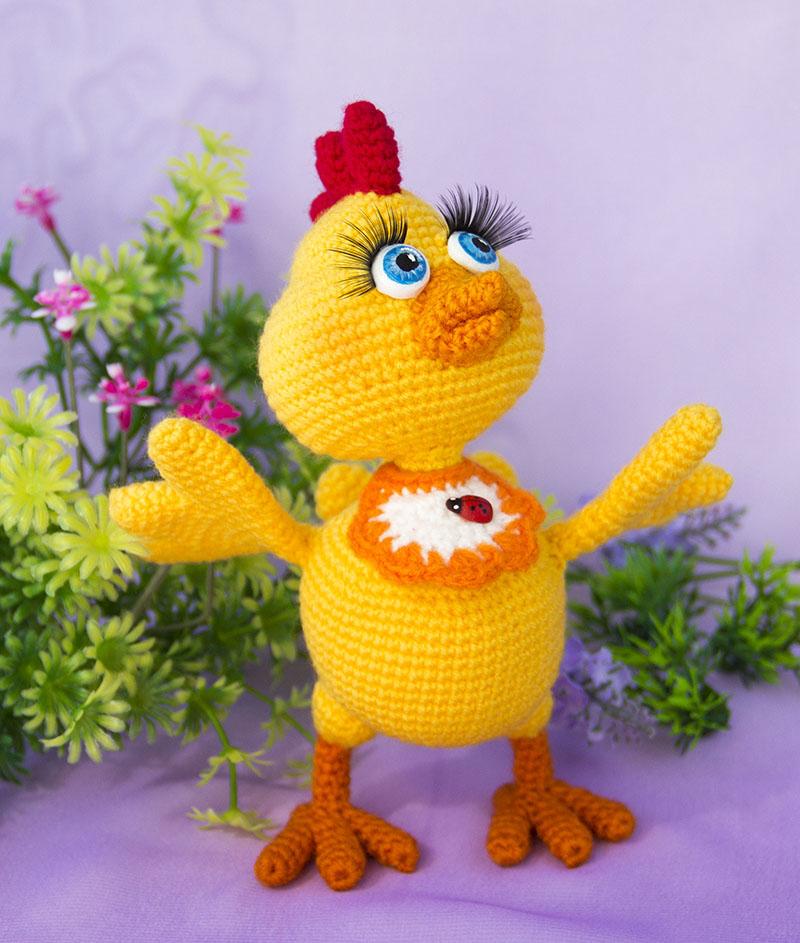
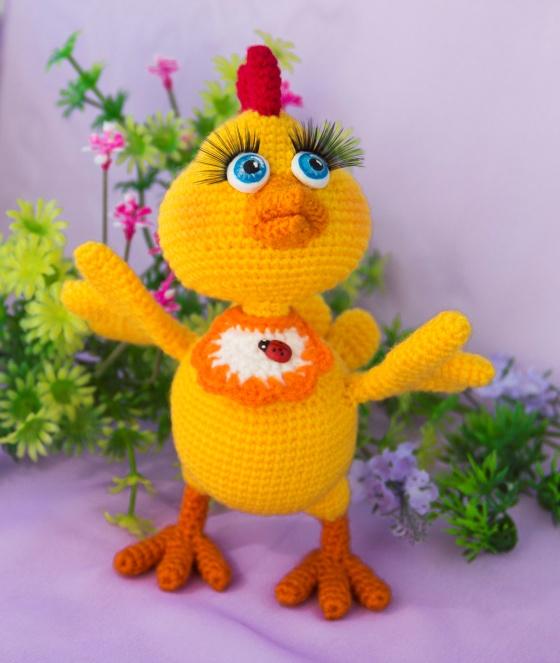
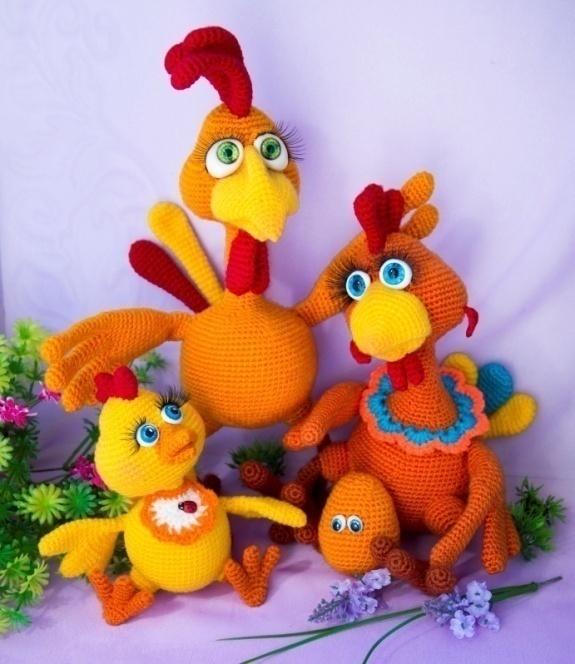
Syoma the little chicken
This toy is an author's design. Allowed free download and distribution. You can freely dispose of your toy made, when posting your work on social networks and online stores, the author’s name and an active link to my store http://www.livemaster.ru/bianova must be indicated.
I hope for your understanding.

Materials:
- Acrylic yarn (400м/100г): yellow, a little bit of red, white, brown and orange color
- Crochet hook 1.5 mm
- Filler of your choice
- Couper (aluminium) wire (d - about 0.8 mm) about 90 cm
- Scotch tape
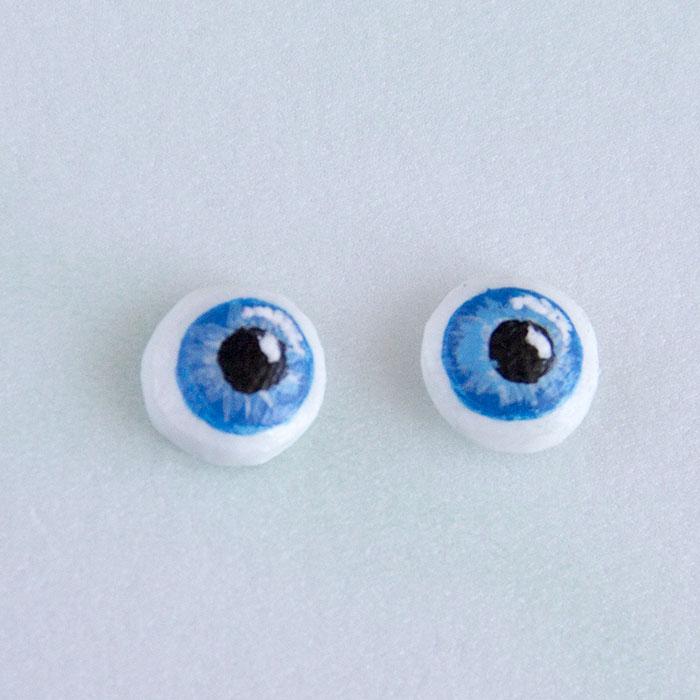
- Oven Bake Clay for eyes
- Acrylic paints or
- Plastic eyes d=10мм, artificial eye lashes
Abbreviations and terms:
- sc – single crochet
- ch – chain/s
- inc - increase, make 2 sc in 1 stitch of the previous row
- dec – decrease, crochet 2 next sc together
- +1 - displacing stitch (at the end of round: make one more stitch in the 1st stitch of the next round, displace your stitch marker to left, the 2nd stitch of the next round became the 1st stitch)
- sl st – slip stitch
- FLO - work in front loops only
- BLO - work in back loops only
Difficulty level: medium. All parts are made in spiral rounds, unless otherwise specified. When crocheting, use a stitch marker or a contrasting thread. When using these materials, the toy is 16 cm high, while using with a thicker yarn, the toy size will increase.
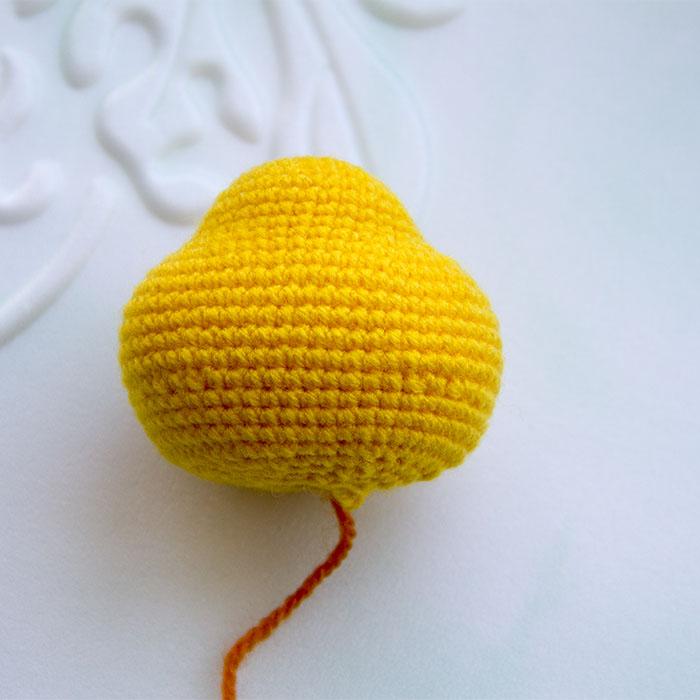
Head
1 round 6 sc in a magic ring, your stitch marker must be placed at the center of the head on backside
2 round 6 increases = 12
3 round (1 sc, inc)*6=18
4 round (2 sc, inc)*6=24
5 round (3 sc, inc)*6=30
6-9(4) rounds 30 sc
10 round 12 inc, 6 sc, 12 inc=54
11 round 16 sc, (1 sc, inc)*3 times, 10 sc, (inc, 1sc)*3 times, 16 sc=60
12-16(5) rounds 60 sc
17 round 60 sc+1
18 round 16 sc, (1 sc, dec)*3 times, 10 sc, (dec,1 sc)*3 times, 16 sc=54
19-21(3) rounds 54 sc
22 round 12 dec, 6 sc, 12 dec=30
23 round (3 sc, dec)*6=24
24 round (2 sc, dec)*6=18
25 round 18 sc, cut and fasten the yarn
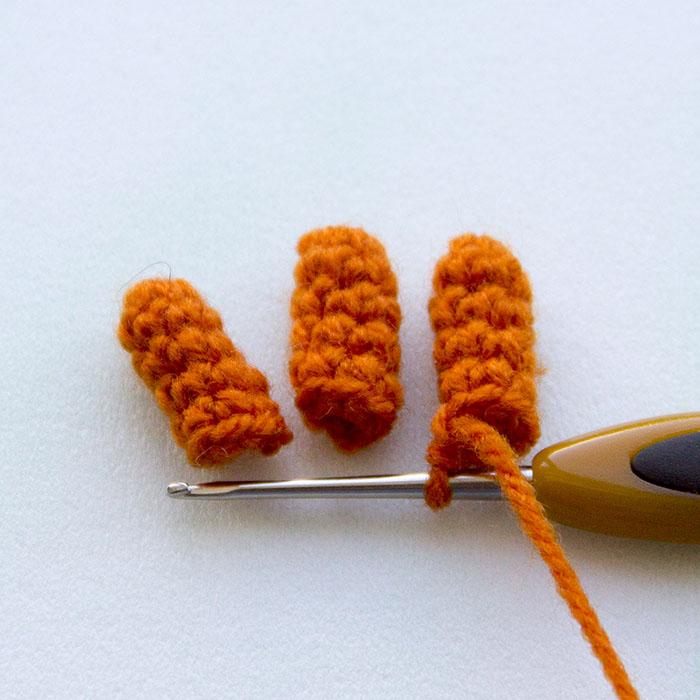
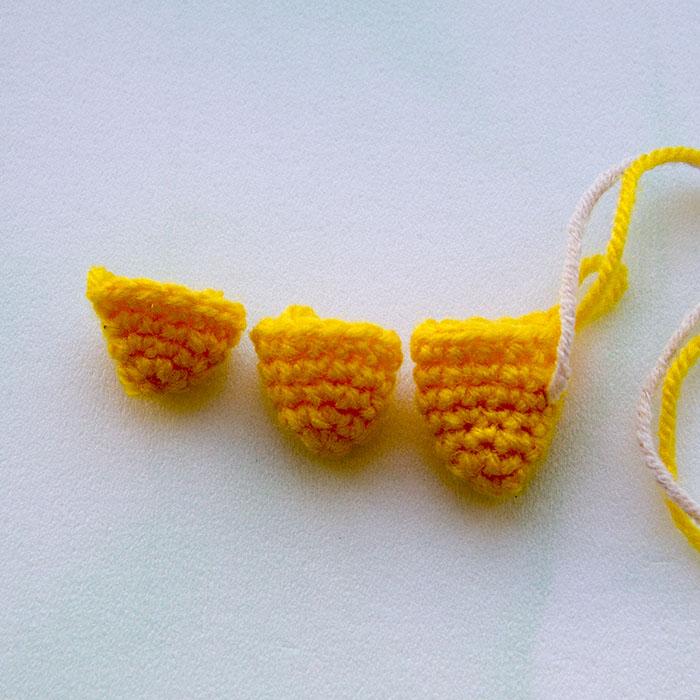
Legs
Toes (6 pcs), for 2 last toes - don’t cut off the yarn
1 round 6 sc in a magic ring
2-5(4) rounds 6 sc
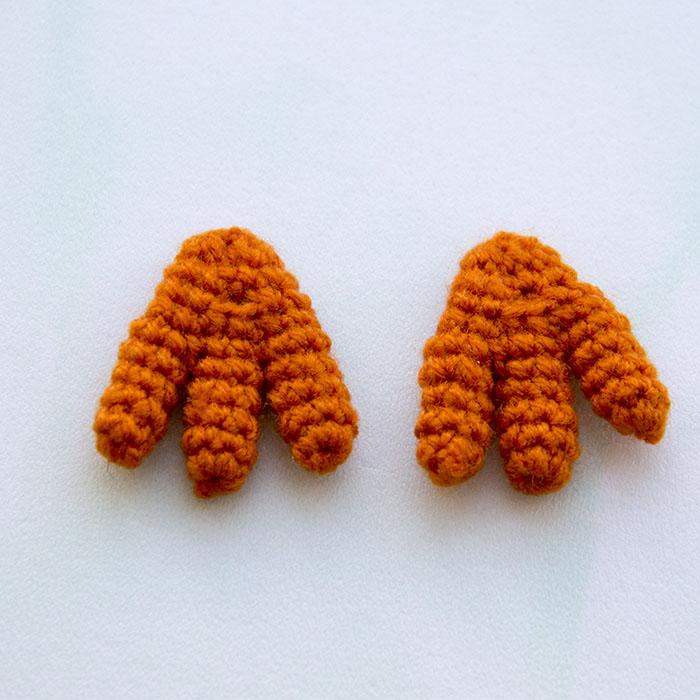
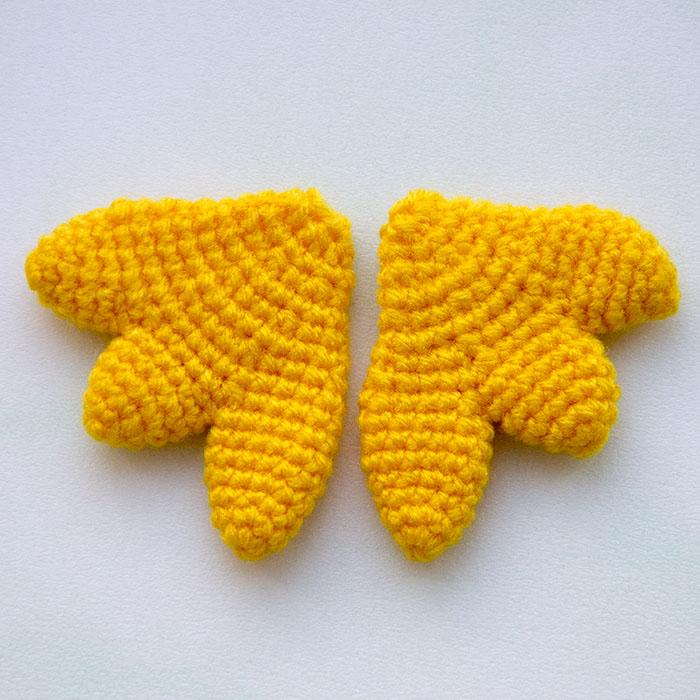
6 round Join 3 toes in a foot: 3 sc along the last toe, 3 sc along the middle toe, 6 sc along the 1st toe, 3 sc along the middle toe, 3 sc along the last toe =18
7 round (1 sc, dec)*6=12
8 round 2 sc, 2 ch, skip 2 sc, 8 sc=12
9 round 12 sc
10 round 6 dec=6, close the hole, hide the yarn tail.
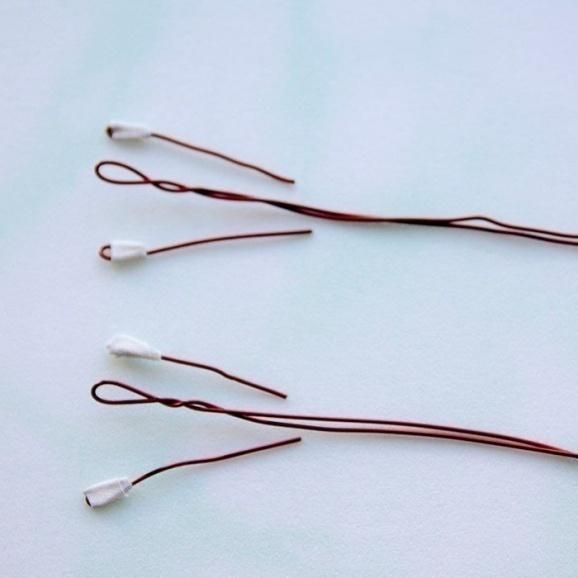
Cut 4 pieces of wire of 5 cm length, 2 pieces - 38 sm (twist the 2 last ones together).
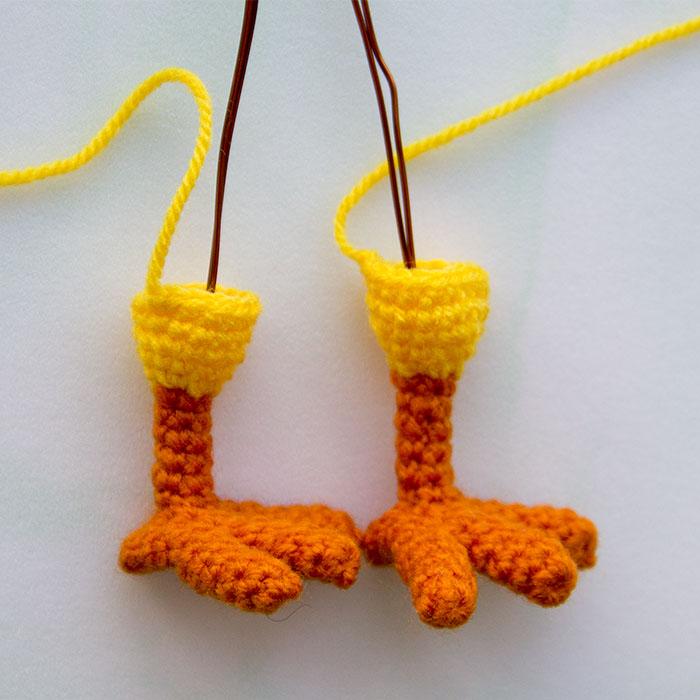
Work in loops around the hole (in the 8-9th rounds): make 6 sc
1-5(5) rounds 6 sc,
change the yarn to yellow (body) color
6 round 6 inc=12
7 round 12 sc
8 round (3 sc, inc)*3=15
9-10 rounds 15 sc, cut the yarn, leave a long tail for sewing.

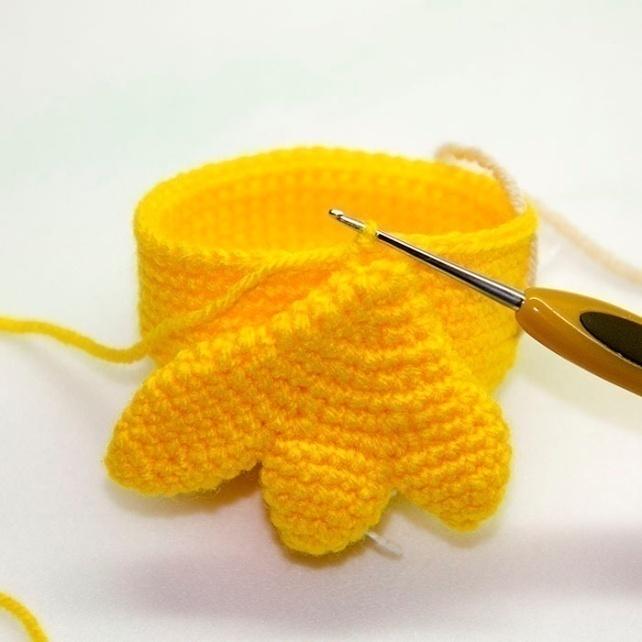
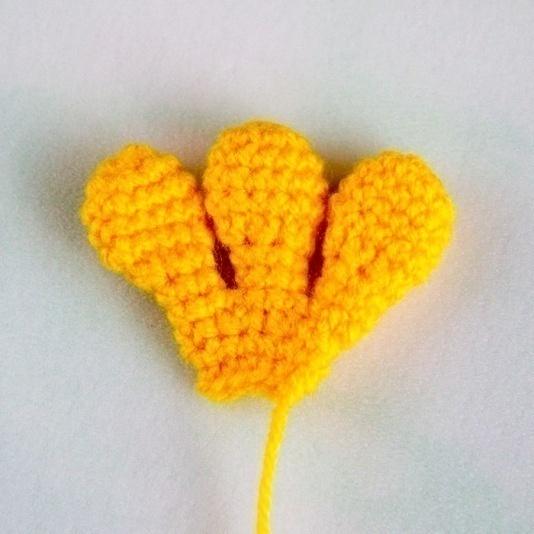
Wings
Small feather
1 round 6 sc in a magic ring
2 round (1 sc, inc)*3=9
3 round (2 sc, inc)*3=12
4 round 12 sc, cut off and fasten the yarn.
Middle feather
1 round 6 sc in a magic ring
2 round (1 sc, inc)*3=9
3 round (2 sc, inc)*3=12
4-5 rounds 12 sc, cut off and fasten the yarn.
Large feather
1 round 6 sc in a magic ring
2 round (1 sc, inc)*3=9
3 round 9 sc
4 round (2 sc, inc)*3=12
5-7 rounds(3) 12 sc, don’t cut the yarn
8 round Joining the feathers: 6 sc along the large feather, 6 sc along the middle one, 12 sc along the small one, 6 sc along the middle one, 6 sc along the large one=36
9 round (4 sc, dec)*6=30
10 round 30 sc
11 round (3 sc, dec)*6=24
12 round 24 sc
13 round (2 sc, dec)*6=18
14 round 18 sc
15 round (1 sc, dec)*6=12
16 round 6 dec=6, don’t close the hole.
Body
(your stitch marker must be placed at the center of the head on backside)
1 round 6 sc in a magic ring
2 round 6 inc=12
3 round (1 sc, inc)*6=18
4 round (2 sc, inc)*6=24
5 round (3 sc, inc)*6=30
6 round 4 sc, inc, 1 sc, mark the next st, 3 sc, inc, (4 sc, inc)*2, 3 sc, mark the next st, 1 sc, inc, 4 sc, inc=36
7 round (5 sc, inc)*6=42
8 round (6 sc, inc)*6=48
9 round (7 sc, inc)*6=54
10-17 rounds 54 sc
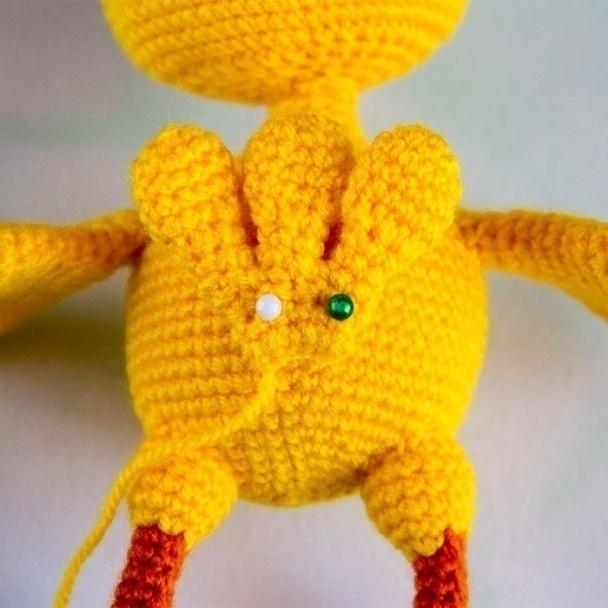
18 round 10 sc, apply the wing (the small feather toward the back side), attach it, making 3 sc through both the body and the wing stitches, 28 sc, attach the 2nd wing with 3 sc, 10 sc=54
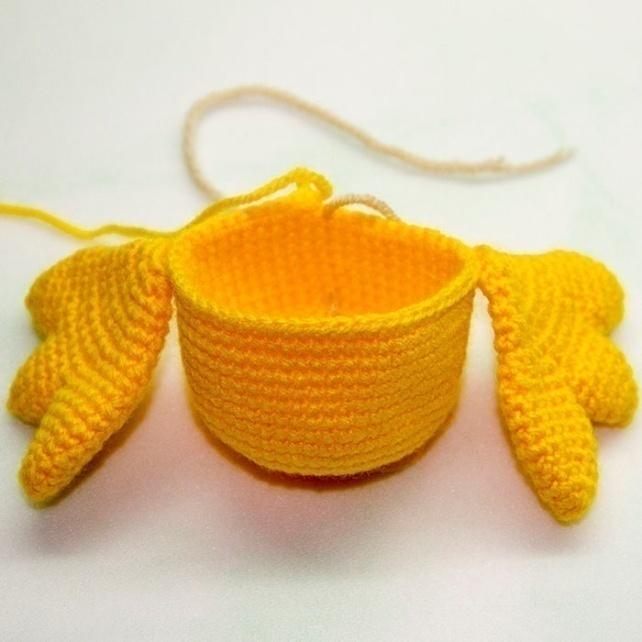
19 round 10 sc, 3 sc in the rest stitches of the wing, 28 sc, 3 sc in the rest sts of the 2nd wing, 10 sc=54
20 round (7 sc, dec)*6=48
21 round (6 sc, dec)*6=42
22 round (5 sc, dec)*6=36
23 round (4 sc, dec)*6=30
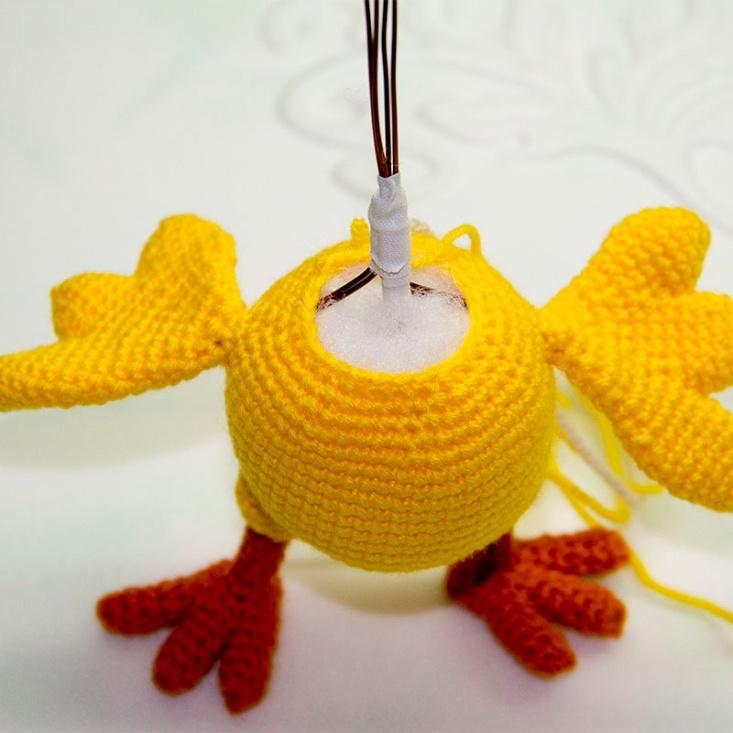
Insert the leg wireframes in the marked stitches, twist them together, wrap with scotch tape. Stuff the body.
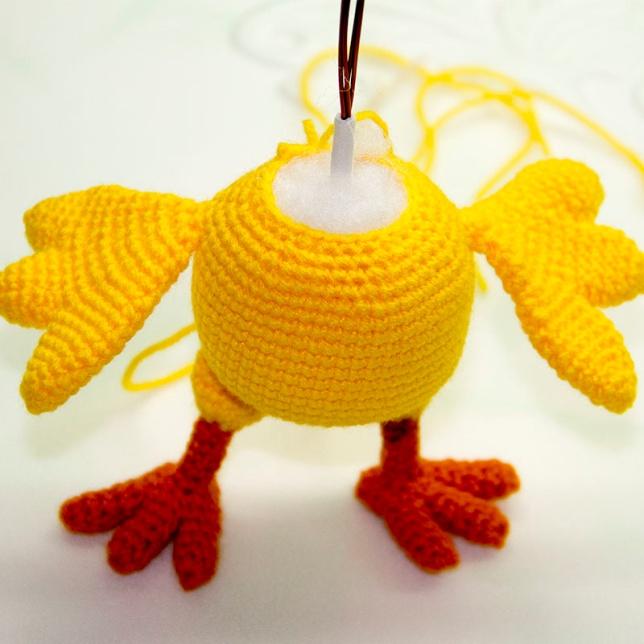
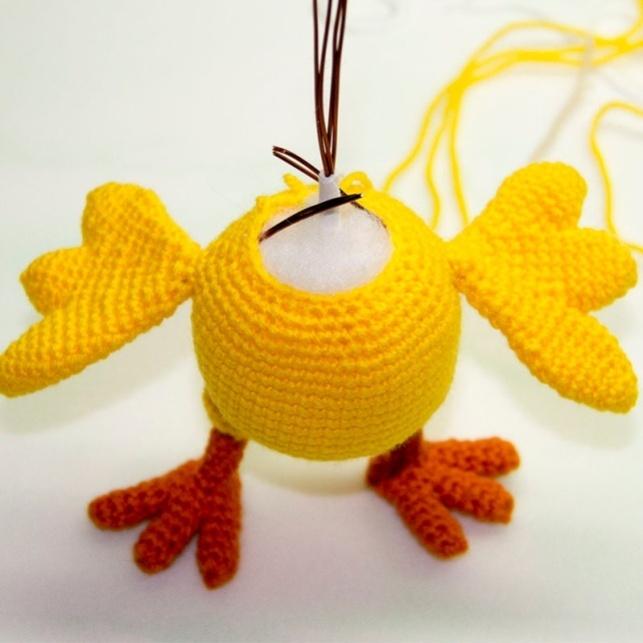
Install the wing wireframe, wrap the wire with scotch tape.
24 round (3 sc, dec)*6=24
25 round (2 sc, dec)*6=18
26 round 18 sc
27 round (1 sc, dec)*6=12
28-29 rounds 12 sc
30 round (1 sc, inc)*6=18, cut the yarn, leave a long tail for sewing
Stuff the leg top parts. Sew the leg to the body.
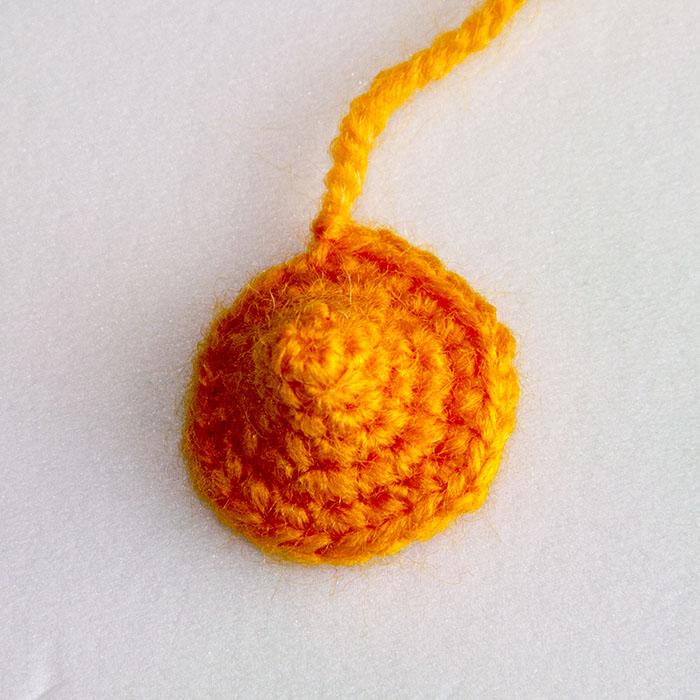
Beak
Beak top part
1 round 3 sc
2 round 3 inc=6
3 round (1 sc, inc)*3=9
4 round (2 sc, inc)*3=12
5 round (1 sc, inc)*6=18
6 round (2 sc, inc)*6=24, cut and fasten the yarn
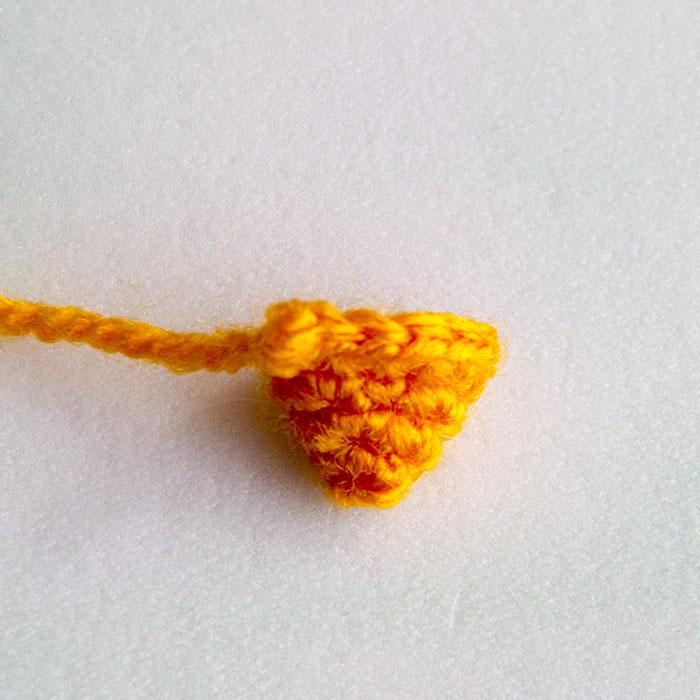
Beak lower part
1 round 3 sc
2 round 3 inc=6
3 round (1 sc, inc)*3=9
4 round (2 sc, inc)*3=12
Put together both parts, make 7 sc joining the parts together, then make 22 sc around the beak, fasten off with 1 sl st. Sew the beak to the head.
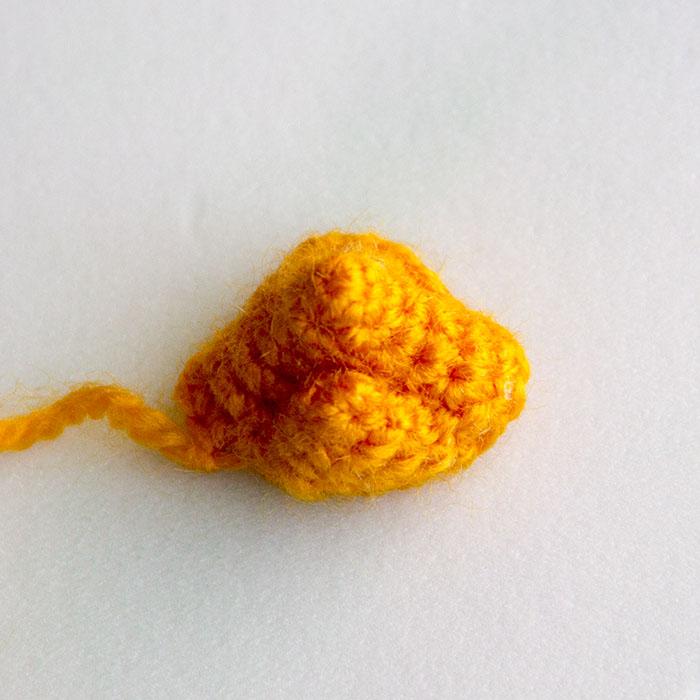
Sew the head to the body.

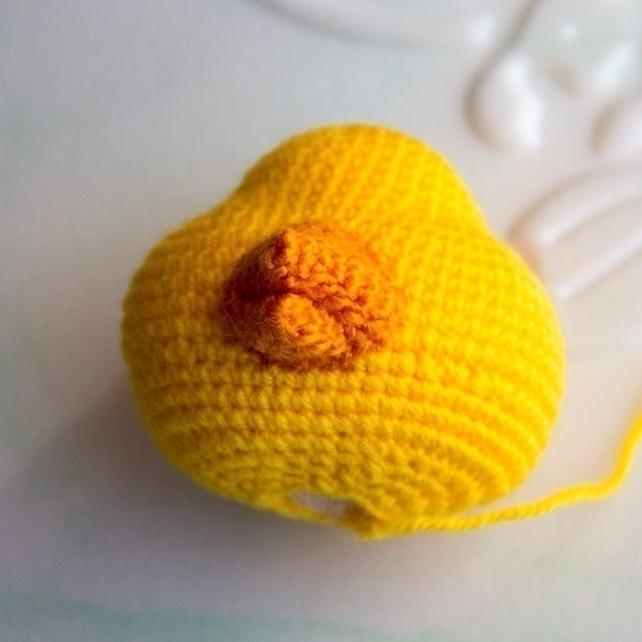
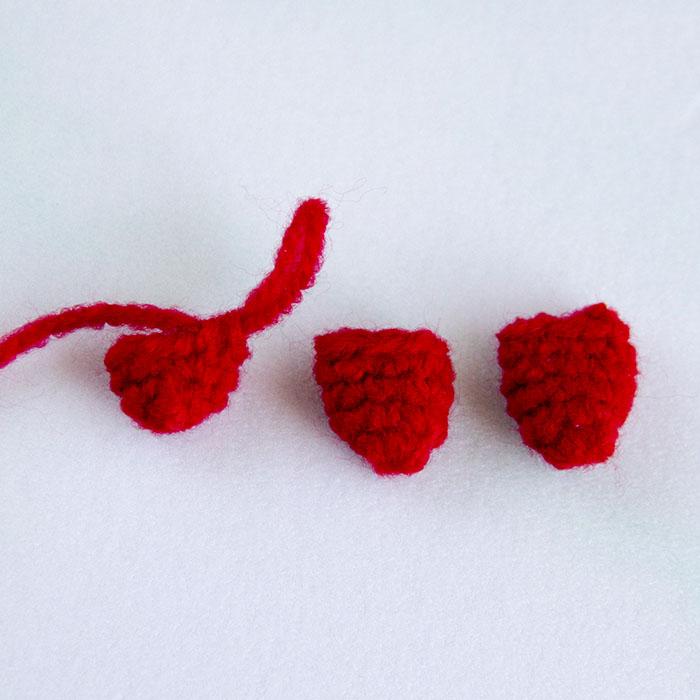
Comb
Large part
1 round 6 sc in a magic ring
2 round (2 sc, inc)*2=8
3-5(3) rounds 8 sc, cut off the yarn
Middle part
1 round 6 sc in a magic ring
2 round (2 sc, inc)*2=8
3-4 rounds 8 sc, cut off the yarn
Small part
1 round 6 sc in a magic ring
2 round (2 sc, inc)*2=8
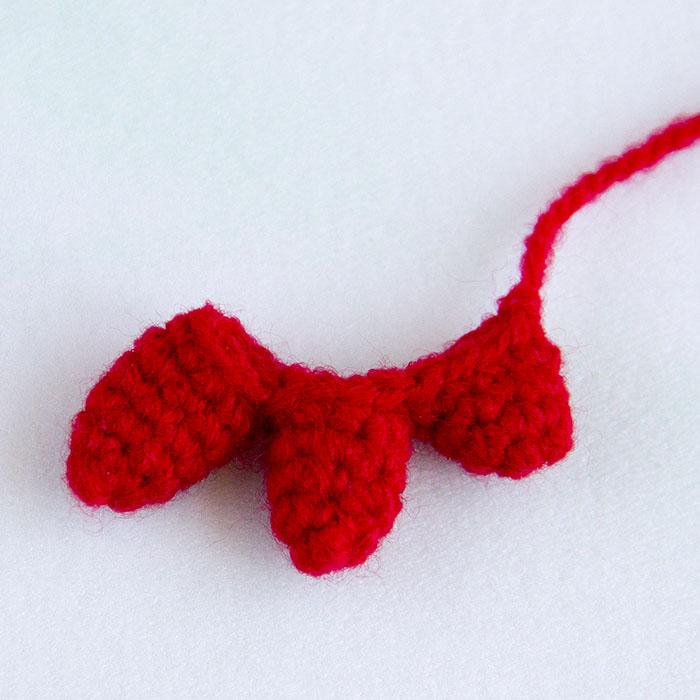
3 round 8 sc,
Don’t cut the yarn, join the parts together: 4 sc along the small part, 4 sc along the middle one, 8 sc along the large one, 4 sc along the middle one, 4 sc along the small one. Leave a long yarn tail, sew the comb to the head.

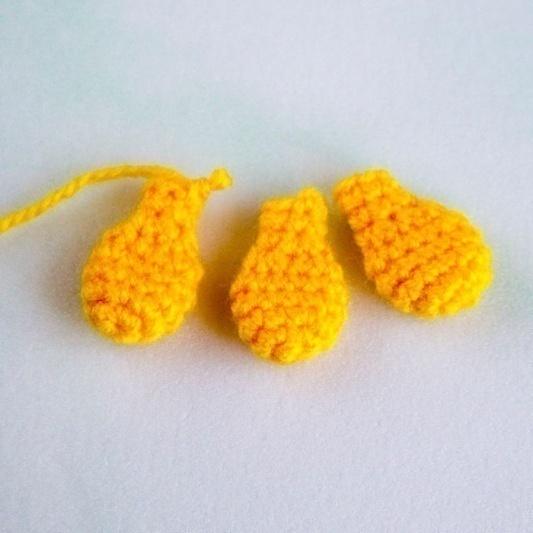
Tail
Feathers (3 pcs)
1 round 6 sc in a magic ring
2 round 6 inc=12
3-5(3) rounds 12 sc
6 round 6 dec=6
7-8 rounds 6 sc, cut off the yarn of 2 first feathers, don’t cut the yarn of the 3rd one
9 round Join the feathers: 3 sc along the 3rd feather, 3 sc along the 2nd one, 6 sc along the 1st one, 3 sc along the 2nd one, 3 sc along the 3rd one=18
10 round (1 sc, dec)*6=12
11 round 12 sc, cut off the yarn
Flatten, make 5 sc through the stitches of both edges. Sew the tail on.
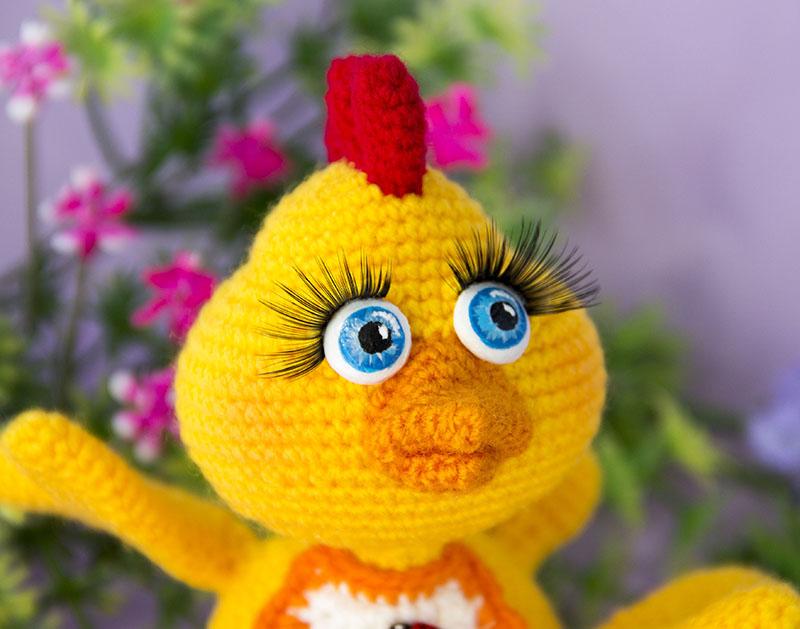
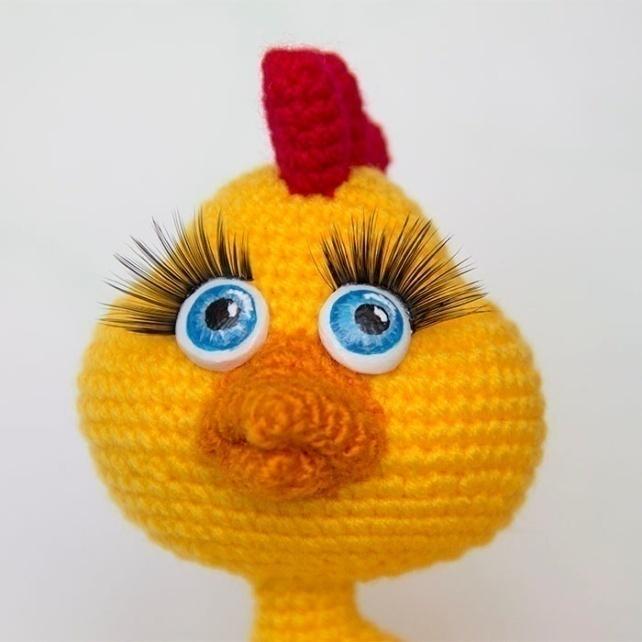
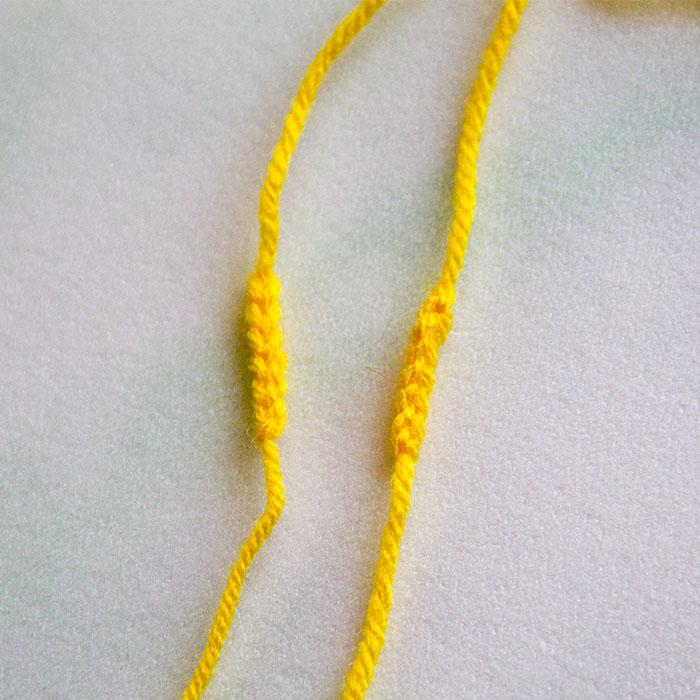
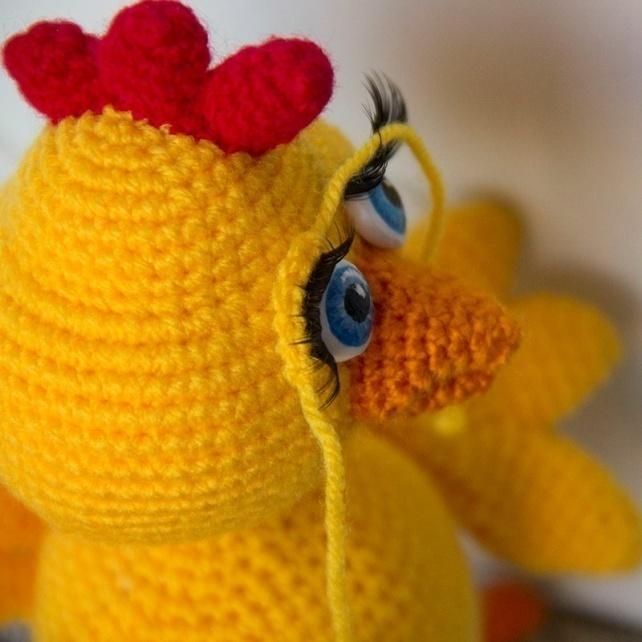
Glue the eyes and eyelashes, make eyelids: 6 chains. You can glue or sew the eyelids on.
Bib
1 round 4 sc in a magic ring,1 ch+turn
2 round 4 inc=8, 1 ch+turn
3 round (1 sc, inc)*4=12, 1 ch+turn
4 round (1 sc, 2 ch)*11 times, 1 sc, 8 sc along the edge, change the yarn (optional)
5 round (3 dc in the arch, 1 ch, 1 sc in the next arch, 1 ch)*6 times, 1 sl st, make chain of 10 loops, make 1 sc in the 7th st from the hook (it’s a chain for a button, or make longer chains for knotting), 3 sc, 8 sc along the edge, chain of 7 loops, 5 sc starting in the 2nd st from the hook, make 1 sl st in the 1st stitch of this round; cut off the yarn, hide the tails.

Your chicken baby is ready!
No comments:
Post a Comment