Today I wish to share my little secret of craft. Usually I do not crochet human dolls, so the process will be shown on animal amigurumi.
One of my first creations are these cute little piggies.
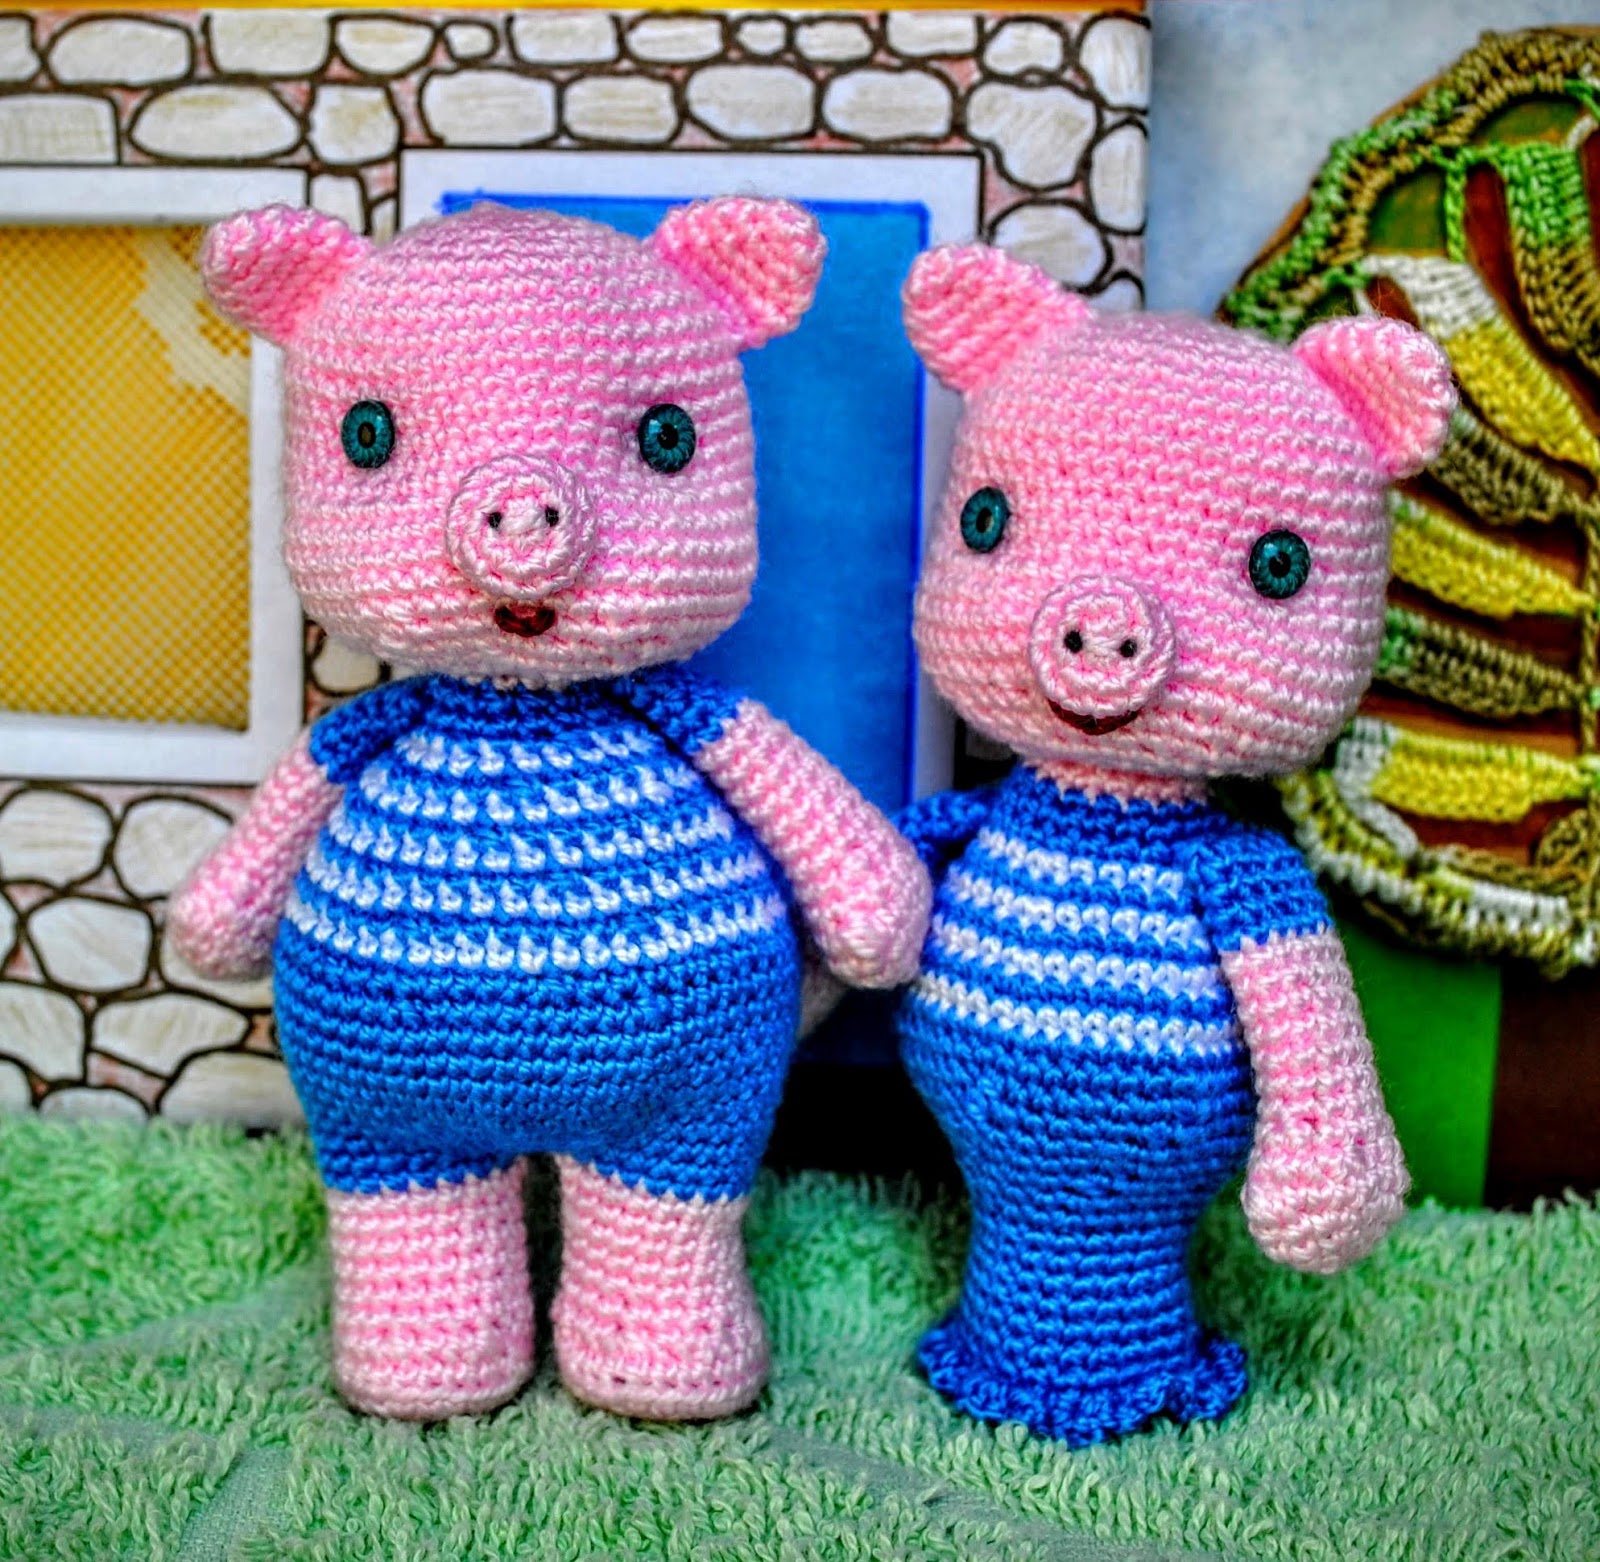
Their bodies are crocheted in different ways, but the heads are similar (the pattern is available here).
I'll tell you how to make sculpting for the pig's eyes.
Unlike the previous tutorial, I never make the sculpting in the open finishing hole. Seems to me that:
1. such sculpting makes a filling structure too uneven;
2. over time the thread sinks through the filler deeper inside the head and the sculpting becomes less visible.
I crochet a head, making decreases to 6 loops in the last row, then I pull the thread through the remaining loops and close the hole.
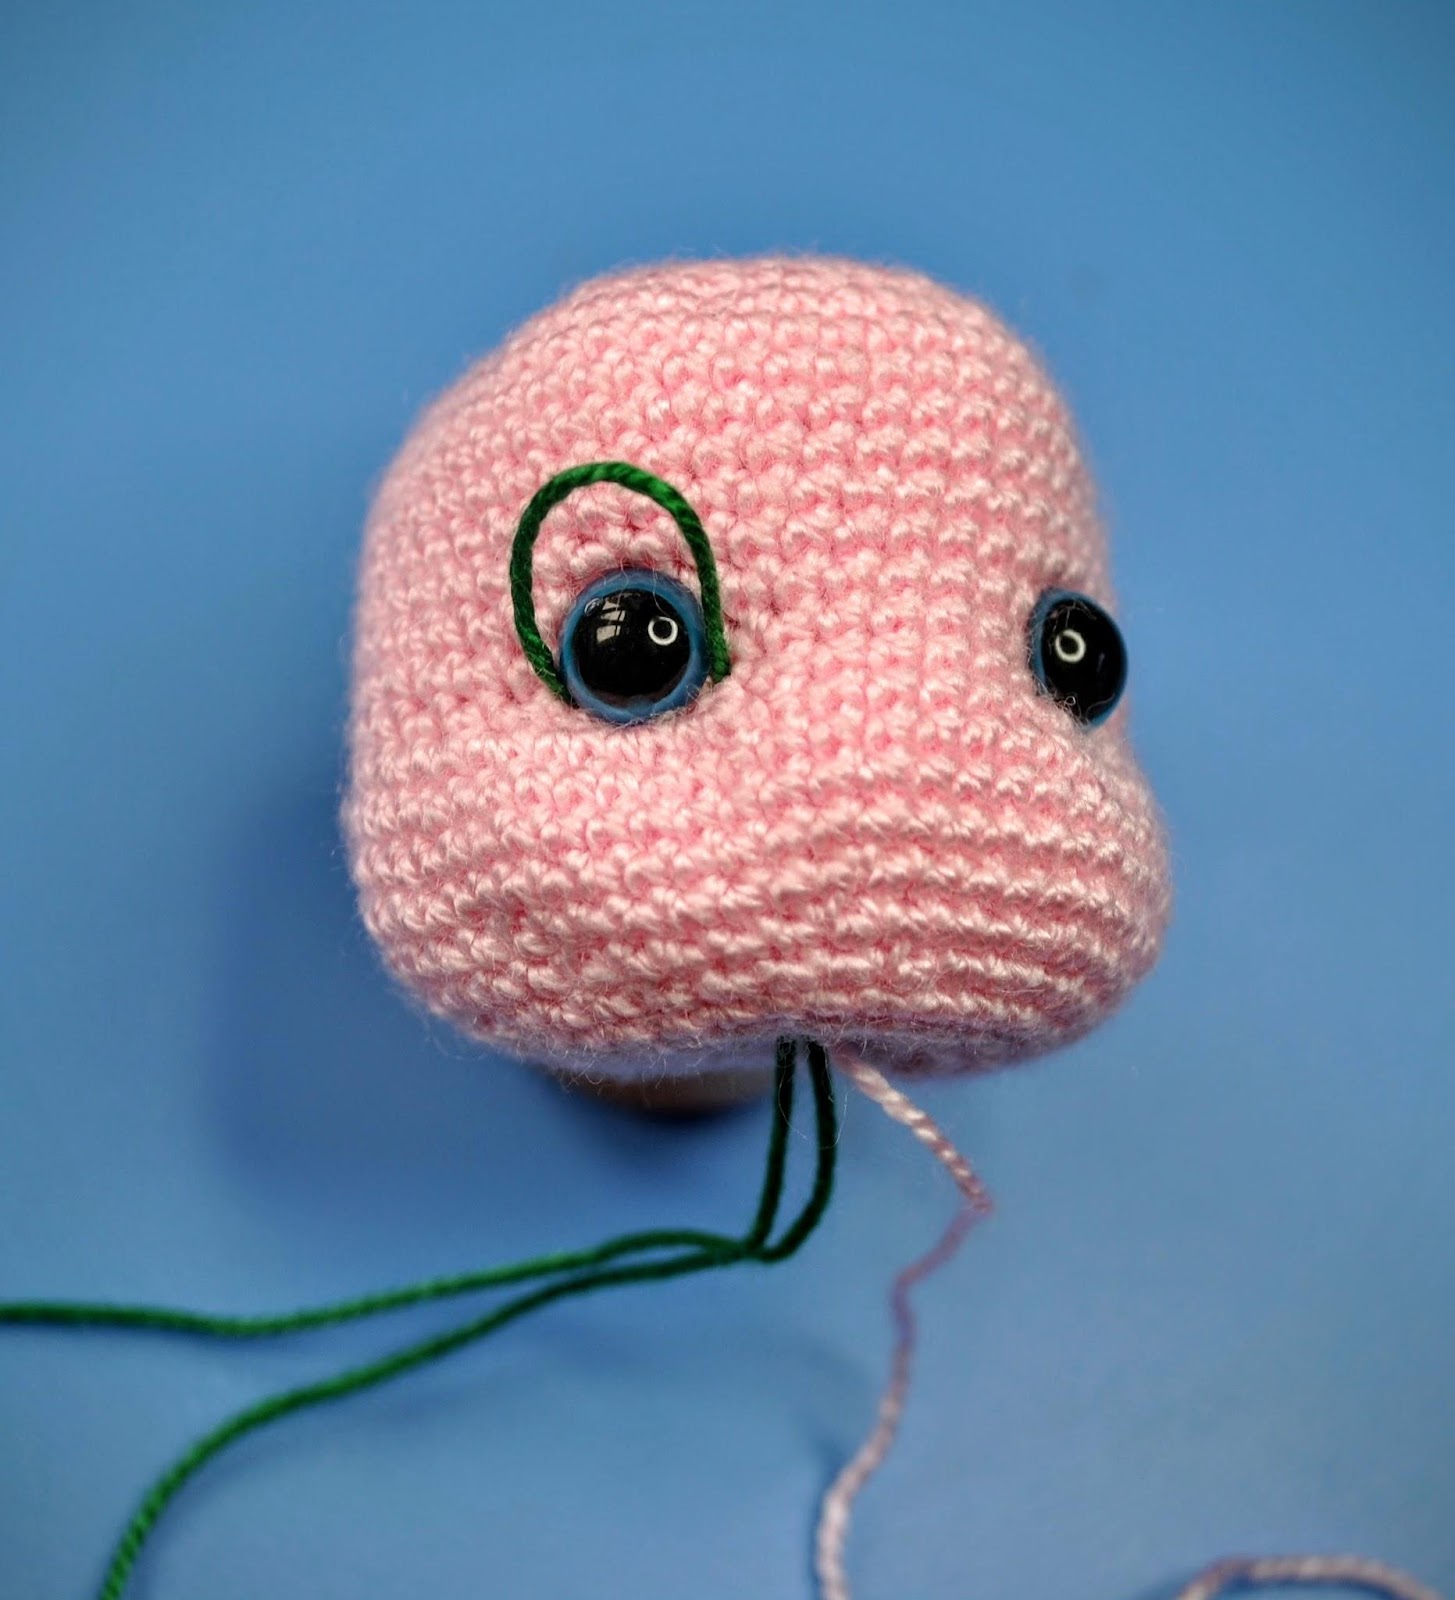
I use a needle and the head yarn. But my needle has to pass through the last round's stitches (the body will be sewn to this side) and come out to the place where the eye should be.

I make a sewing stitch 2-3 loops long and pull the needle out on the lower side, at a distance of 1 loop from the beginning tail of the thread.

I need to tighten the thread well, tie the ends and hide them inside.

I repeat the same for the second eye.
My way looks like the method in the previous tutorial. However there is one difference: my thread will never sink inside the filler, but on the bottom of the head in the center is formed a small dimple. Before attaching the body I mark the sewing circle around the finishing point with a disappearing marker. Its diameter should fit to the opening of the body.
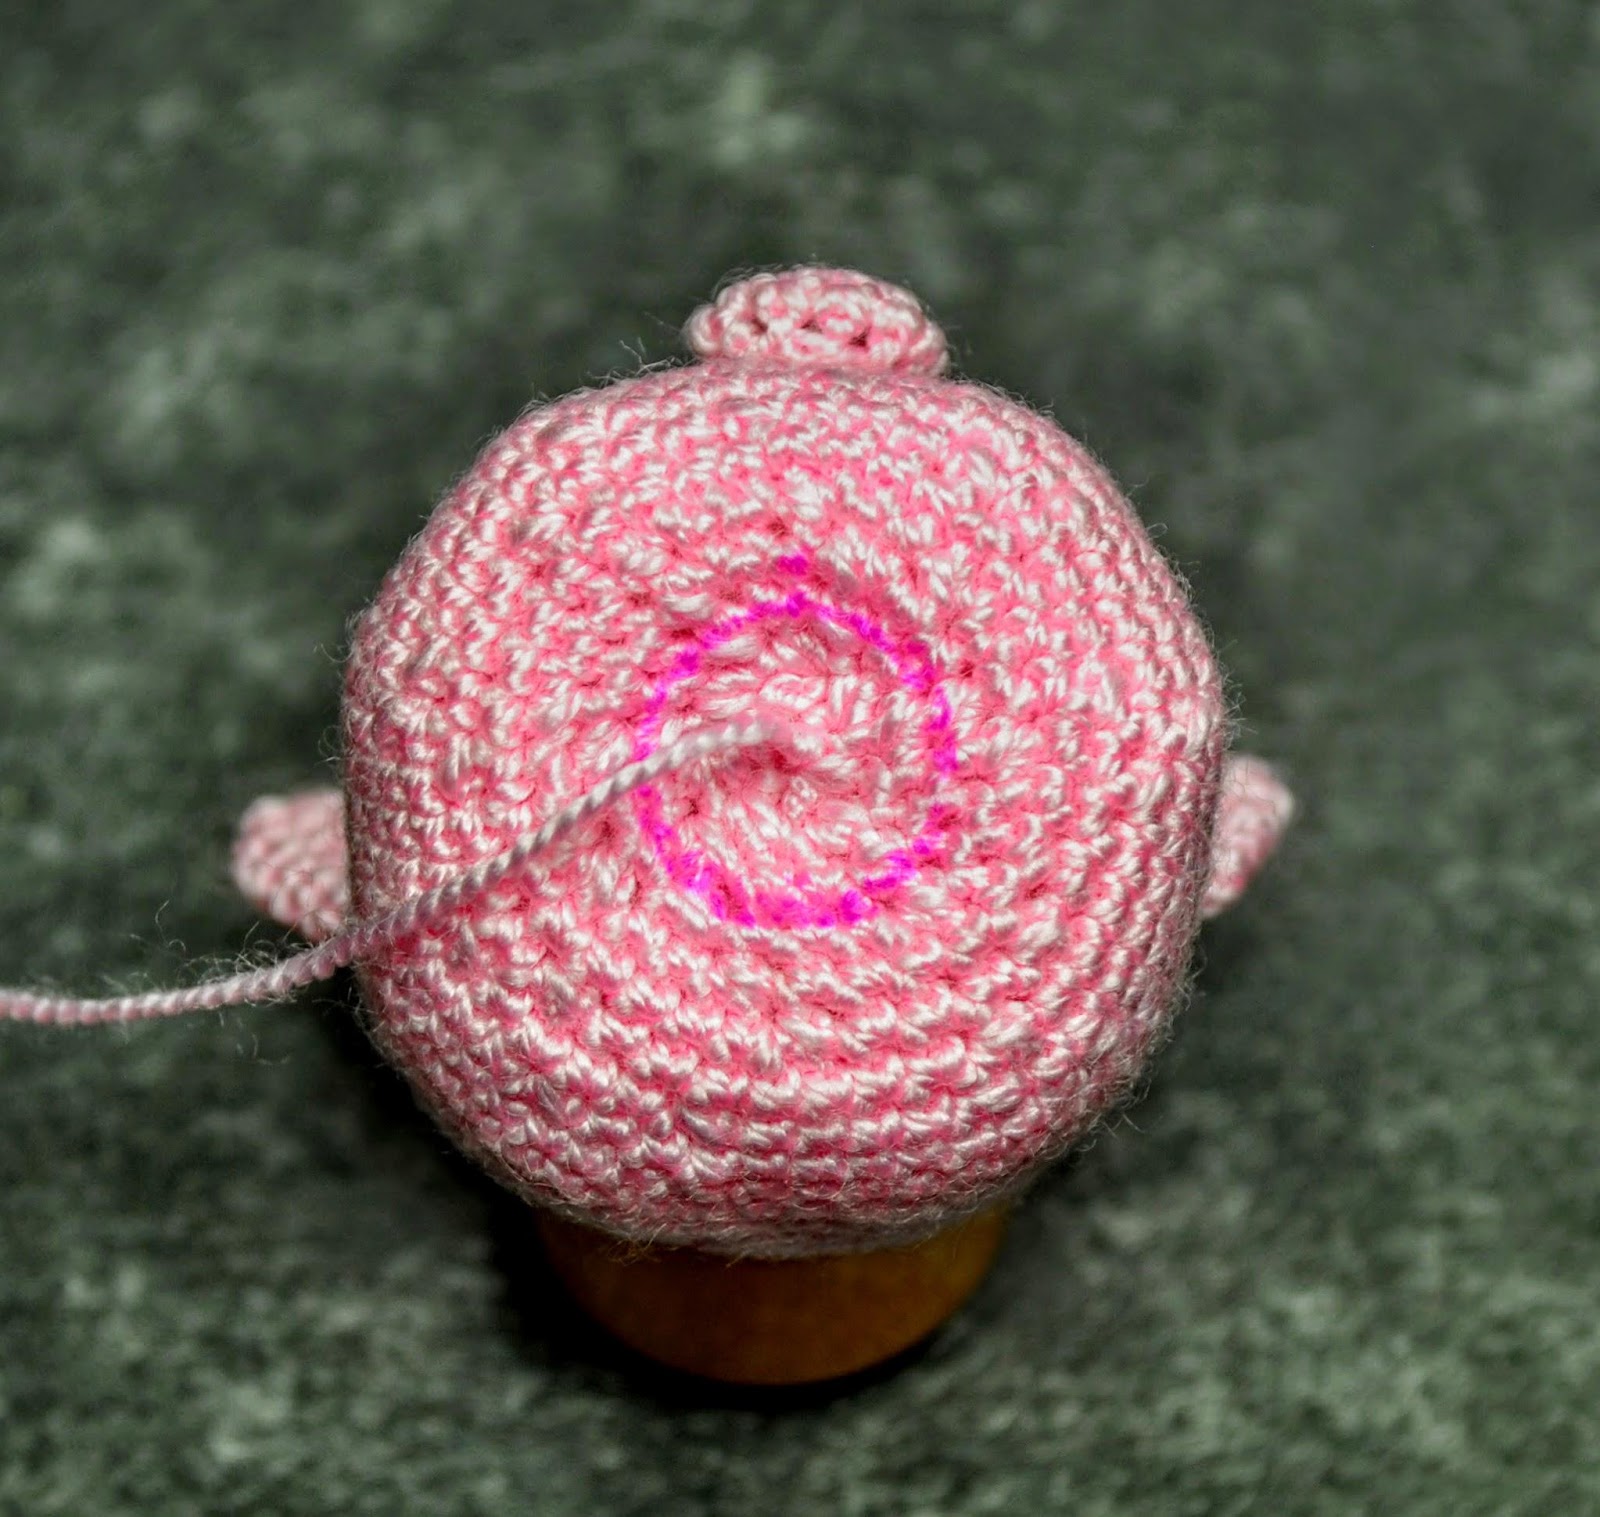
Note: You may need to crochet one extra round of the body, so that the neck does not seem too short.
By the way, maybe you remember I already shared my favorite method of sewing the doll's part. For those who prefer a video tutorials, I recommend to watch this. It's not mine video (that skill I still did not learn ...LOL), but the process is shown perfectly.
Perhaps, you have the right question: what should you do if you used safety eyes and already have installed them? I answer: work everything exactly the same, but make the sewing stitch over the leg of the plastic eye (I use a contrast thread only for visibility).
And you might ask: if the pattern say that a head and a body are the whole part? Really is it necessary to change a comfortable pattern for the sculpting?
I can answer : No, it isn’t! Recently I have discovered an interest way to solve this problem in video tutorial on YouTube. It's in Turkish and there are a loooooot of unclear words in it. But this method is fairly simple and effective (it seems to me). So I need to work on this tutorial, and I promise to share it later.
Owh wow thank you, just what I needed..(l)
ReplyDeleteGread! I'm really glad that you will find it useful :-)))
ReplyDeleteAwesome..x
DeleteElla what does the initials cc2H stand for in Russian crochet? Thanks!!
Deleteсс2н = СС2Н=сс2Н it's a triple crochet )))
DeleteElla, Thank you so much!! That's what I thought it was, but thankful to you for a double check!! You are great!! I'm also very grateful for this site you made, the information has help me a lot with translating some Russian crochet patterns that I have.!! Natalie
Deletethanks for the kind words, i'm happy to be helpful
DeleteI cannot thank you enough for sharing all of this! It is what I have been looking for to improve my skills. Thank you!
ReplyDeleteYou are welcome! I also try to improve my skills, that's why I'm looking for such useful ideas. You can subscribe to my blog or facebook page https://www.facebook.com/ellascrochetedtoys/.
ReplyDelete